

Getting Ready
This is a quick start that walks you through building your first service with WEEGLOO, one step at a time. In this first step, you'll look at what you're going to build and set up a workspace to hold your data.
Before You Begin
With WEEGLOO, you can quickly put in place a structure for managing and delivering content without having to build a complex backend (the behind-the-scenes system that stores and processes data) yourself. At the same time, you can grow it reliably on the same foundation, from a small homepage all the way up to an enterprise-grade service on the scale of tens of millions to billions of records.
In this quick start, as an example for learning the basics of WEEGLOO, you'll build a Tech Blog for publishing technical articles. The goal is to follow the flow of building a real service and naturally learn the role each feature plays along the way.
Here, the Tech Blog is a web-based service that anyone can reach through a web browser. Visitors are mainly offered the ability to read published articles, while internally there's a collaborative environment where multiple authors write and edit articles together.
The blog's content is primarily text, but it can also include images that aid understanding or attachments in the form of files. It's also important that this content can be reached quickly from anywhere in the world and is served reliably.
Now, based on these requirements, you'll build the Tech Blog with WEEGLOO step by step.
The Two Layers of a Workspace
A workspace has two layers. An Organization is the top-level space that stands for an entire company or team, and a Space is the space inside it that holds a single service.
The layers exist because one team runs several services at the same time. If you keep a company homepage, a blog, and an event page as separate, independent Spaces within the same Organization, their data, permissions, and settings never get mixed together.
Organization and Space are covered in detail in Organizations and Spaces.
Creating a Workspace
If You See a Screen with Menus Listed Down the Left
It means you already belong to an Organization. Either a team invited you, or you have an Organization you created earlier. At the top left you can see the Organization name, and below it the name of the Space that is currently open.
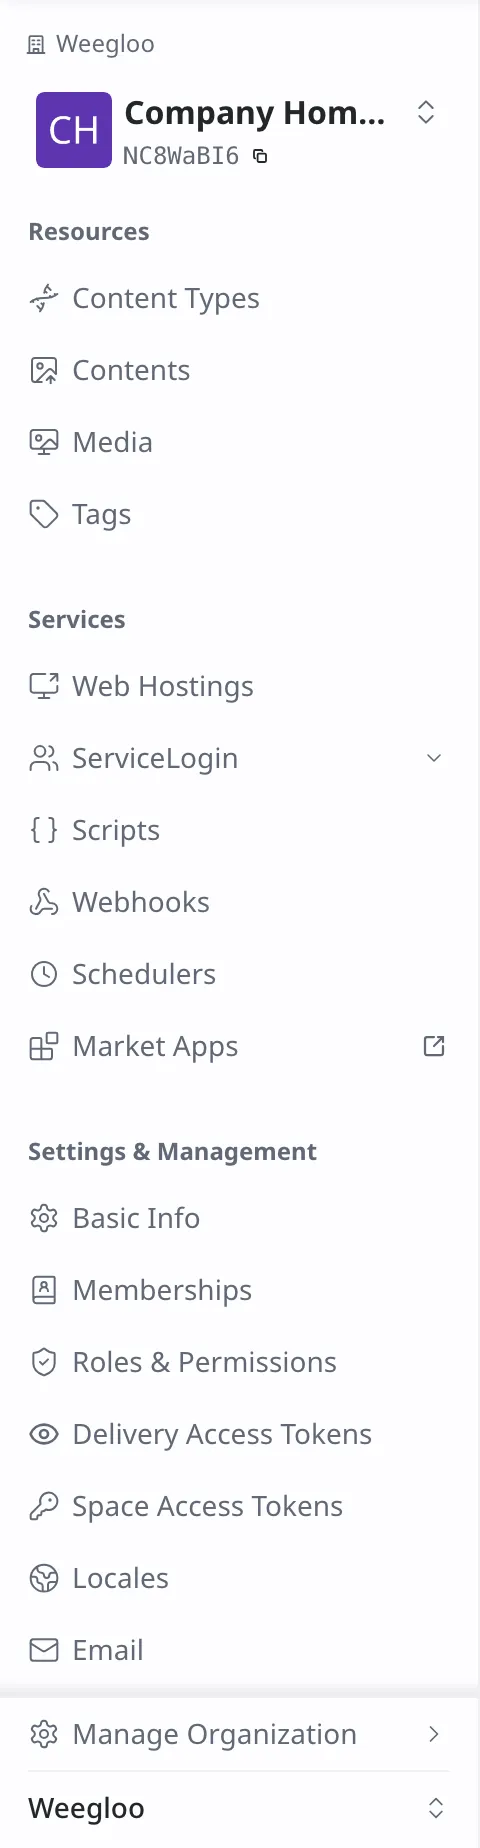
In this case, do not create a new Organization. An Organization you create separately is kept apart from your team's, so neither members nor content can be shared. All you need to do is add the Space you'll use for the example.
If you joined a team as an invited member, creating a Space may fail. In that case, continue in a Space you already belong to, or ask an Organization admin for permission to create a Space.
- Click the Space name at the top left. The Space list opens.
- At the bottom of the list, click Create Space.
- Enter
Tech Blogin Name. - Default Locale is the default language in which this Space holds content. Here, leave the default value as is.
- Click Save.
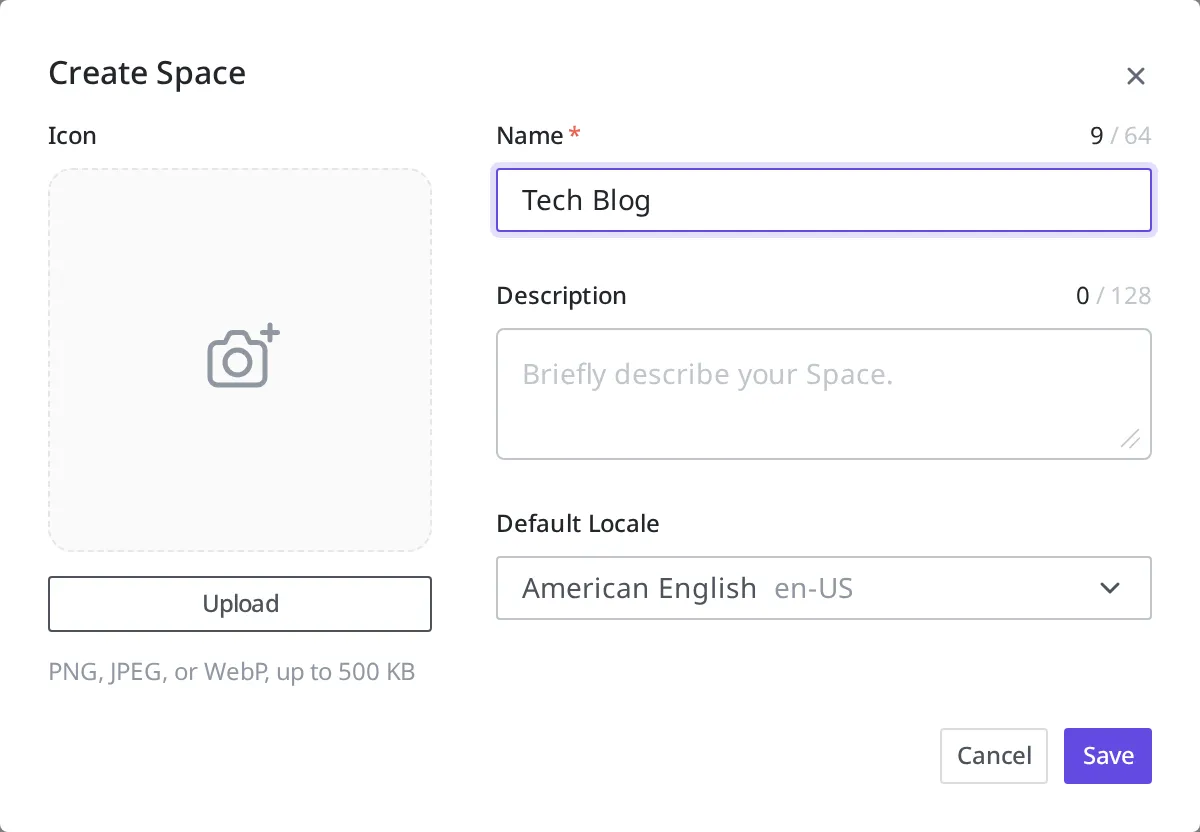
Once the Space you'll work in is settled, skip the next section and go to What You Just Made.
If You See a Screen Saying You Need an Organization
It means you don't belong to any Organization yet. If you create an Organization here, you'll go on to create your first Space as well and start working.
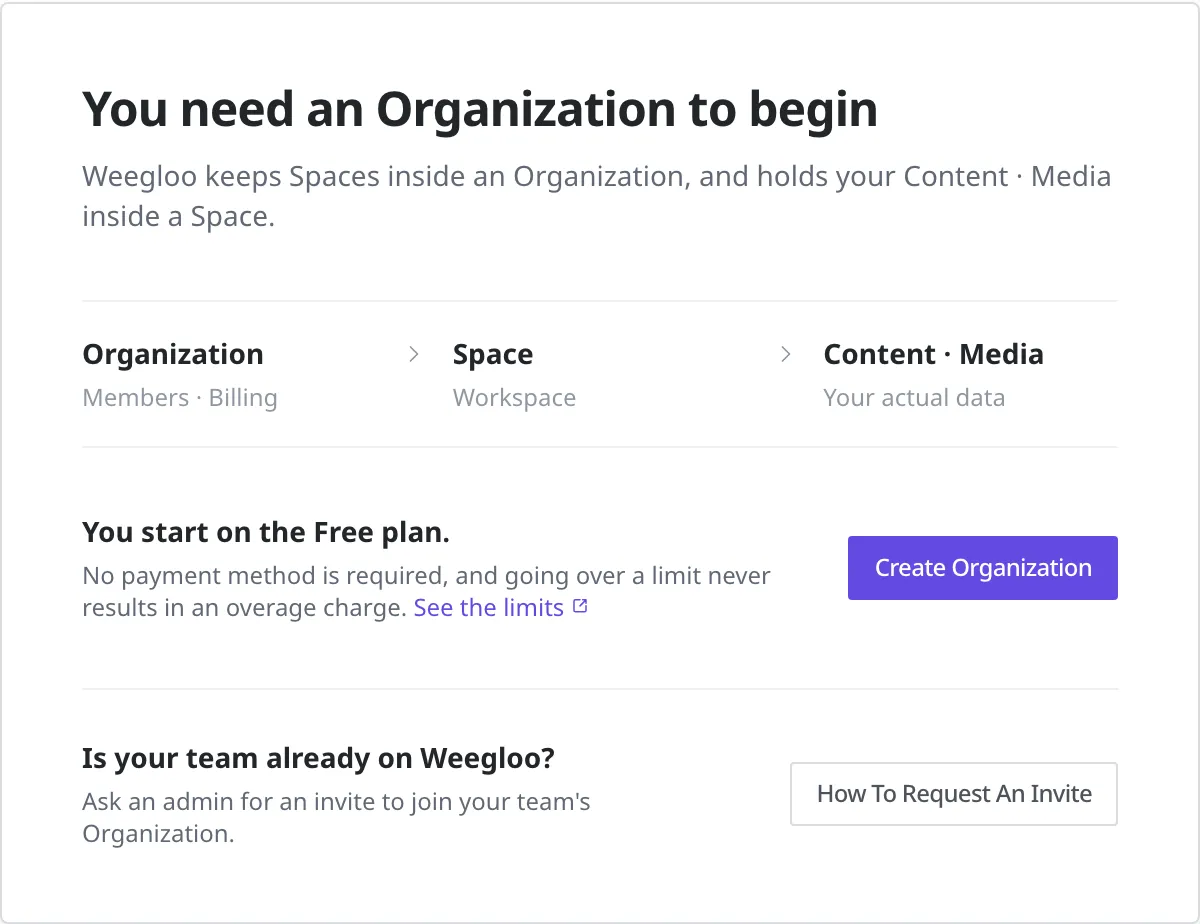
If your team already uses WEEGLOO but you haven't been invited yet, do not create an Organization here. Clicking How To Request An Invite opens the invitation request screen, where you can copy the address of the account you're logged in with and the request message to send to an admin. Once an admin invites you, you become a member right away with no approval step, and the next time you log in you'll see your team's Organization. If you change your mind on the invitation request screen, Create one anyway brings you back to creating one yourself.
If you're creating one yourself, start with the Organization.
- Click Create Organization.
- Enter
Weeglooin Name. - Click Next: Create Space.
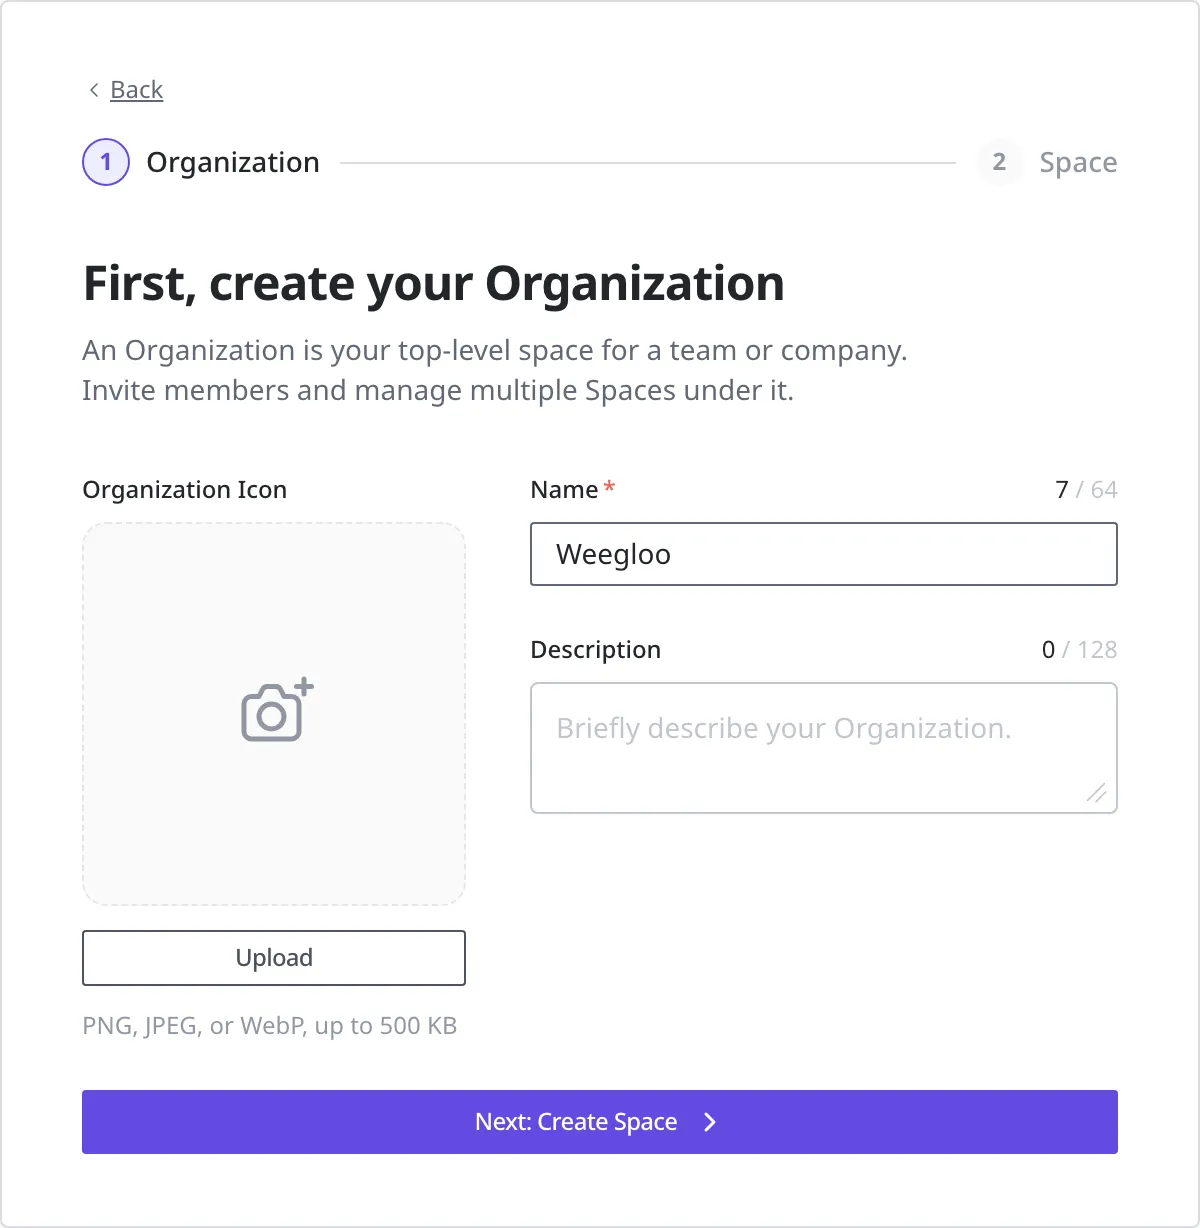
Next, create your first Space.
- Enter
Tech Blogin Name. - For Default Locale, leave the default value as is.
- Click Create Space And Get Started.
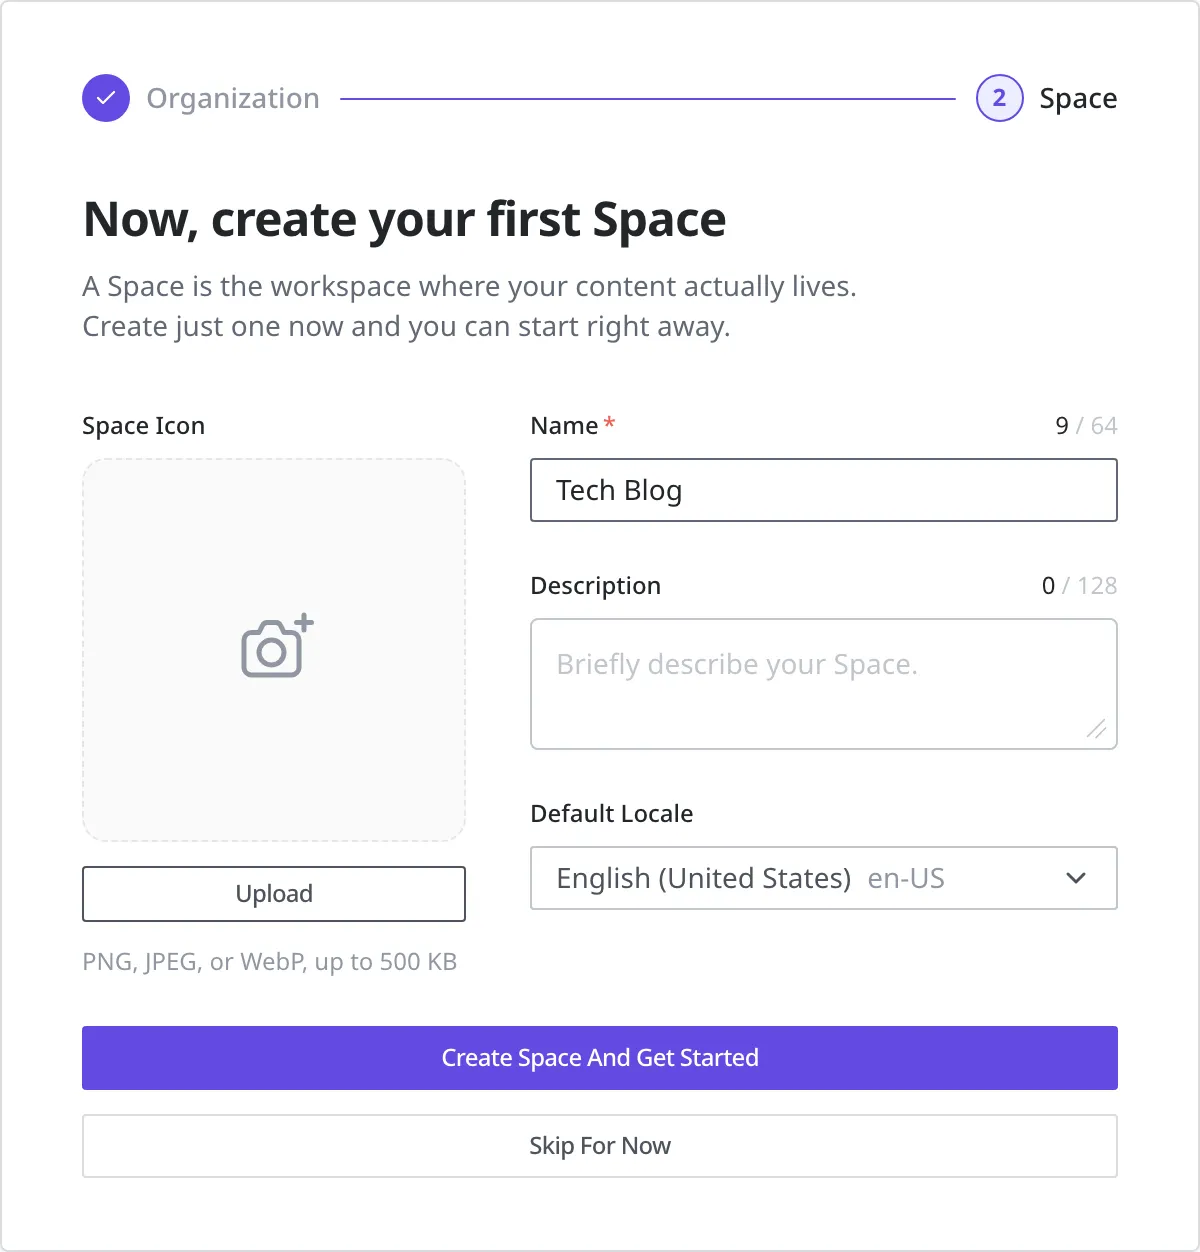
Once it's created, you go straight into the "Tech Blog" Space.
What You Just Made
Now the Space you'll work in is settled. If you've just signed up, it's "Tech Blog" under the "Weegloo" Organization you created a moment ago; if you already belonged to an Organization, it's the Space you added under it or the one you were already using. Everything you'll do from now on, such as defining post data, creating actual content, uploading images, and setting permissions, all happens inside this Space. That's why this step is more than initial setup: it's the starting point for shaping the entire structure of the service. Only when the workspace is set up properly will the data design and feature work that follow proceed in a consistent flow.
Now that the workspace is ready, in the next step you'll design a Content Type to define the shape of the data the blog needs.
- Designing the Data Structure: Define what items a blog post consists of using a Content Type.