

Getting Resend ready to send
This page is where you get the values you will enter when you use Resend as your sending server in Sending email.
Resend has no such thing as a mail account. Once you register a domain you own and have it verified, you can send mail from addresses on that domain. Once dailycloset.com is verified, you can send from orders@dailycloset.com and from support@dailycloset.com alike, and you do not need to create a separate mailbox for those addresses.
You need a domain to get started
Resend cannot send mail if there is not a single verified domain. You cannot just sign up and use it without a domain.
The domain meant here is an address you bought, like dailycloset.com. If you do not have one yet, you have to buy a domain first, and you need to be able to add settings in the management screen of the place you bought it from. You enter those settings later on.
Getting the values from Resend
After signing in to Resend, work through the two steps below in order.
Registering a domain and having it verified
-
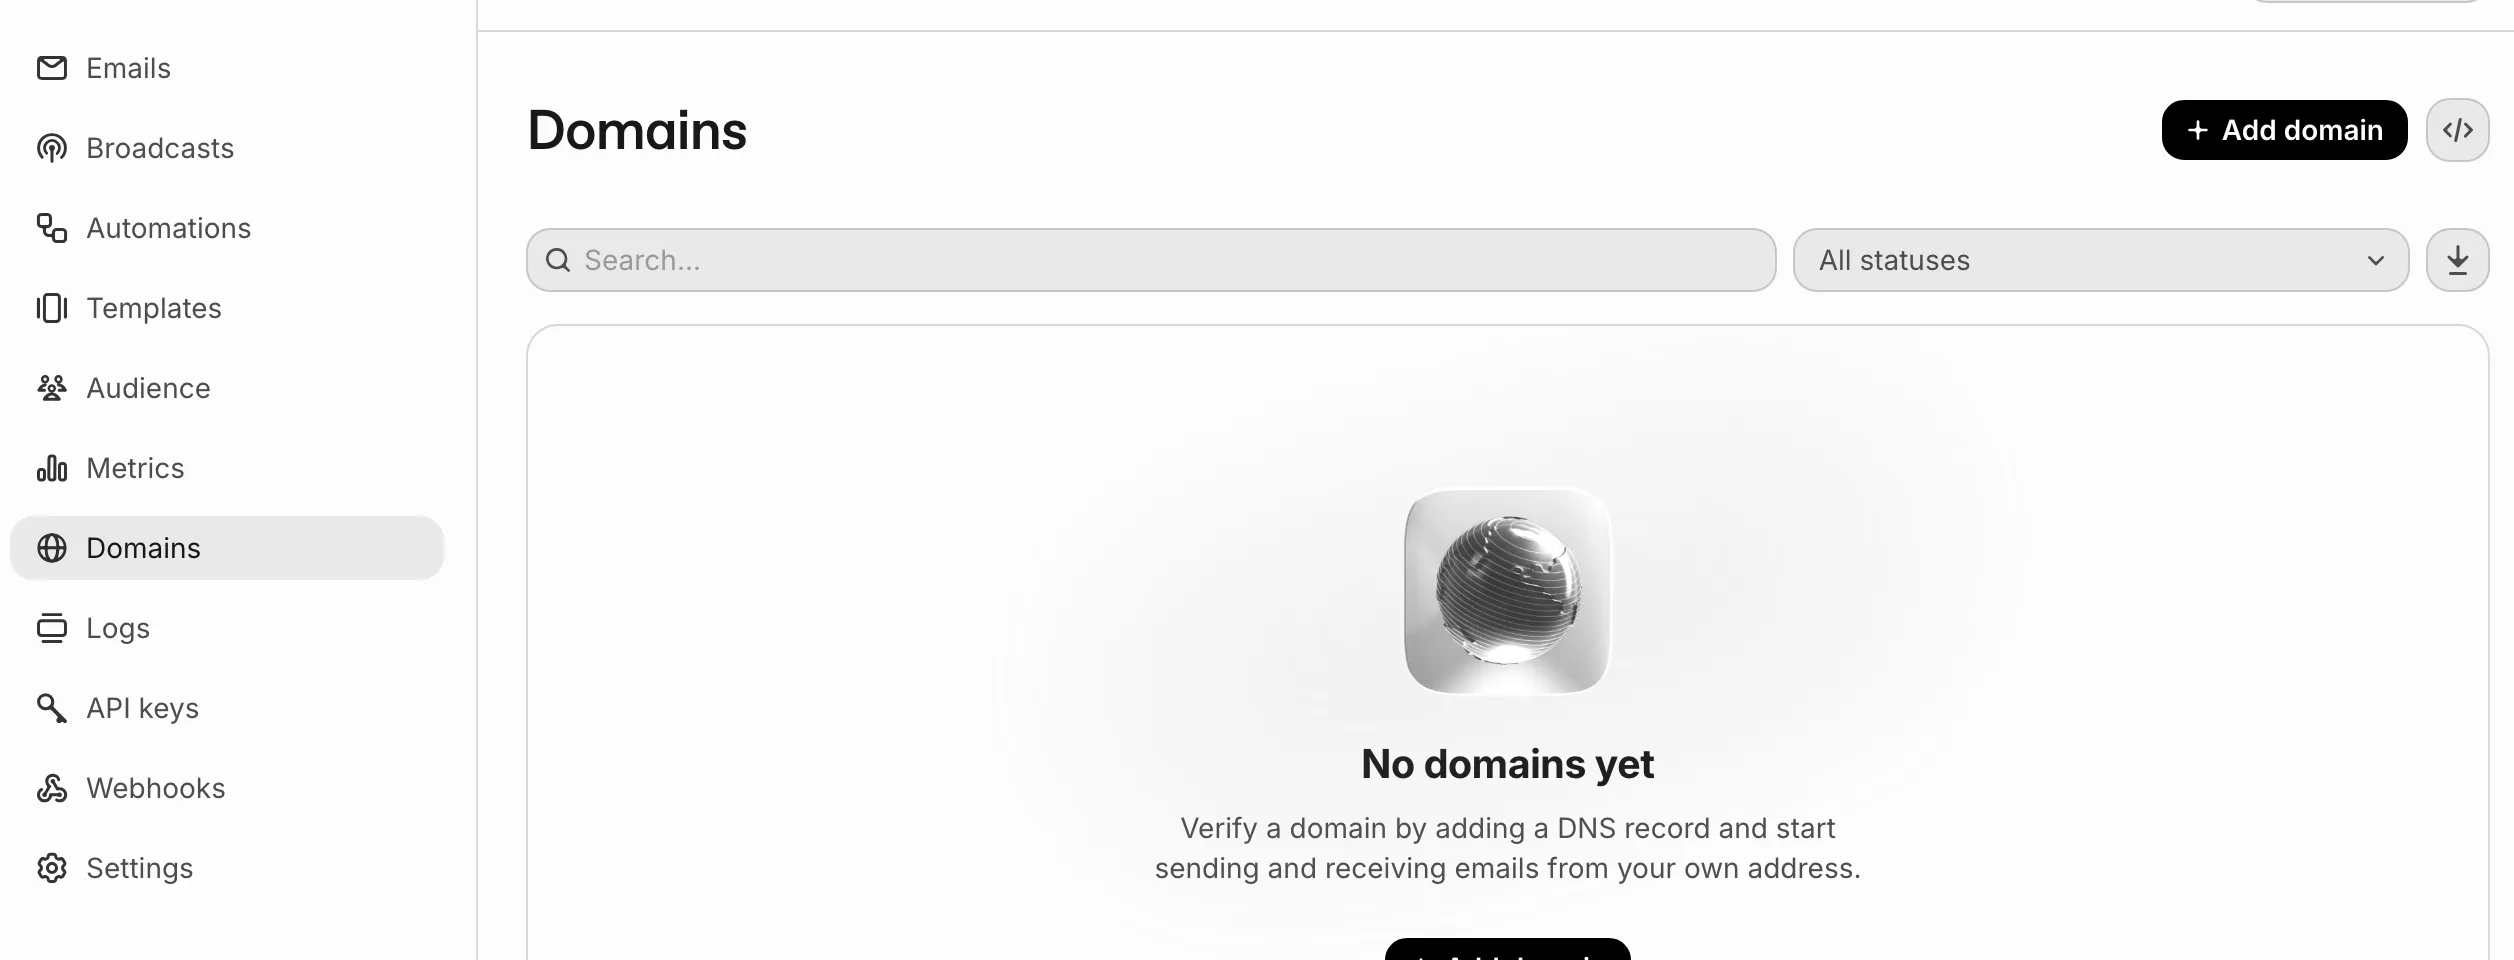
Press Domains in the left menu.
-
Press Add domain.
-
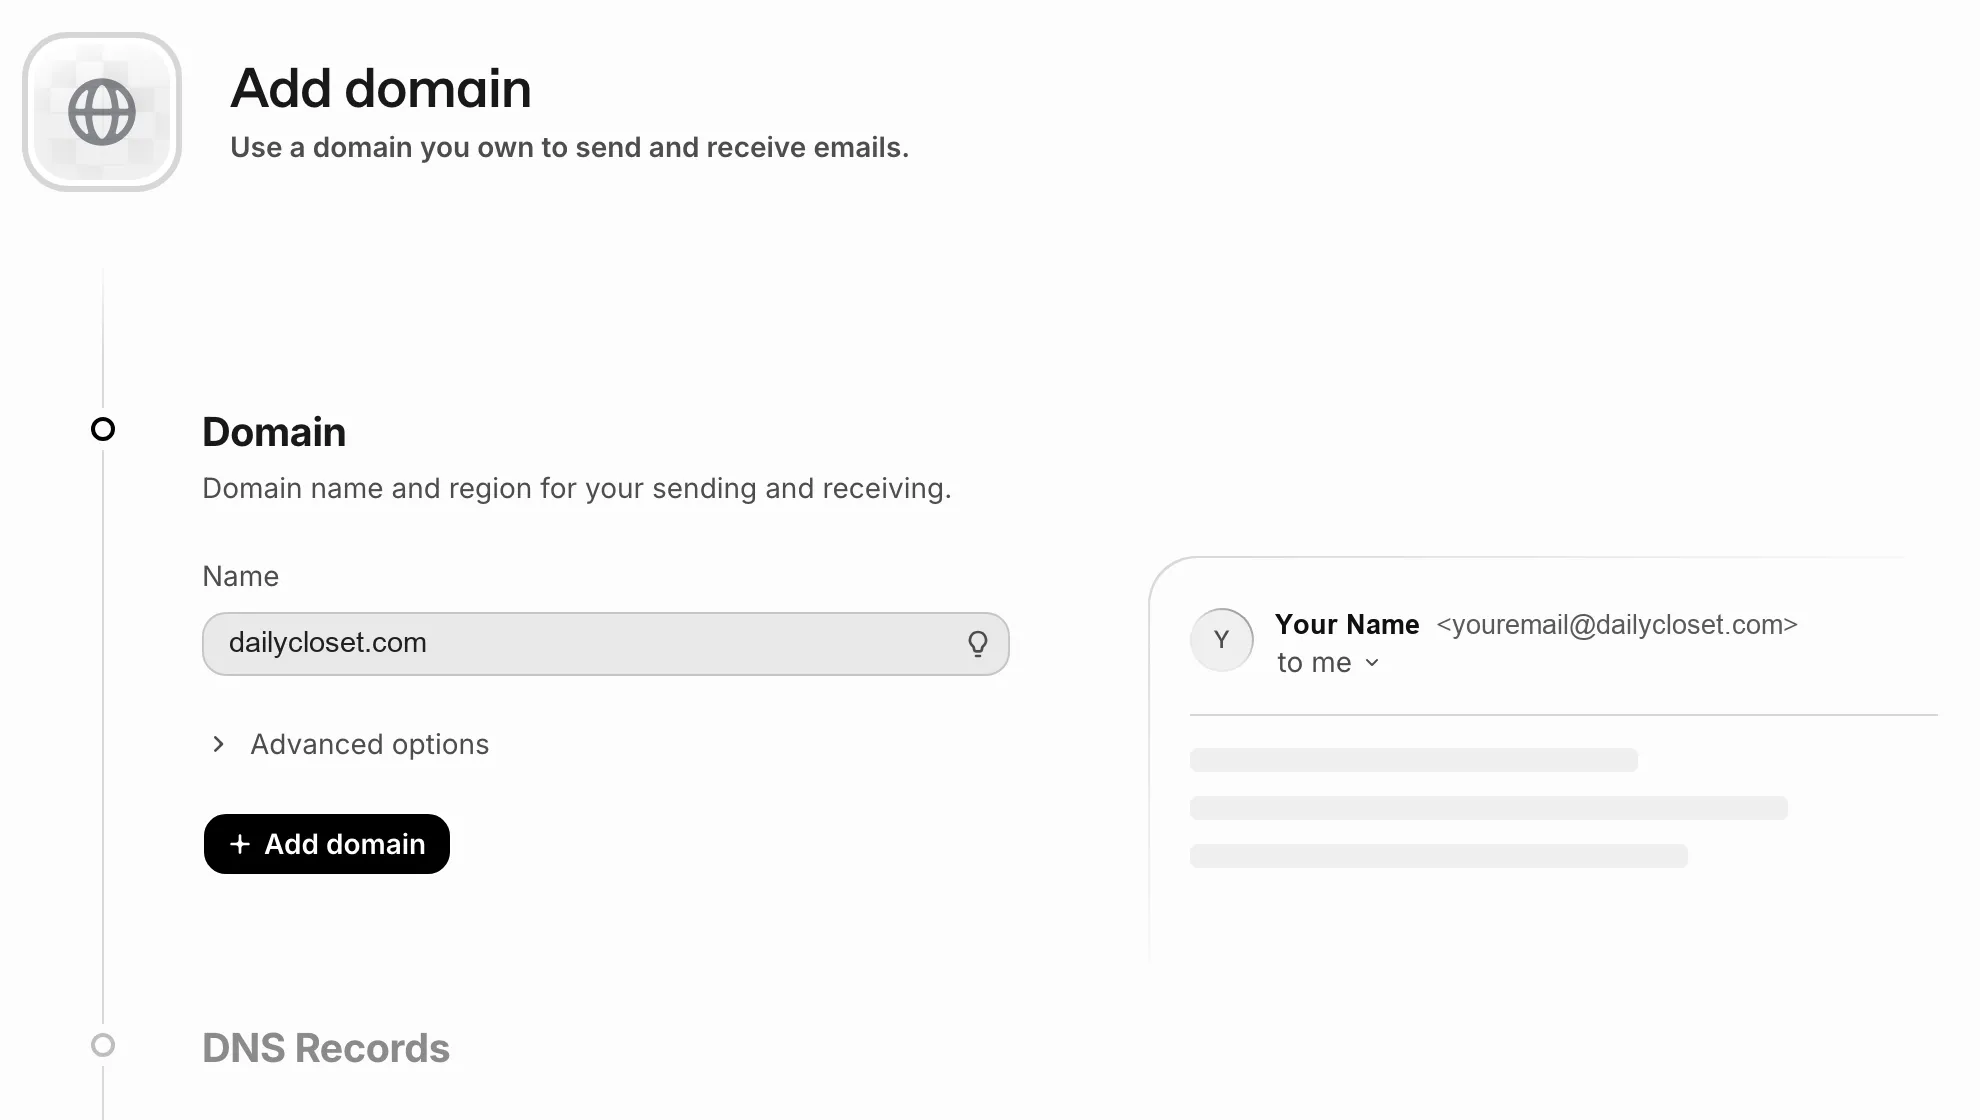
In the Name field, enter your domain.
-
Press Add domain.
-
Register the values that appear under DNS Records exactly as they are in the management screen of the place you bought the domain from.
Group What it does DKIM Lets the receiving side check whether mail sent from this domain is genuine SPF Announces that Resend is allowed to send this domain's mail on your behalf DMARC Verification succeeds even without it. The screen also marks it as Optional -
Wait until Status changes to Verified.
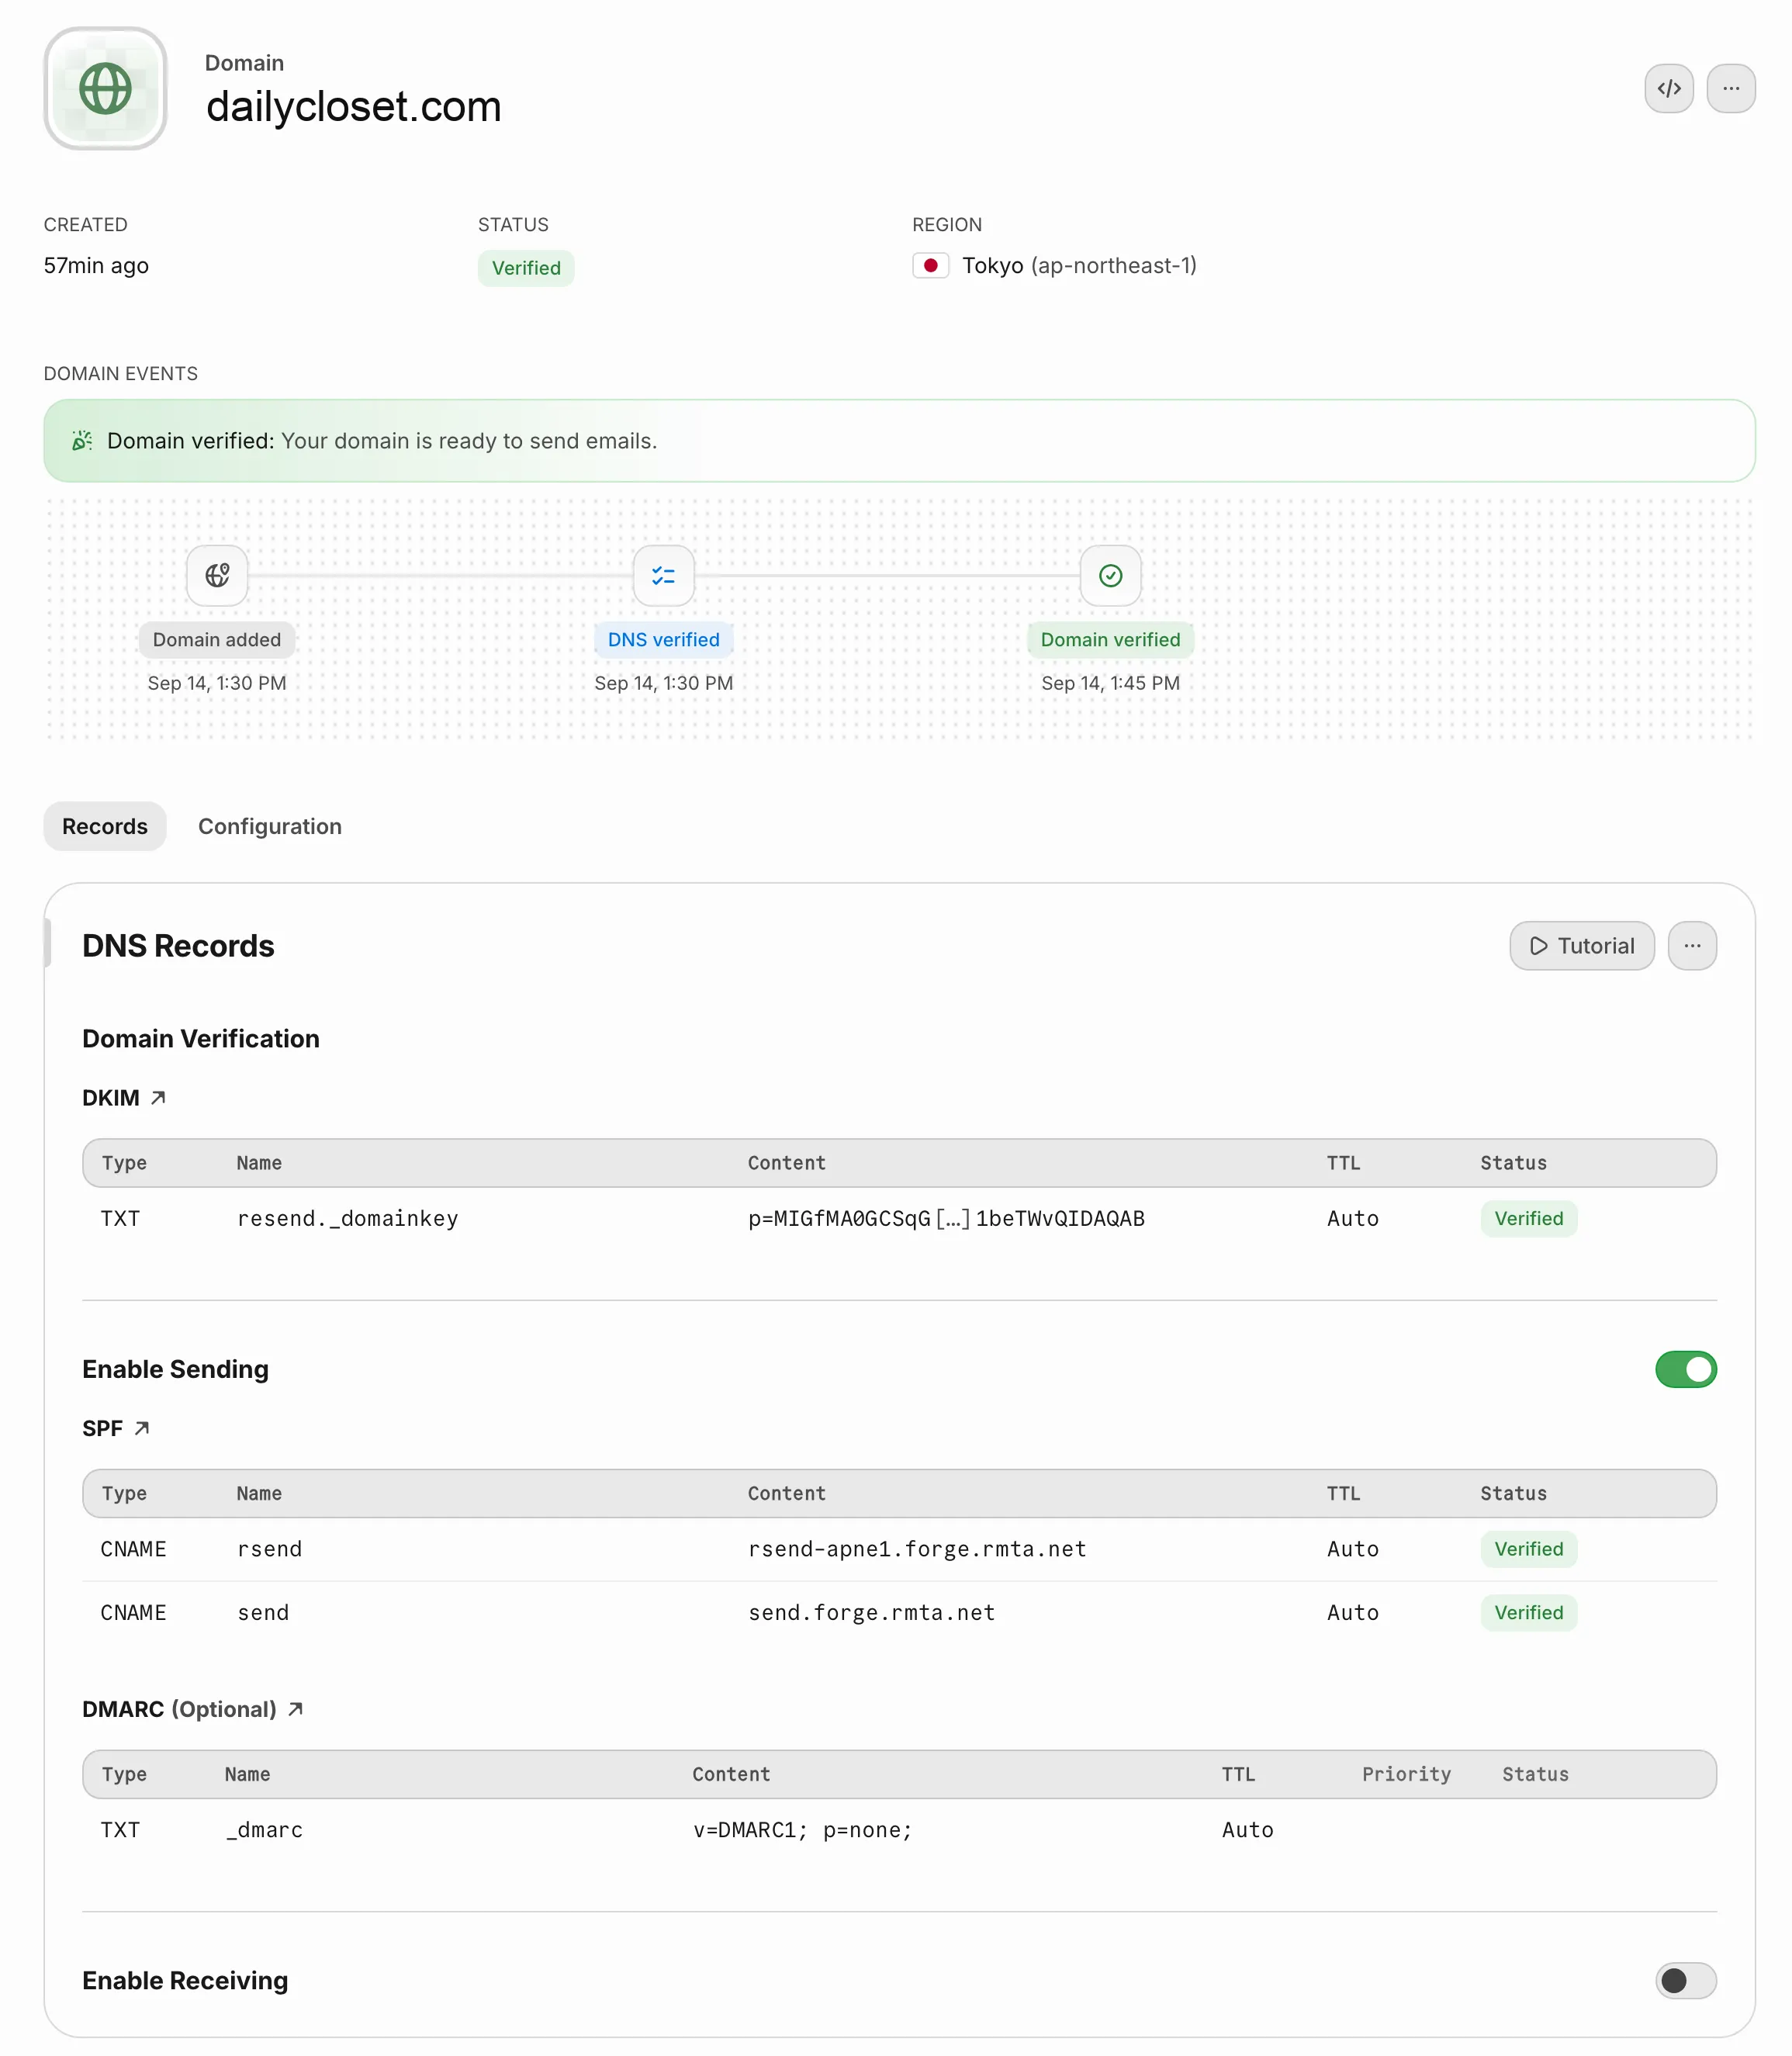
A DNS record is a setting that writes down which server a domain connects to. Once you register them and wait, Resend checks them on its own, and when it finishes a notice reading "Your domain is ready to send emails" appears. Once you reach this screen, you can send mail from any address on that domain.
Creating an API key
This is the value WEEGLOO will use to log in to Resend.
-
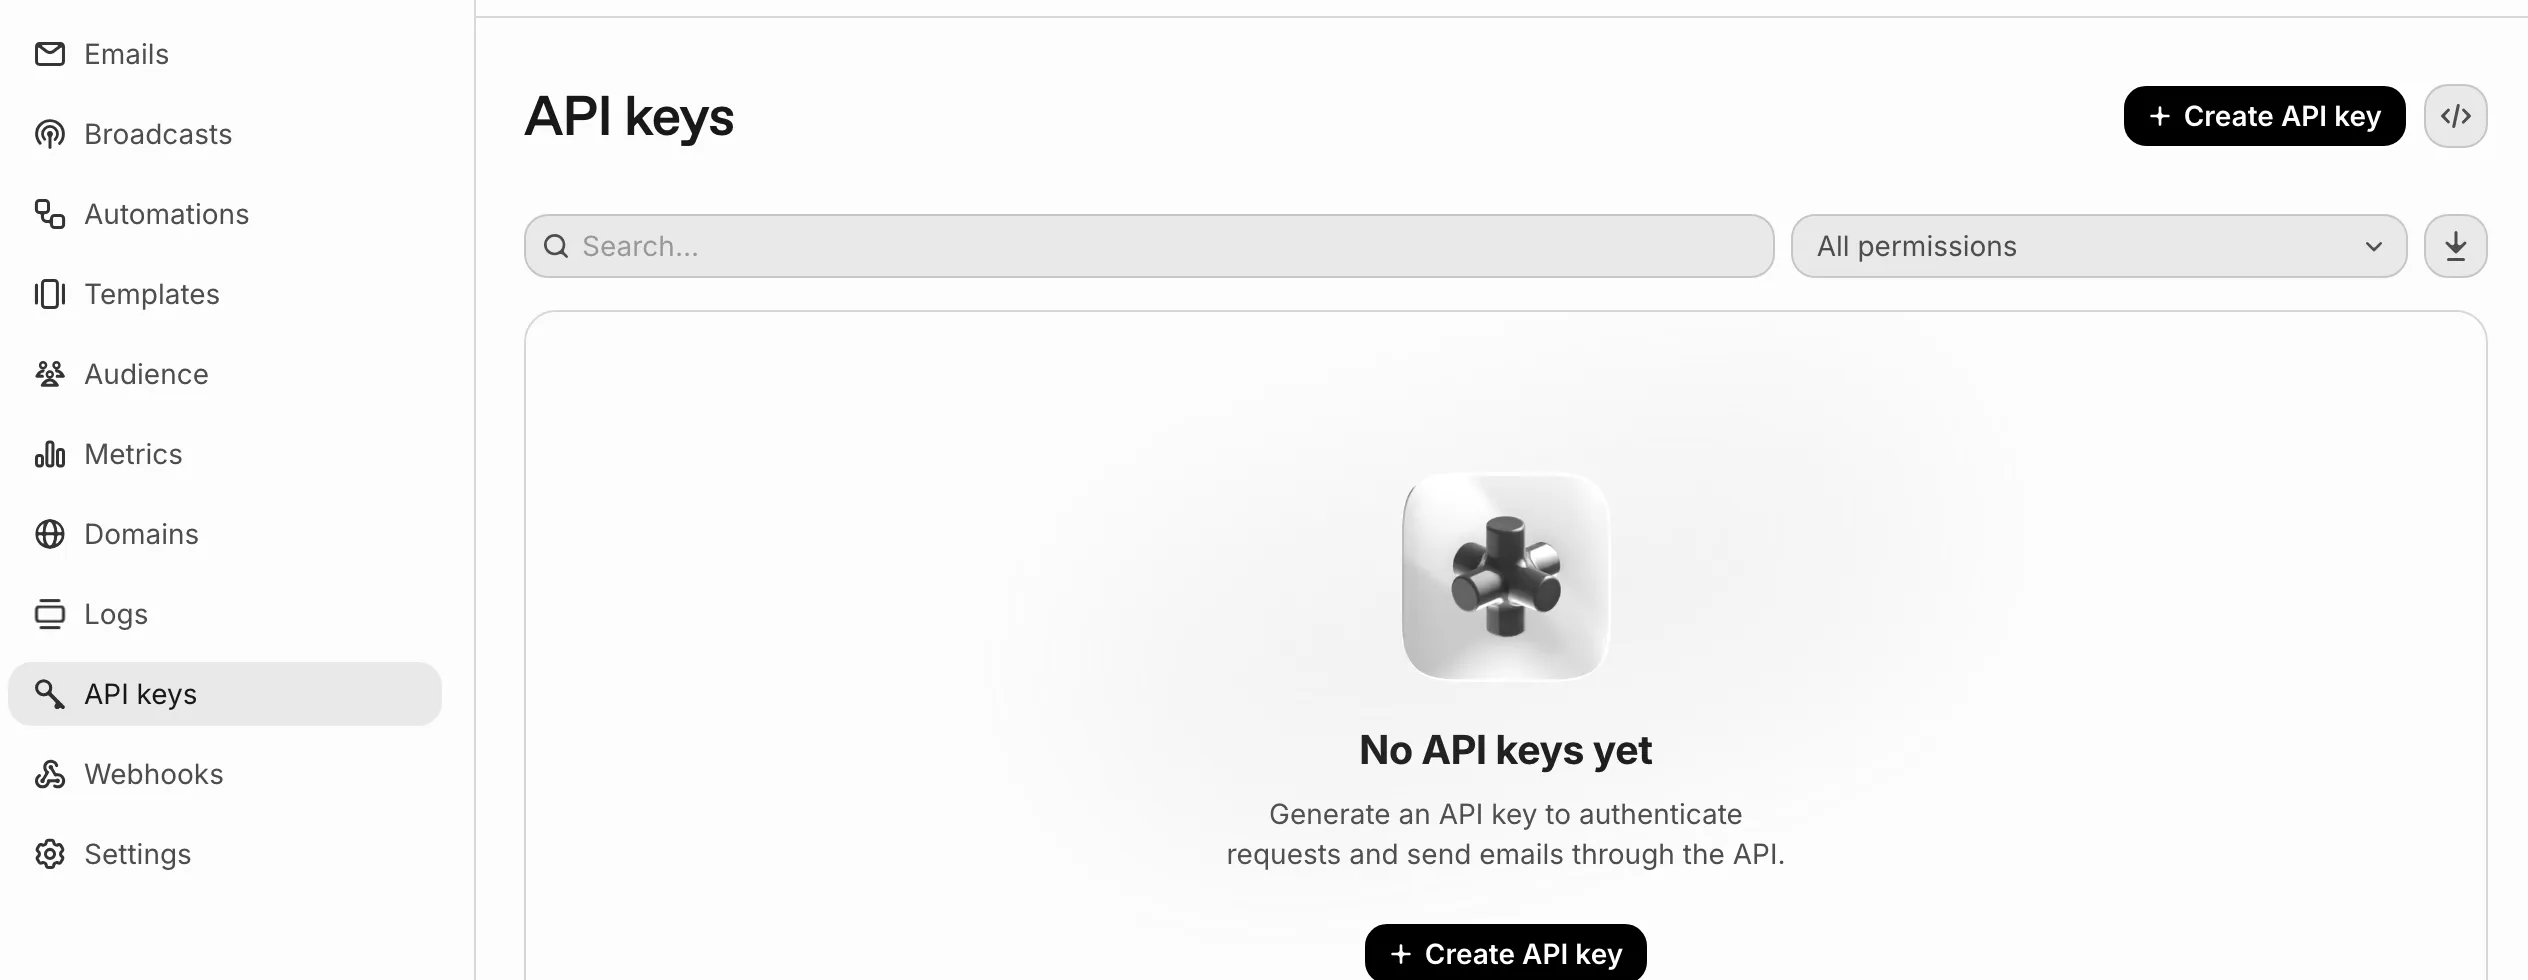
Press API keys in the left menu.
-
Press Create API key.
-
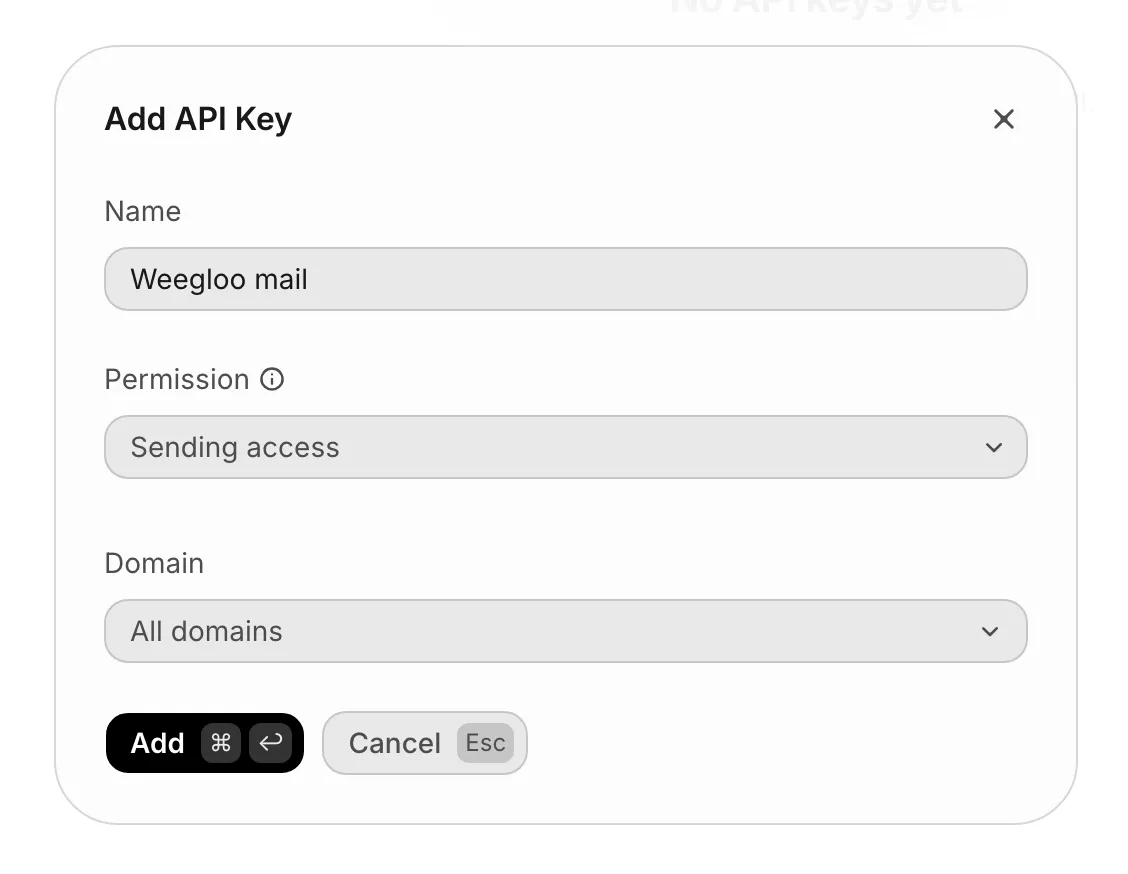
In Name, enter a name you will recognize later (for example,
Weegloo mail). -
In Permission, choose Sending access.
-
Leave Domain as All domains.
-
Press Add.
-
Copy down the key value that appears.
Once you close the window the key is not shown again
If you lose it you have to create a new one. Do not leave Permission as Full access. Sending mail needs only Sending access, and this key is stored in WEEGLOO and used from then on.
Entering the values you received into WEEGLOO
Now you have a verified domain and an API key. Go back to the registration steps in Sending email. In Provider, choose Custom SMTP and enter the values below.
| Where to enter it | Value |
|---|---|
| SMTP server | smtp.resend.com |
| Port | 587 |
| Username | resend |
| Password | The API key you just received |
| From address | An address on the domain you verified. If the domain is dailycloset.com, write it like orders@dailycloset.com |
The username is the word resend exactly as it is
It is not your own ID or mail address. This value is the same for everyone who uses Resend.
If you left the integration to an AI agent and it told you to go get the values, paste the API key and the from address into the chat window and carry on with what you were doing. The agent handles the rest of the setup from there.
What to do next
- Sending email: Covers registering a sender with the values you received, and what you register in an Email Account.
- Script: Covers how to build the task that actually sends mail to customers with the sender you registered.
- Email Account: Covers the request and response formats and field specifications used to register and manage a sender directly from a program.