

Installing an App
Imagine you run a clothing store. You have registered all of your products in the content studio, and you start to wish you had a screen that displays those products attractively, or a tool that summarizes your sales. The good news is that you do not have to build these yourself. You can bring an app that someone else has already made into your own workspace and use it. Picking an app someone has built and bringing it into your Space (the workspace that holds your content, members, and settings) to use it is what installing an app means.
The apps you bring in this way are called Market Apps. When someone puts their app up for sale (publishes it) and it passes review, that app goes on display in the storefront. You then pick an app you like from that storefront and install it into your Space. The flow is the same as opening an app store on your phone, choosing the app you need, and installing it. In the content studio, this storefront is called the marketplace.
Installs Land in Your Space
Installing an app is something that happens within a single Space. If your clothing store has several Spaces, the app is brought only into the Space where you installed it. If you want to use the same app in another Space, you install it separately in that Space.
This is where it differs from publishing an app. Publishing puts an app up in the storefront for the whole company (organization), while installing brings that app into a single Space. Putting an app out and bringing one in to use happen in different places (see Publishing an App).
What an installed app does for you varies from app to app. For example, one app might provide a screen that pulls in and displays the content its maker has registered in their own Space, exactly as it is. Another app does something else. To find out exactly what an app does, check the app's description in the marketplace.
Picking and Installing an App from the Marketplace
You install apps from the marketplace. The marketplace is a separate site from the content studio. When you click Visit Marketplace in the content studio, it opens in a new tab.
On the marketplace home, you can browse the apps on display by type (Blog, Document, Business, and so on), and you pick an app to install into your Space through Install Apps to Your Space.
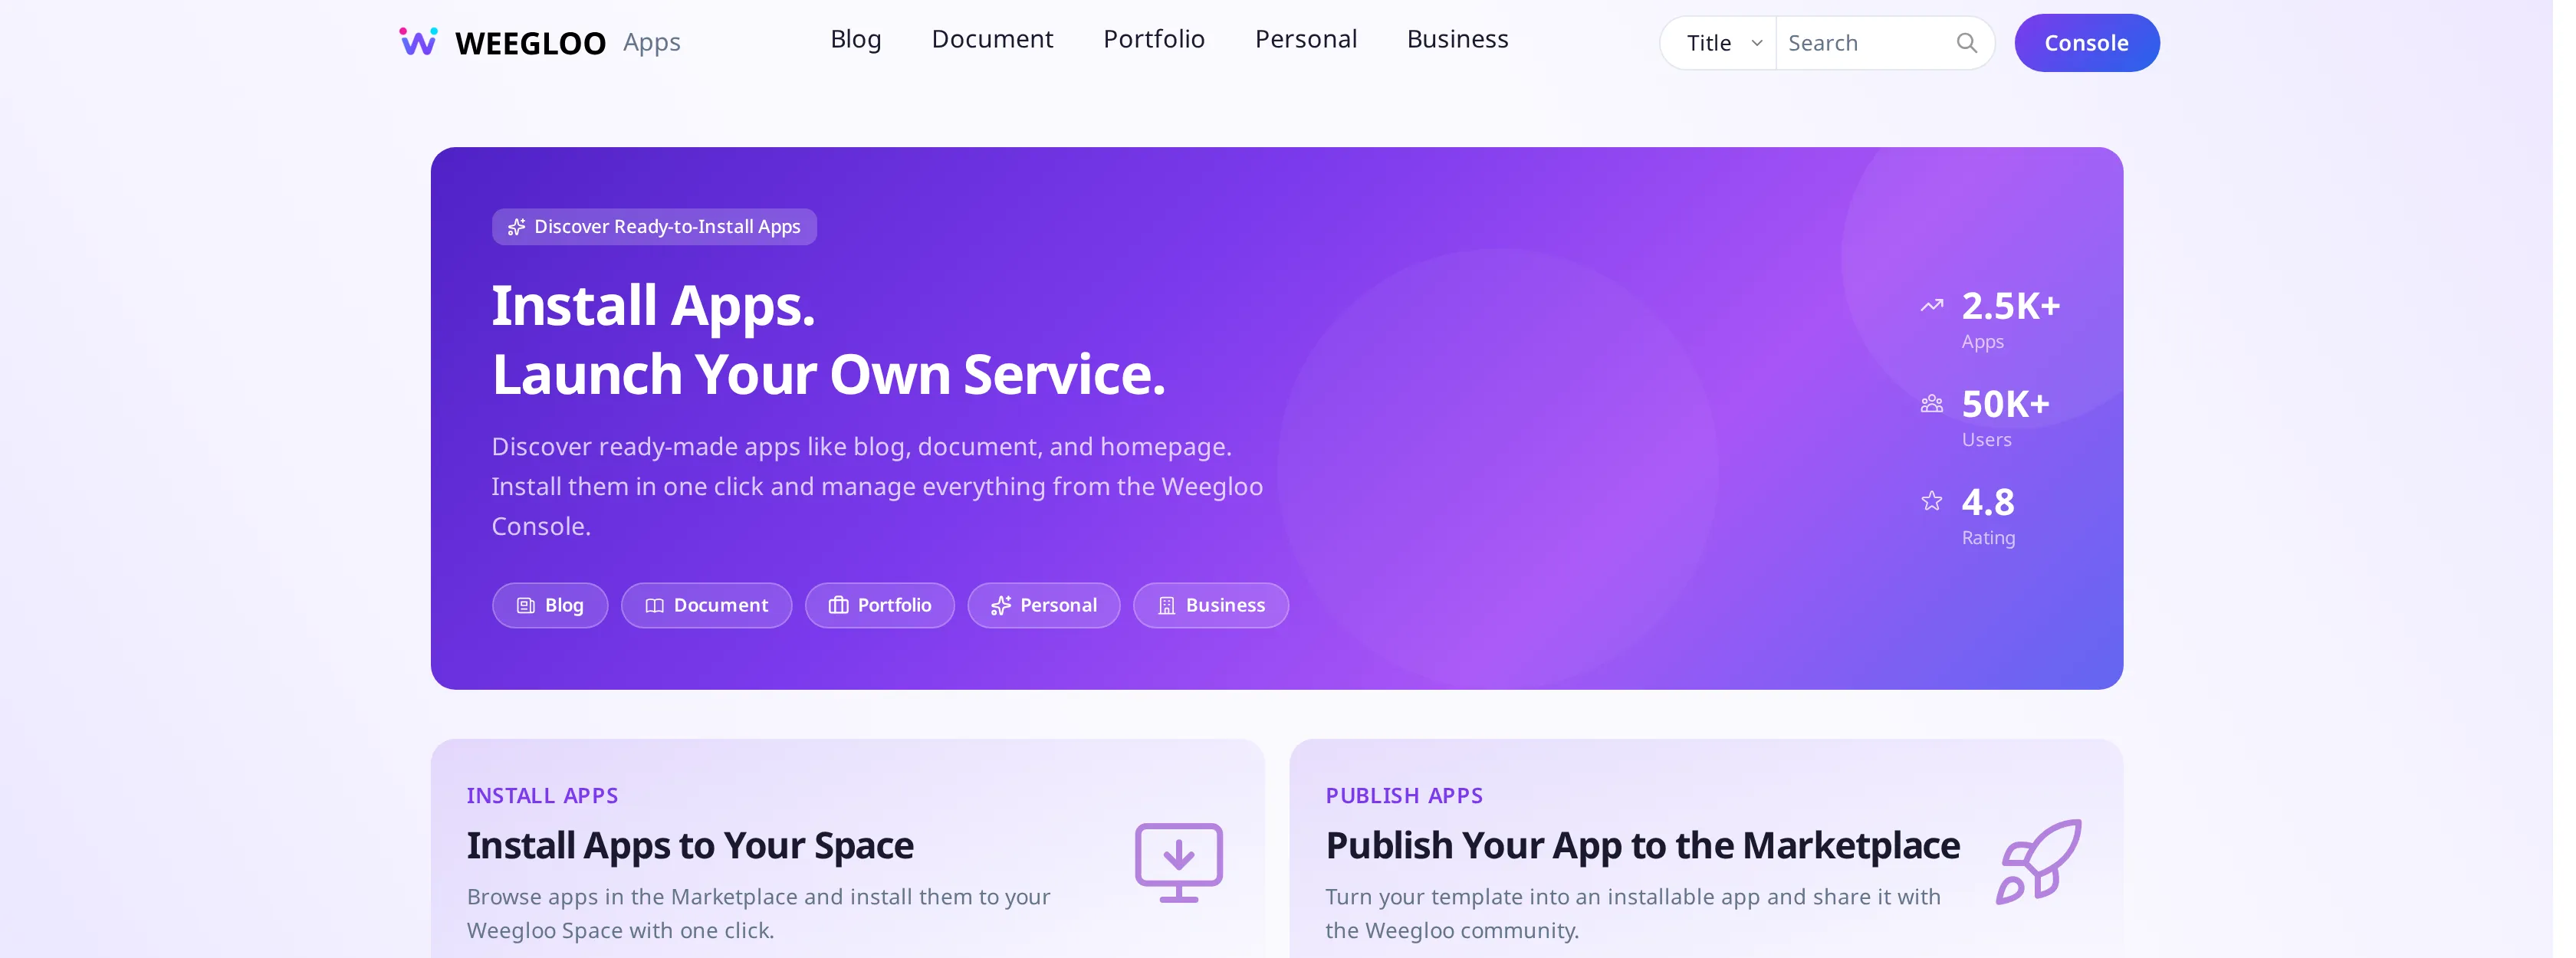
- In the content studio, click Visit Marketplace. The marketplace opens in a new tab.
- Browse the apps on display by type, find an app that suits your clothing store, and open it.
- Install that app into your Space. When you install, you choose which Space to bring it into. If you choose your clothing store Space, the app is brought into that Space.
The per-app detail screen for picking and installing an app follows the guidance on the marketplace (a separate site outside the content studio).
Viewing Installed Apps and Their History
You can see the apps you have installed and your full install history gathered in one place under your Space's Installed Apps. Which app, which version, who installed it, and when are stacked up one row at a time.
The list has the following columns for each app.
- App Name: The name of the installed app.
- Version: The version number of the installed app.
- My Review: Your rating left on the installed app. See "Leaving a Review on an Installed App" below.
- Status: Tells you whether the install has finished. It shows Completed once it is done, Pending or Processing while it is under way, and Failed if it did not succeed.
- Installed at: The date and time the app was installed.
- Installed by: The member who installed the app.
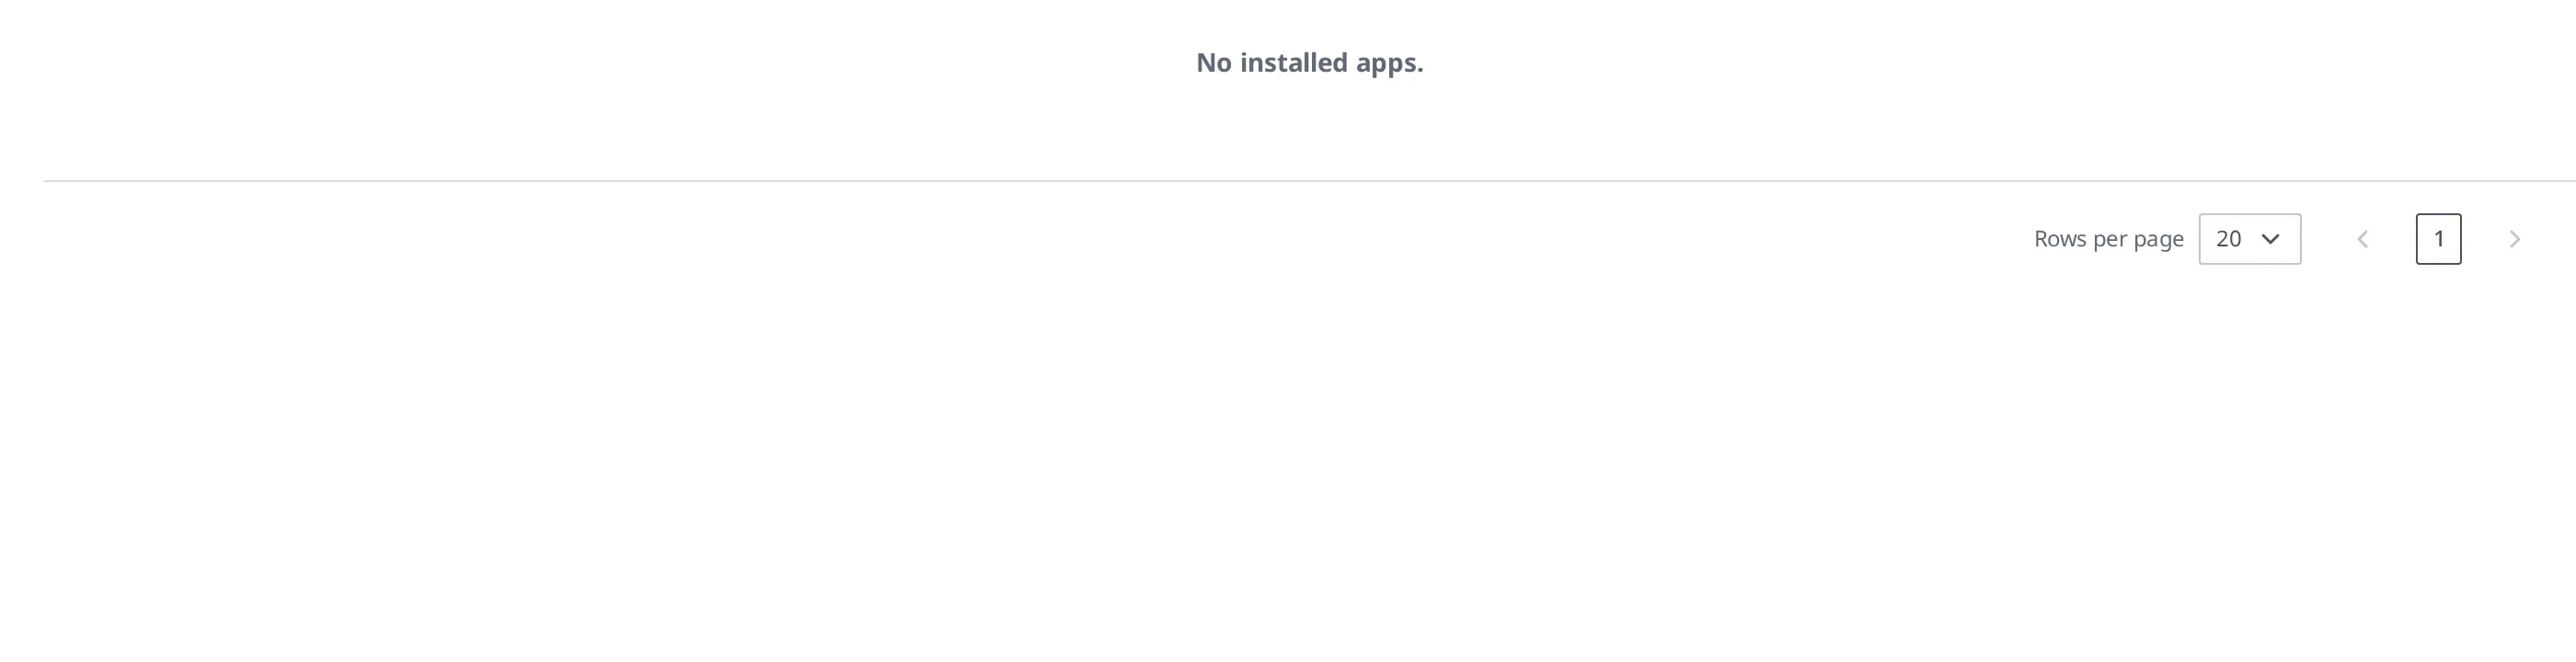
If you have not installed any apps yet, the list is empty and only the column headers above are shown. Once you install an app, that row appears in the list.
Changing how the site looks in search and shared links
Say the clothing store installed a shopping-mall app. You send the address of the site the app made to a customer over a messenger, and the preview shows the English title the app decided. Search results show the same. You want your own store name and description there, but those screen files belong to whoever built the app, so you cannot edit them.
This is what Custom metadata is for. If you set the title, the description, and the image that will appear in search results and link previews for each document of the site, those values are used instead of the ones the app decided. The screen files stay as they are, and only the information shown on the outside changes.
This feature exists only on a site that came in through an app install. It does not appear on a site you put up yourself.
What you can change
The fields are split into three groups.
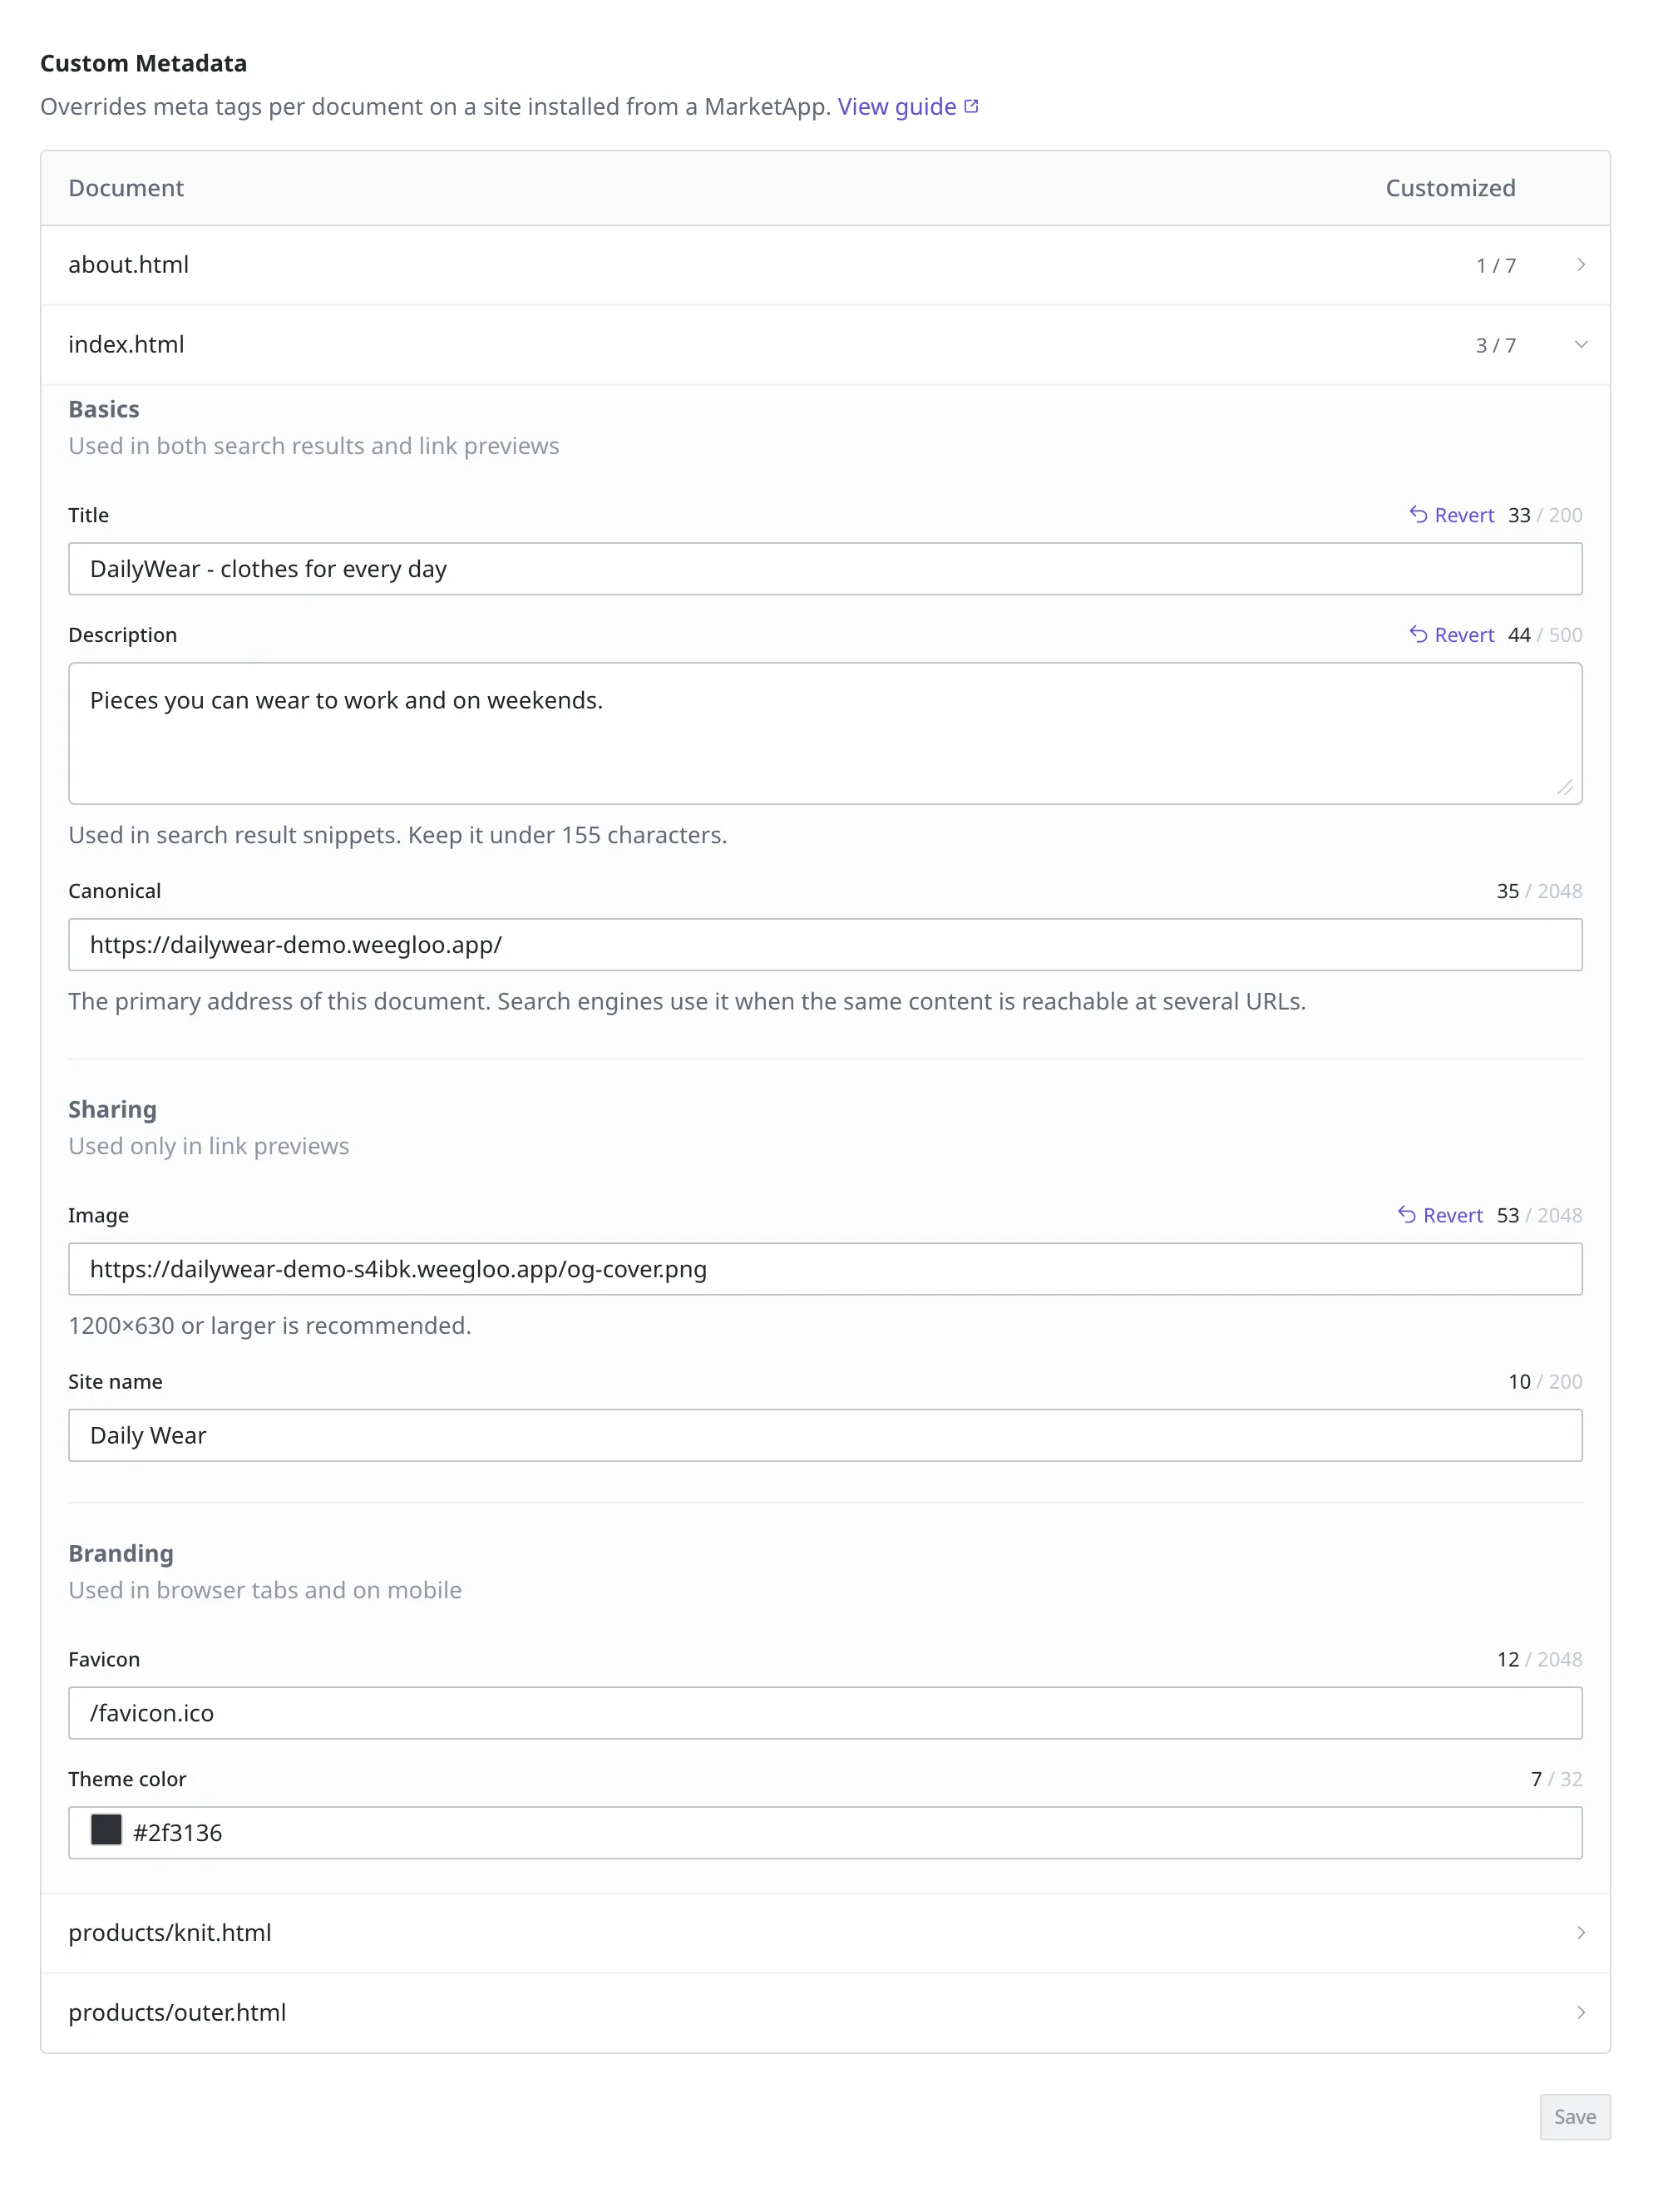
| Group | Field | Where it shows |
|---|---|---|
| Basic | Title, Description | Both search results and link previews |
| Basic | Canonical | The address a search engine treats as the representative one when the same content opens at several addresses |
| Share | Image, Site name | When the link is pasted into a messenger or a social network |
| Branding | Favicon | The small icon on the browser tab |
| Branding | Theme color | The address-bar color in a mobile browser |
Each field has a limit on how many characters it takes. The limits and what each field actually changes are laid out in the Web Hosting API reference.
Doing it
Change the title of the first screen of the clothing store's shopping-mall app to the store name.
- Click Web Hosting under Services in the left menu, then click the site the app made.
- Scroll down and find Custom metadata. The documents that make up the site are laid out in a table, and how many values you have changed on each is shown under Fields set.
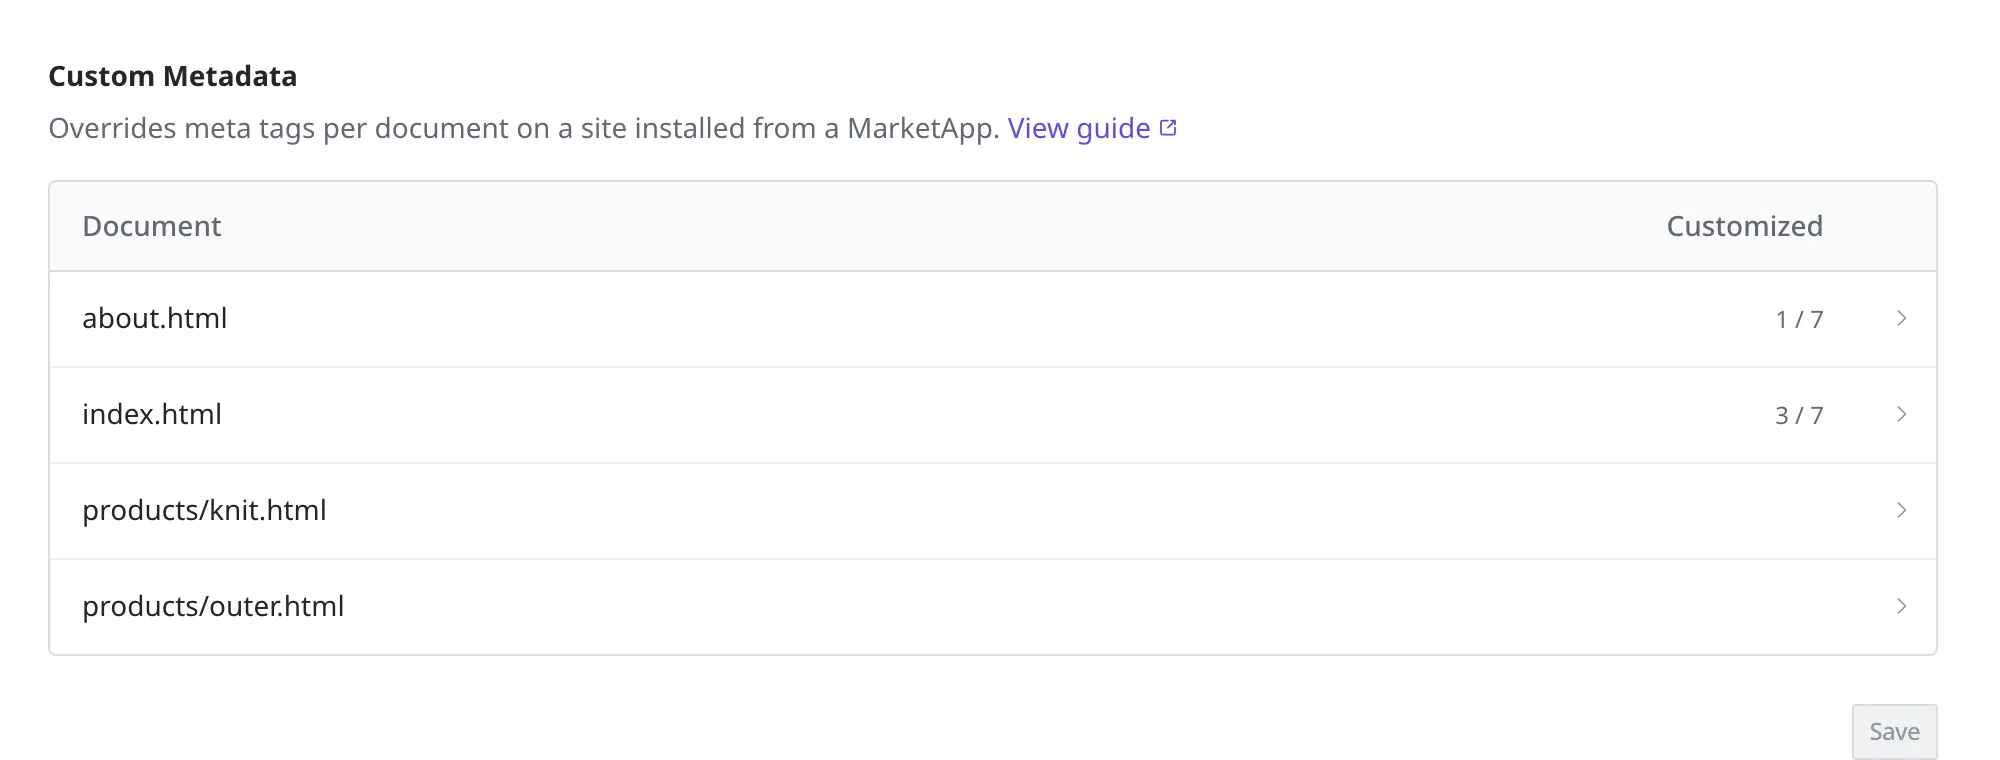
- Click the row of the document you want to change. The first screen is usually
index.html. The fields open in place. - Enter
DailyWear - clothes for every dayin the Title field under Basic. - Click Save.
Once you save, the preparation that applies the changed values to the site runs again. Wait until it finishes. You cannot edit this screen in the meantime.
To put a changed value back to what the app decided, click Revert on that field. This is not the same as emptying the field. If you save it empty, that piece of information drops out of the site entirely, and the value the app originally put there is gone with it.
Leaving a Review on an Installed App
You can leave a rating of whether an installed app was worthwhile. In the My review column of the Installed Apps, you leave and check your own review of that app. It becomes helpful information for others who are looking at the same app.
What to Do Next
- Publishing an App: Covers how to put an app you made up on the marketplace (at the organization level).
- Building an App: Covers how to build and bundle an app for installation.
- Deploying a website: Covers how to change the address of the site an app made, or connect a domain you own.
- API Reference: Covers technical specifications such as the request formats you need when handling Market App installation directly from a program.