

Connecting LINE Login
To let shoppers sign up with a LINE account, you first register your service with LINE and receive two values. They are the Channel ID and the Channel secret.
This page covers the order in which you receive those two values. Putting the values you received into WEEGLOO is covered in Putting the values you received into WEEGLOO.
The address to copy first
When a shopper finishes logging in at LINE, LINE sends the result back to a set address. You have to register this address with LINE, so copy it first. You paste it in step 3.
Pick your Space below and you get the address with the identifier filled in.
If you would rather fill it in yourself, put the identifier of your Space in the {spaceId} slot. Open that Space in the content studio and look at the browser address bar. The value that comes after /spaces/ is the identifier.
This address is not your site's address. It is where WEEGLOO receives the login result. So it is settled now even if you have not built your site yet. If you turned on LINE in the content studio, the same address appears in Step 1, so you can copy it from there.
Getting the two values from LINE
Sign in to the LINE Developers console (https://developers.line.biz/console/) with your LINE account, then work through the four steps below in order.
Creating a provider
-
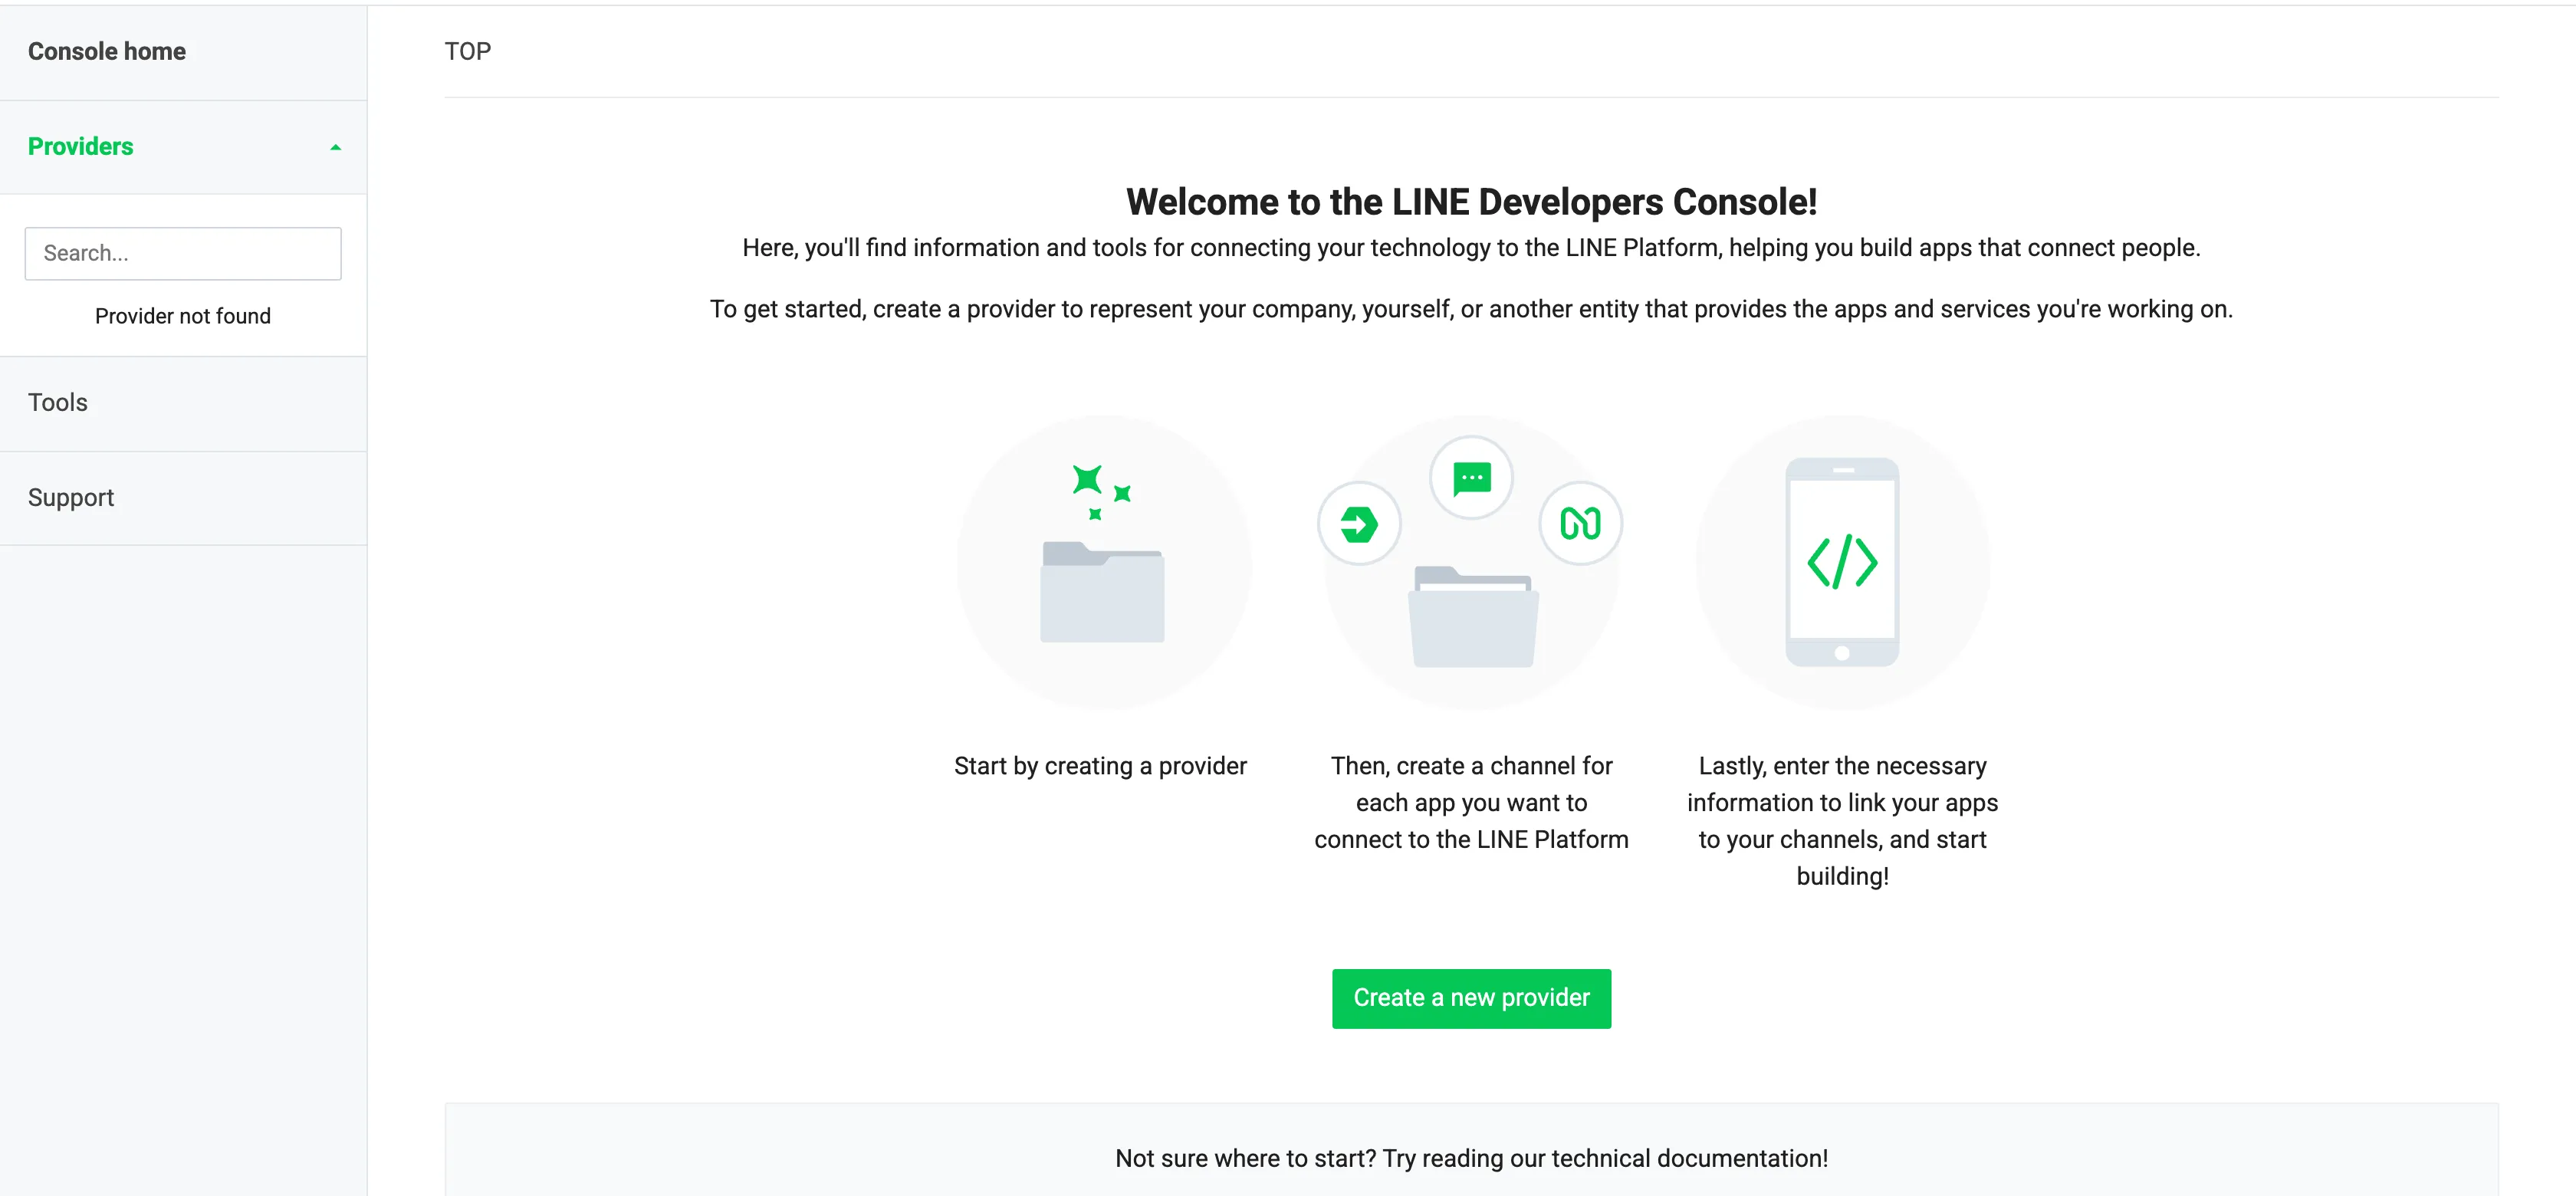
Click Create a new provider.
-
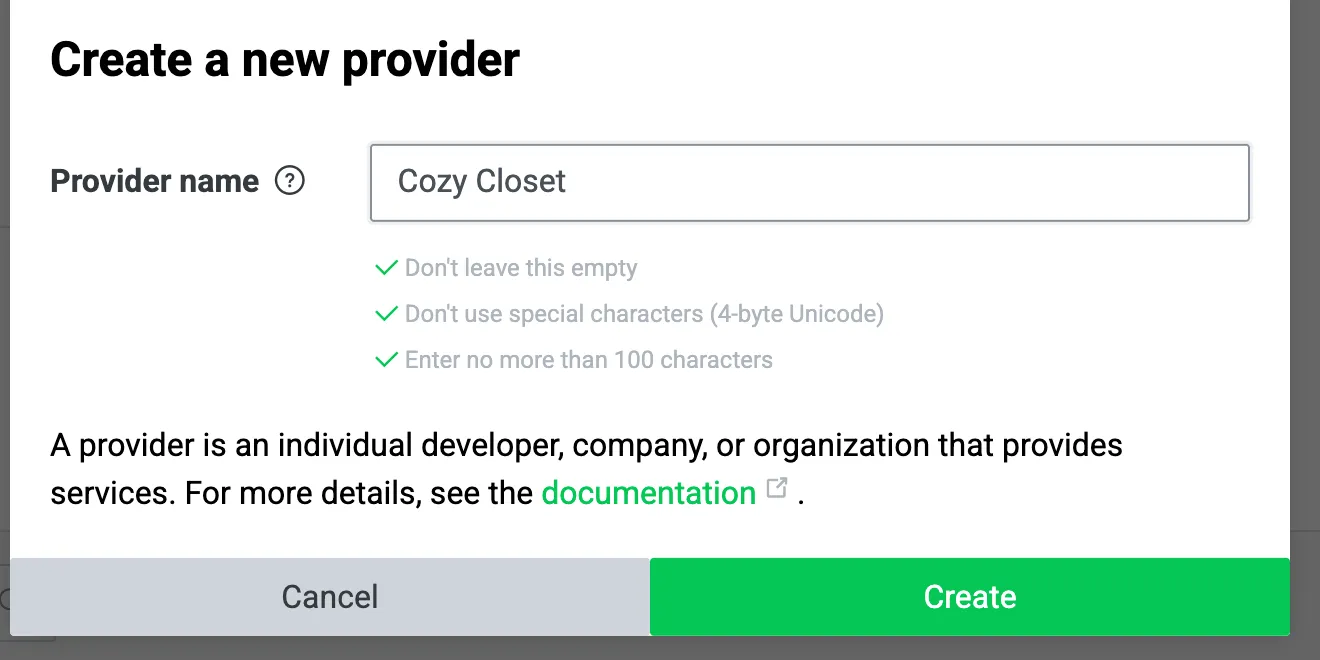
In Provider name, enter the name of your shop or company (for example,
Cozy Closet). -
Click Create.
Creating a LINE Login channel
-
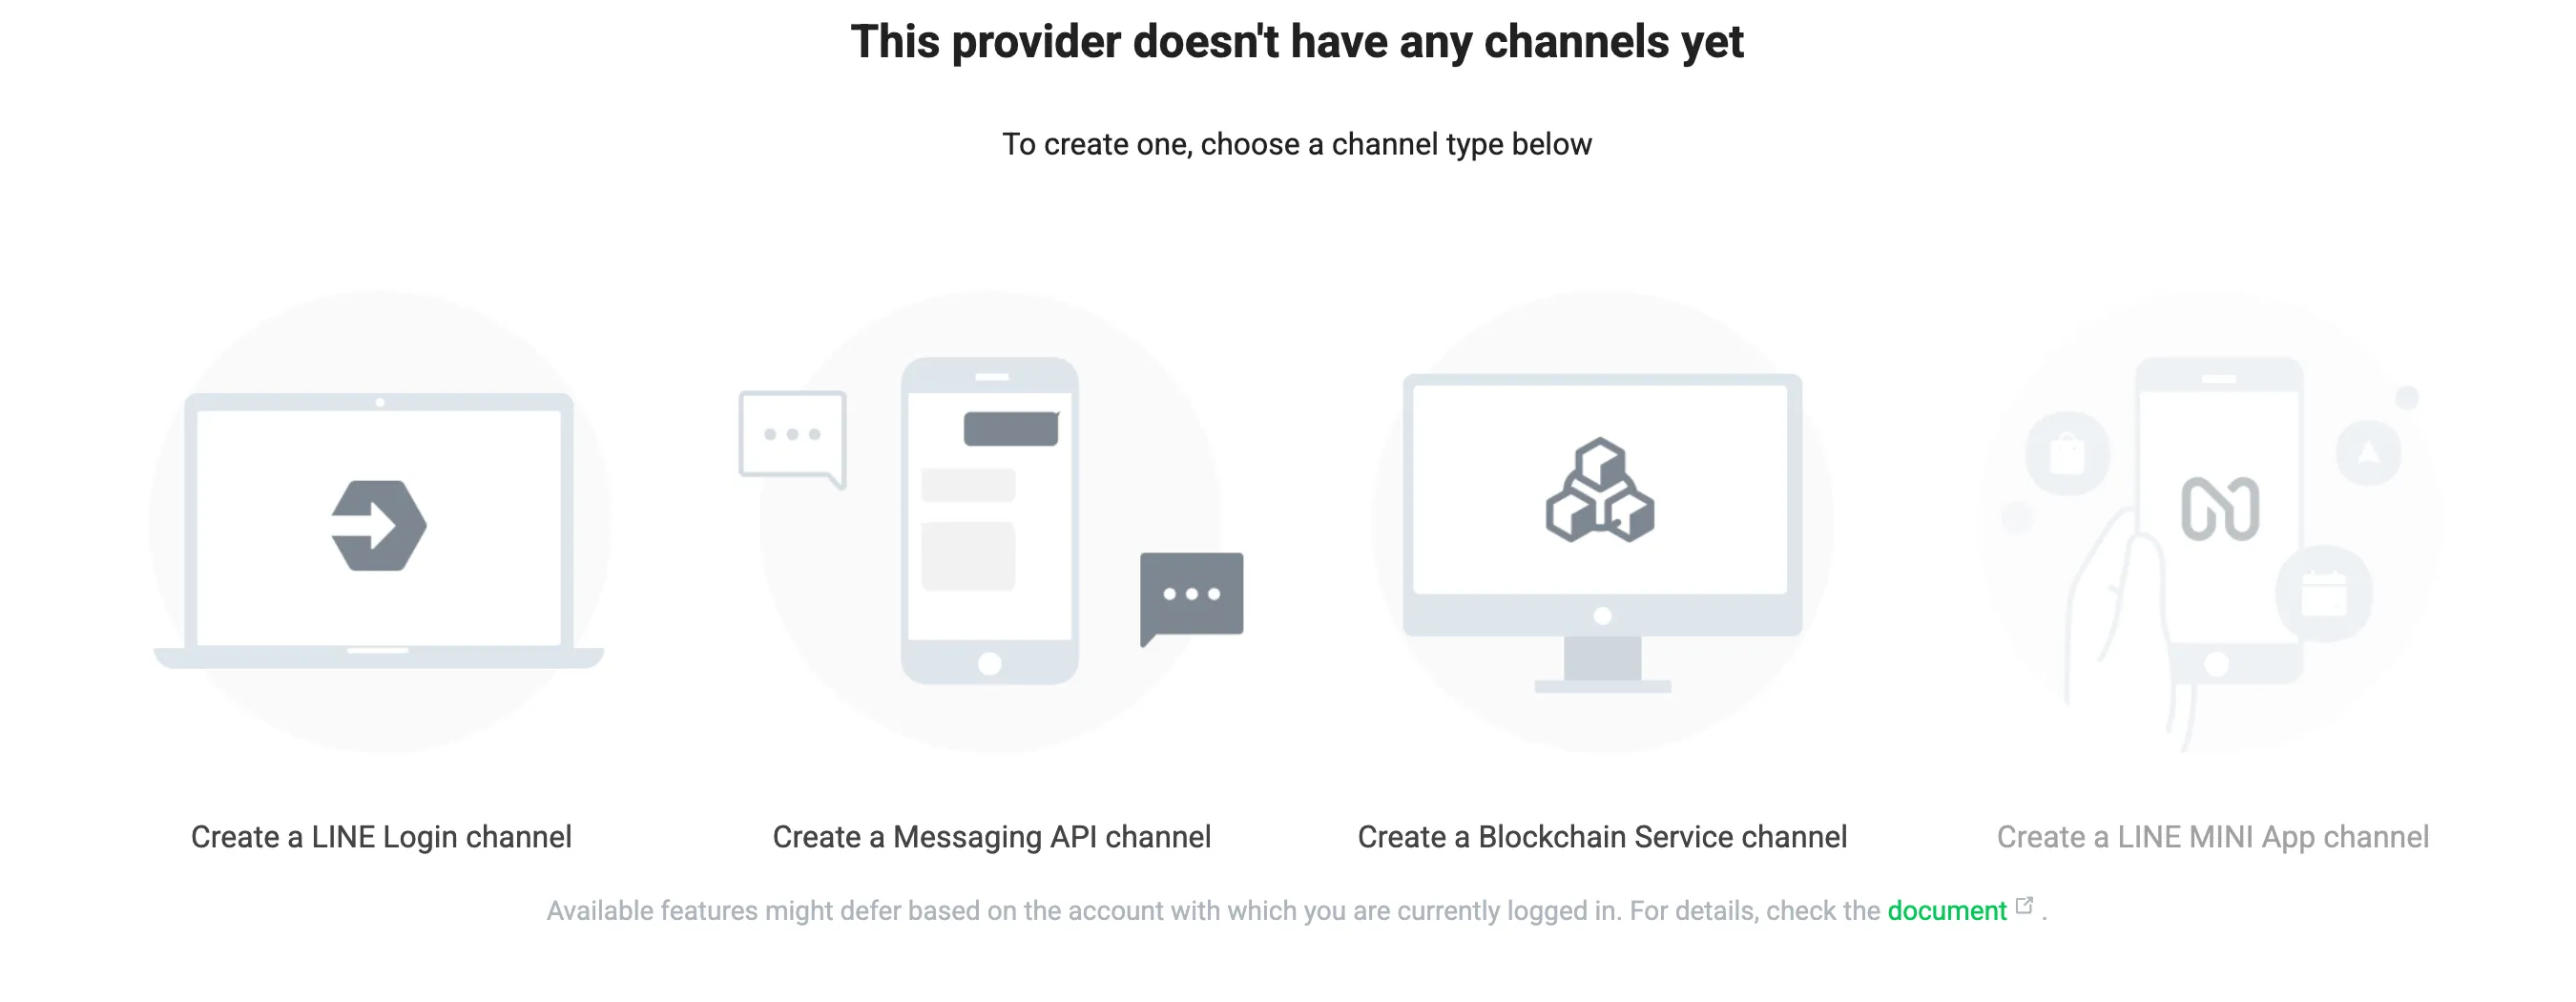
Under the channel kinds, click Create a LINE Login channel.
-
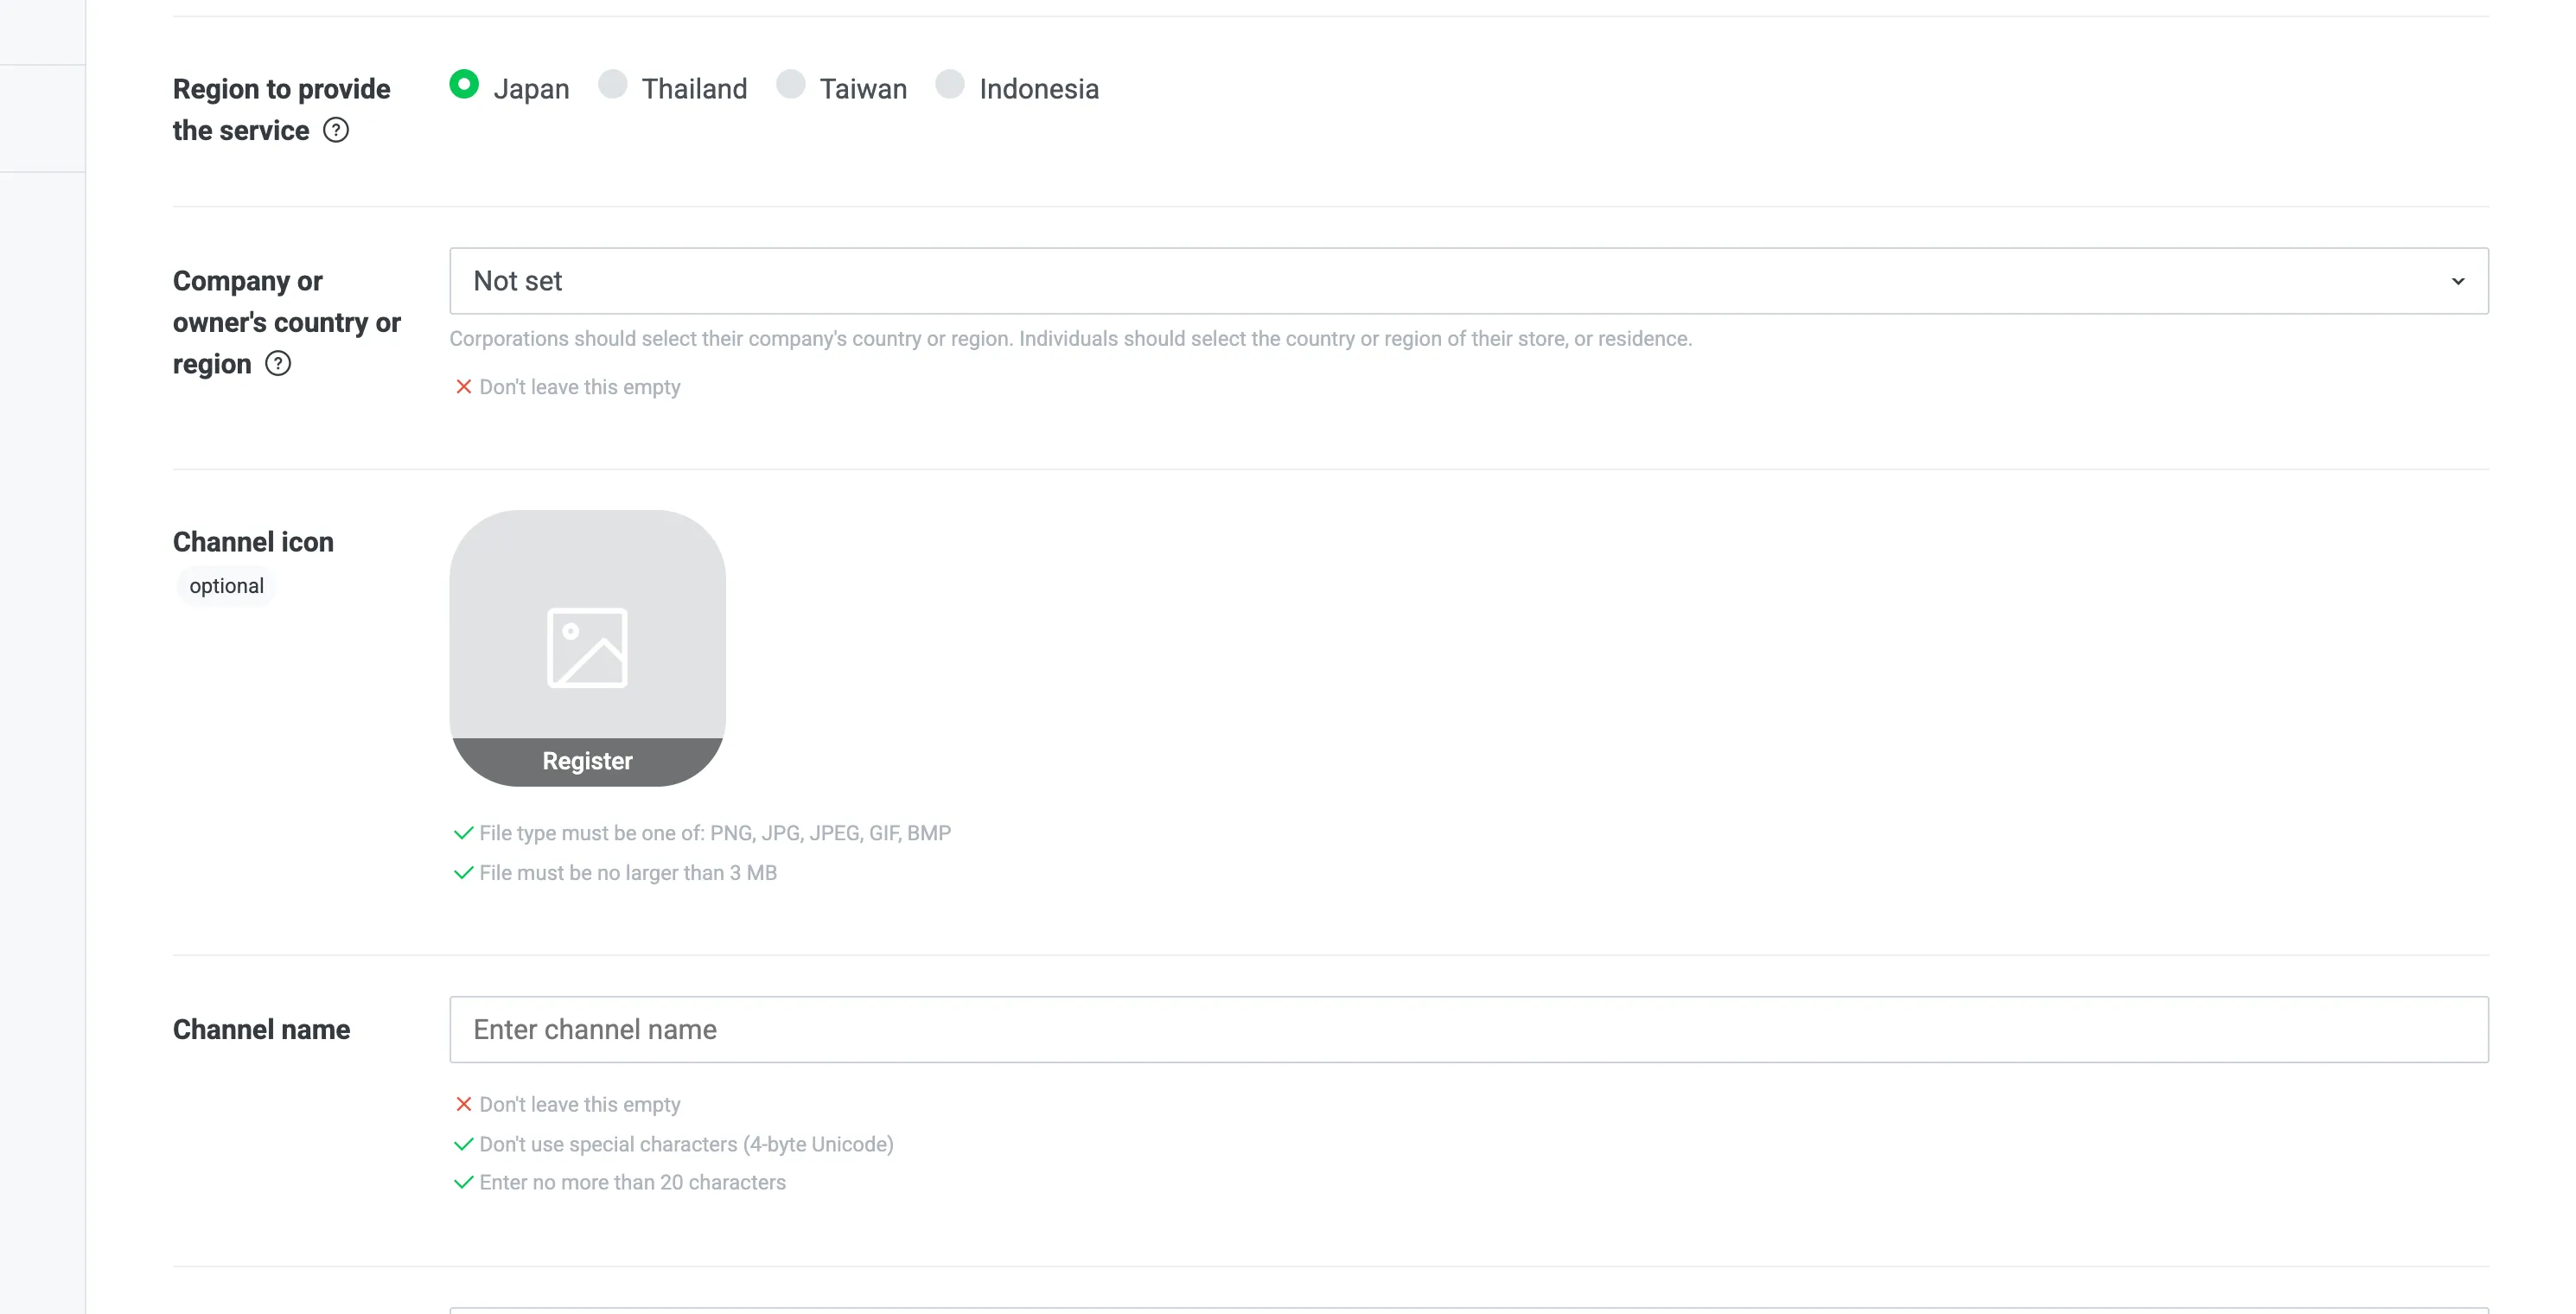
In Region to provide the service, choose the region where you will provide the service.
-
In Company or owner's country or region, choose where the business or the owner is based.
-
In Channel name, enter the name shoppers will see. Keep it within 20 characters.
-
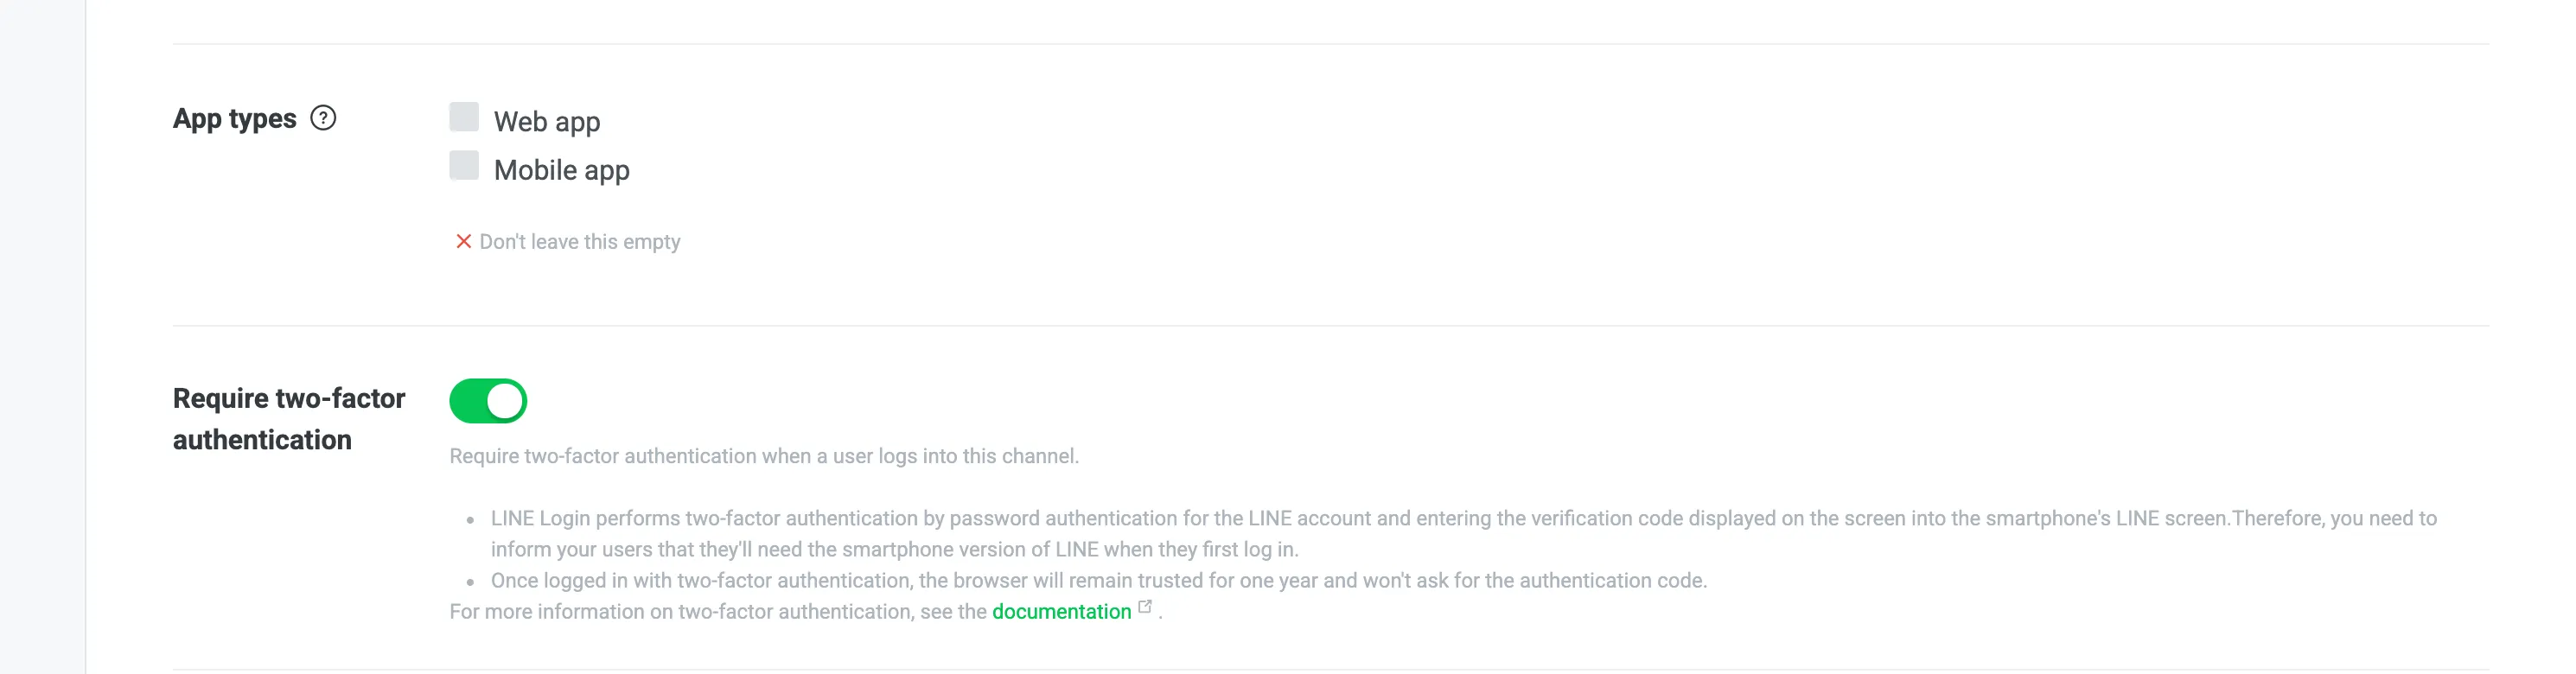
Fill in the rest of the required items on the form: Channel description, Web app under App types, Email address, and the terms agreement checkboxes.
-
Click Create.
You cannot change the region after the channel is created
Region to provide the service offers only four choices, Japan, Thailand, Taiwan, and Indonesia, and you cannot change this after the channel is created.
Require two-factor authentication is on by default. So the first time a shopper logs in, they confirm a verification code in the LINE app on their smartphone.
Registering the callback address
-
Click the channel's LINE Login tab.
-
Click Edit next to Callback URL.
-
Paste the address you copied in The address to copy first into the box.
-
Click Update.
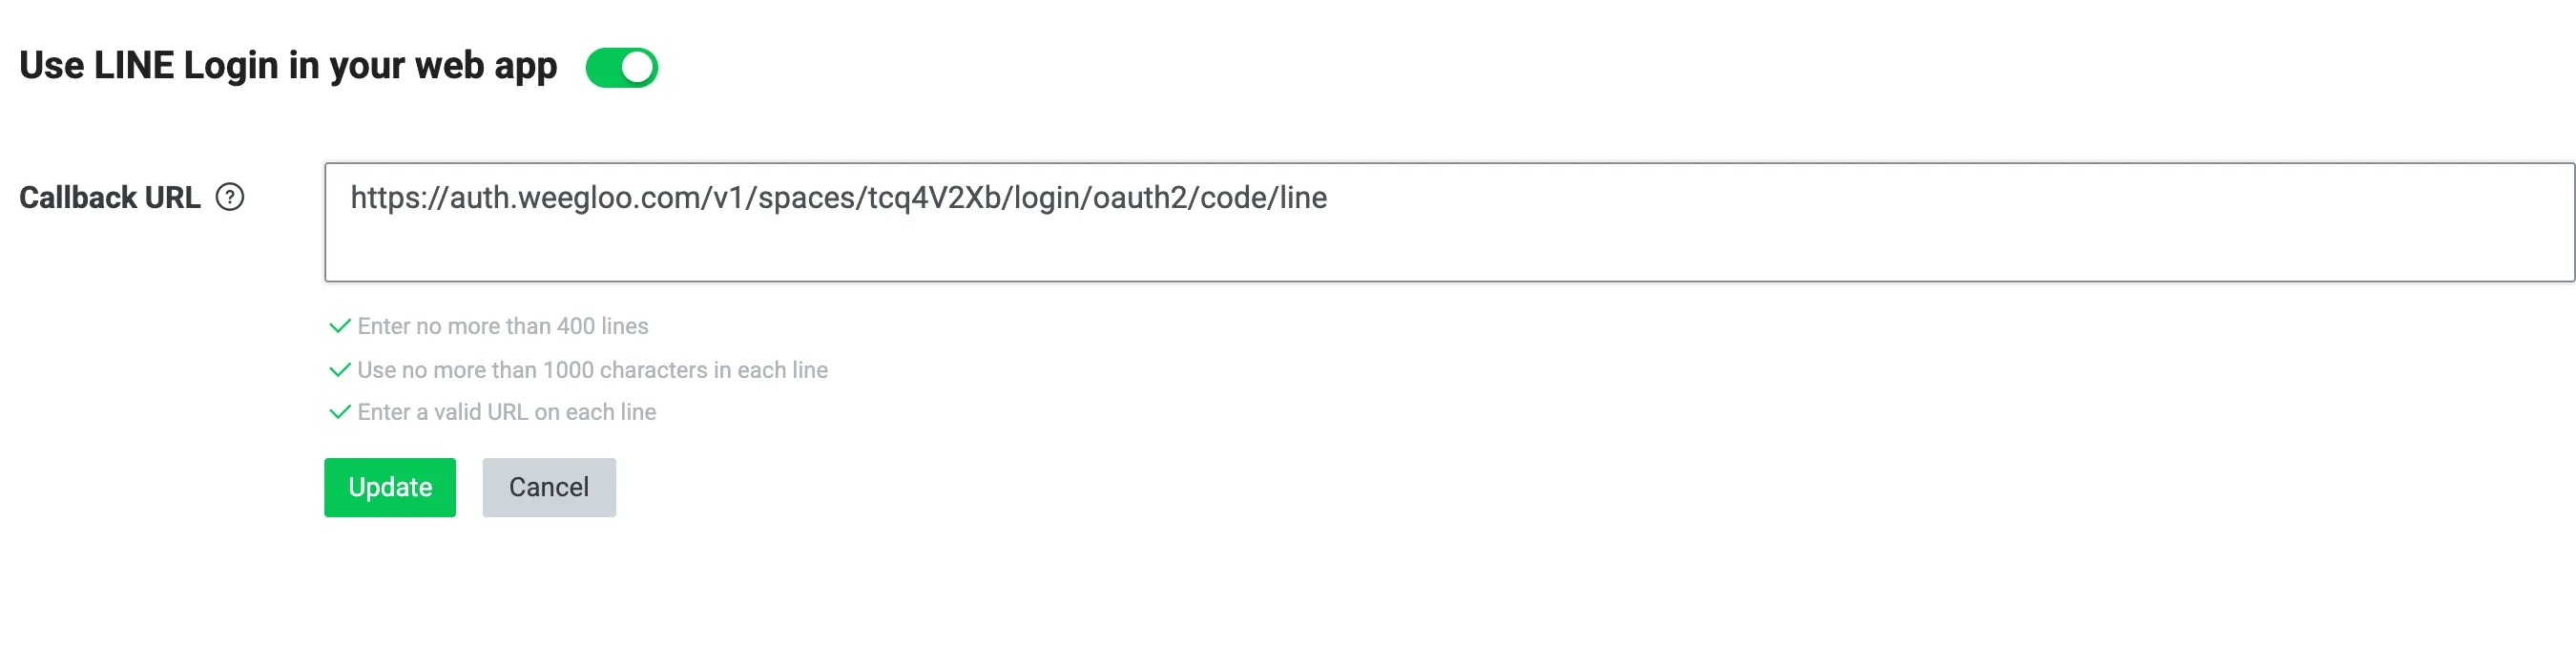
The only thing to enter here is the single address you copied above. Do not add more boxes.
Copying the Channel ID and the Channel secret
The two values are in the channel's Basic settings.
-
Click the channel's Basic settings tab.
-
Copy the value written in Channel ID.

-
Copy the value written in Channel secret.

The secret is a secret value. Do not tell it to anyone, and do not write it down anywhere public.
Login works only after the email permission is approved
Creating a channel is not enough for LINE to hand over the shopper's email. You have to apply for the email permission separately and get it approved.
WEEGLOO tells signed-up members apart by email. So when a shopper logs in with LINE, it reads that account's email from LINE at the same time. If this value does not come over, sign-up stops right there. Every login stops this way until the permission is approved.
When it stops, the shopper sees a notice screen that WEEGLOO shows. It says in the shopper's own language that the email could not be retrieved and what to do about it, and it carries a button that goes back to your site.
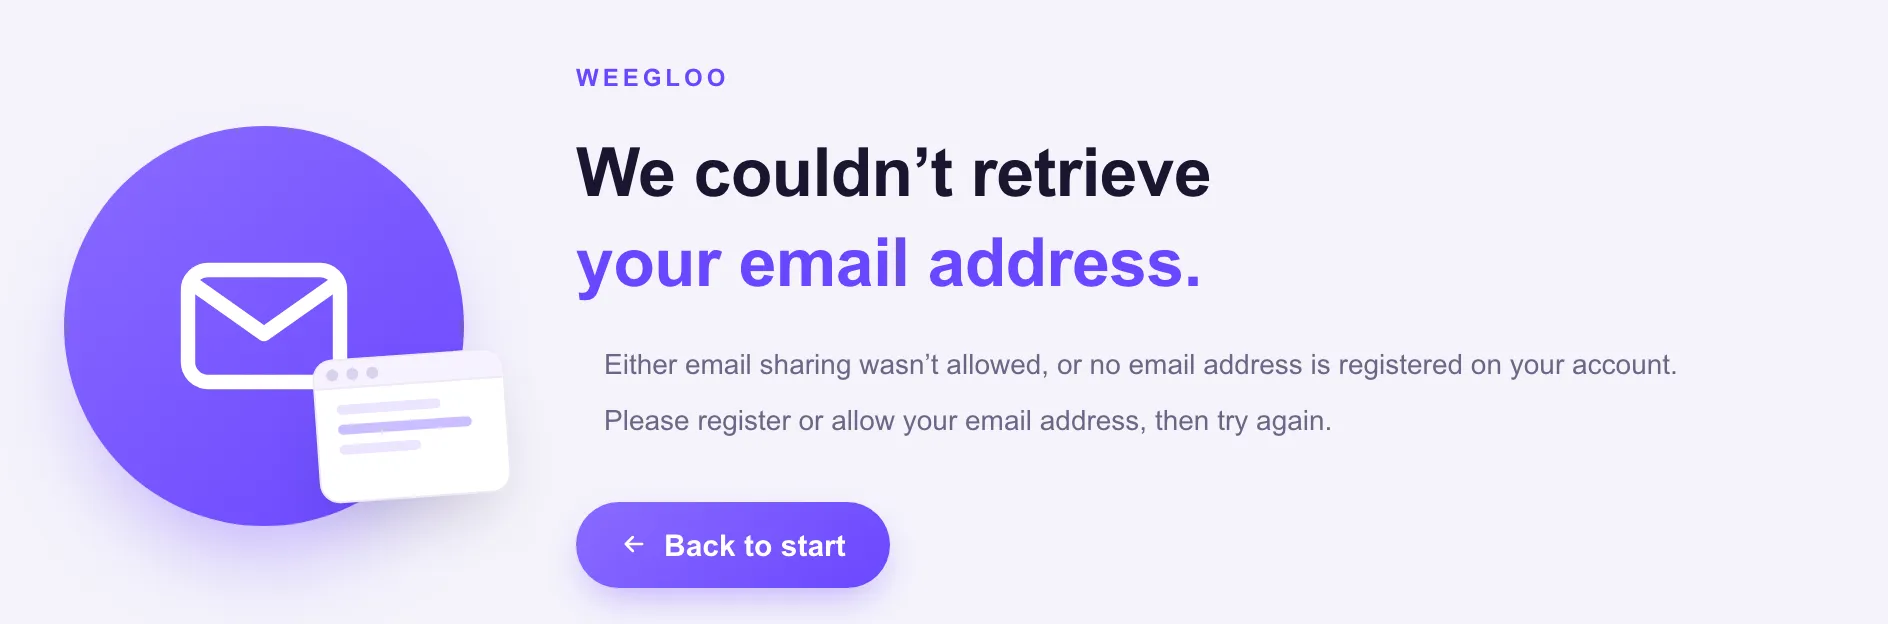
The login result never reaches your site in this case. So your site's code can neither notice this situation nor handle it on the shopper's behalf.
The person who applies is not the shopper. It is you, the one who created the channel.
- In OpenID Connect at the bottom of the Basic settings tab, click Apply next to Email address permission.
- Submit the materials the application screen asks for and agree to the terms.

Once it is approved, the label in the same place changes to Applied.
Even after the approval, a shopper who does not agree to provide their email cannot log in. What you can do on your site is write this condition where shoppers log in with LINE, so they learn about it before they get stuck.
The materials the application needs are in the LINE docs.
Putting the values you received into WEEGLOO
Now you have the two values in hand. From here the path splits depending on how you have been working so far.
If you were configuring this directly in the content studio, follow these steps.
- Go back to turning on social login in Service Member Login.
- Turn on LINE.
- Enter the Channel ID in the Channel ID box in Step 2.
- Enter the Channel secret in the Channel secret box.
- Click Save.
If you handed the integration to an AI agent and were told to go and get the values, paste the two values you received into the chat as they are and carry on with what you were doing. The agent handles the rest of the configuration from there.
What to do next
- Service Member Login: put the values you received into the content studio and finish the rest of the member login configuration.
- Member Roles and Permissions: create the ServiceUserRole that decides what a signed-up member can see and use.
- Auth API: covers technical specifications such as the request format you need when wiring login into your own site's code.