Media
Last updated: July 3, 2026
Earlier, when you created the "Stainless Tumbler 500ml" Content, you left the featured photo box empty and moved on. A tumbler product page needs a product photo. Each image, video, or document file you upload to the content studio, like this photo, is a Media.
Once you upload a Media, you can pull it into many different Content. Upload the tumbler product photo once, and you can connect it as the featured photo of the tumbler product and reuse the same photo in a promotion banner as well. You do not have to upload the photo separately for each Content.
On this page you will first look at what a Media is, then upload the tumbler product photo as a Media and connect that photo as the featured photo of the tumbler Content.
Why it helps to manage files separately
If you upload and attach a photo on the spot for each product, you end up uploading the same file again and again whenever you use it across several products. Later, if you want to swap that photo for a better one, you have to track down every product that used it and fix them one by one.
Media reduces this problem because it keeps your files in one place, separate from Content. You upload a photo to the Media list only once, and from a Content you simply pick that Media and connect it. The same photo can be shared across several products, and you can see which files have been uploaded all on one screen.
It goes public automatically once uploaded
There is one difference from Content here. Content has to be published one more time after you create it before it goes public, but a Media goes public automatically as soon as you upload it. You do not have to press Publish separately.
When you upload a file, the system goes through a step of receiving and processing it. For an image it reads the width and height, and for a video it checks the length, organizing the file's information that way. Once this processing finishes, that Media's status changes automatically to Published.
Content goes public only after you Publish it yourself, but a Media becomes Published automatically as soon as processing finishes once you upload it.
A Media that has become Published is public on its own. It is public even if you do not connect it to a Content, and connecting it as a Content's featured photo is just one way to use this photo. Processing time varies by file. A small file like a photo usually becomes Published the moment you upload it, while a large file such as a big video can take a short while to process. If you have just uploaded a large file and it is not Published yet, wait a moment until processing finishes.
Only upload files that are safe to make public. A Media that has become Published gets a unique address (link), and anyone who knows that address can open the file without logging in. There is no separate lock on access, so the address itself is the key. An address that has gone out is hard to take back, so do not upload sensitive files such as a copy of an ID or a document that must not be made public.
Uploading the tumbler product photo
Now you will upload the tumbler product photo as a Media. Suppose you upload one tumbler photo file (tumbler.png) saved on your computer. Uploading the file and writing the title and description all happen on one screen.
- Open the Media list screen.
- Press the Create button at the top right of the list.
- From the menu that opens, choose Single Media.
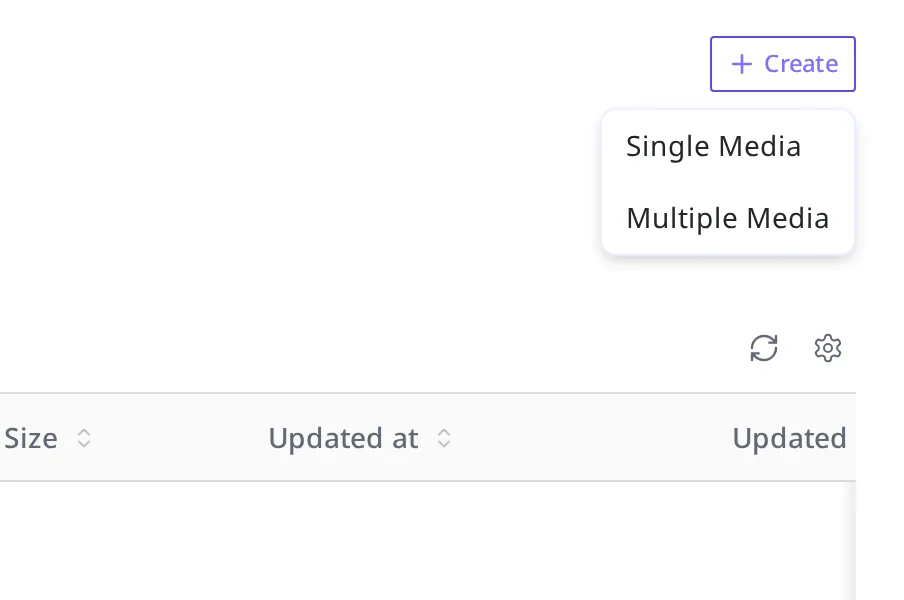
To upload several photos at once, choose Multiple Media instead of Single Media. Here you are uploading only one, so you use Single Media.
The "Create Media" authoring screen opens. This screen has Title and Description boxes along with an area for uploading a file.
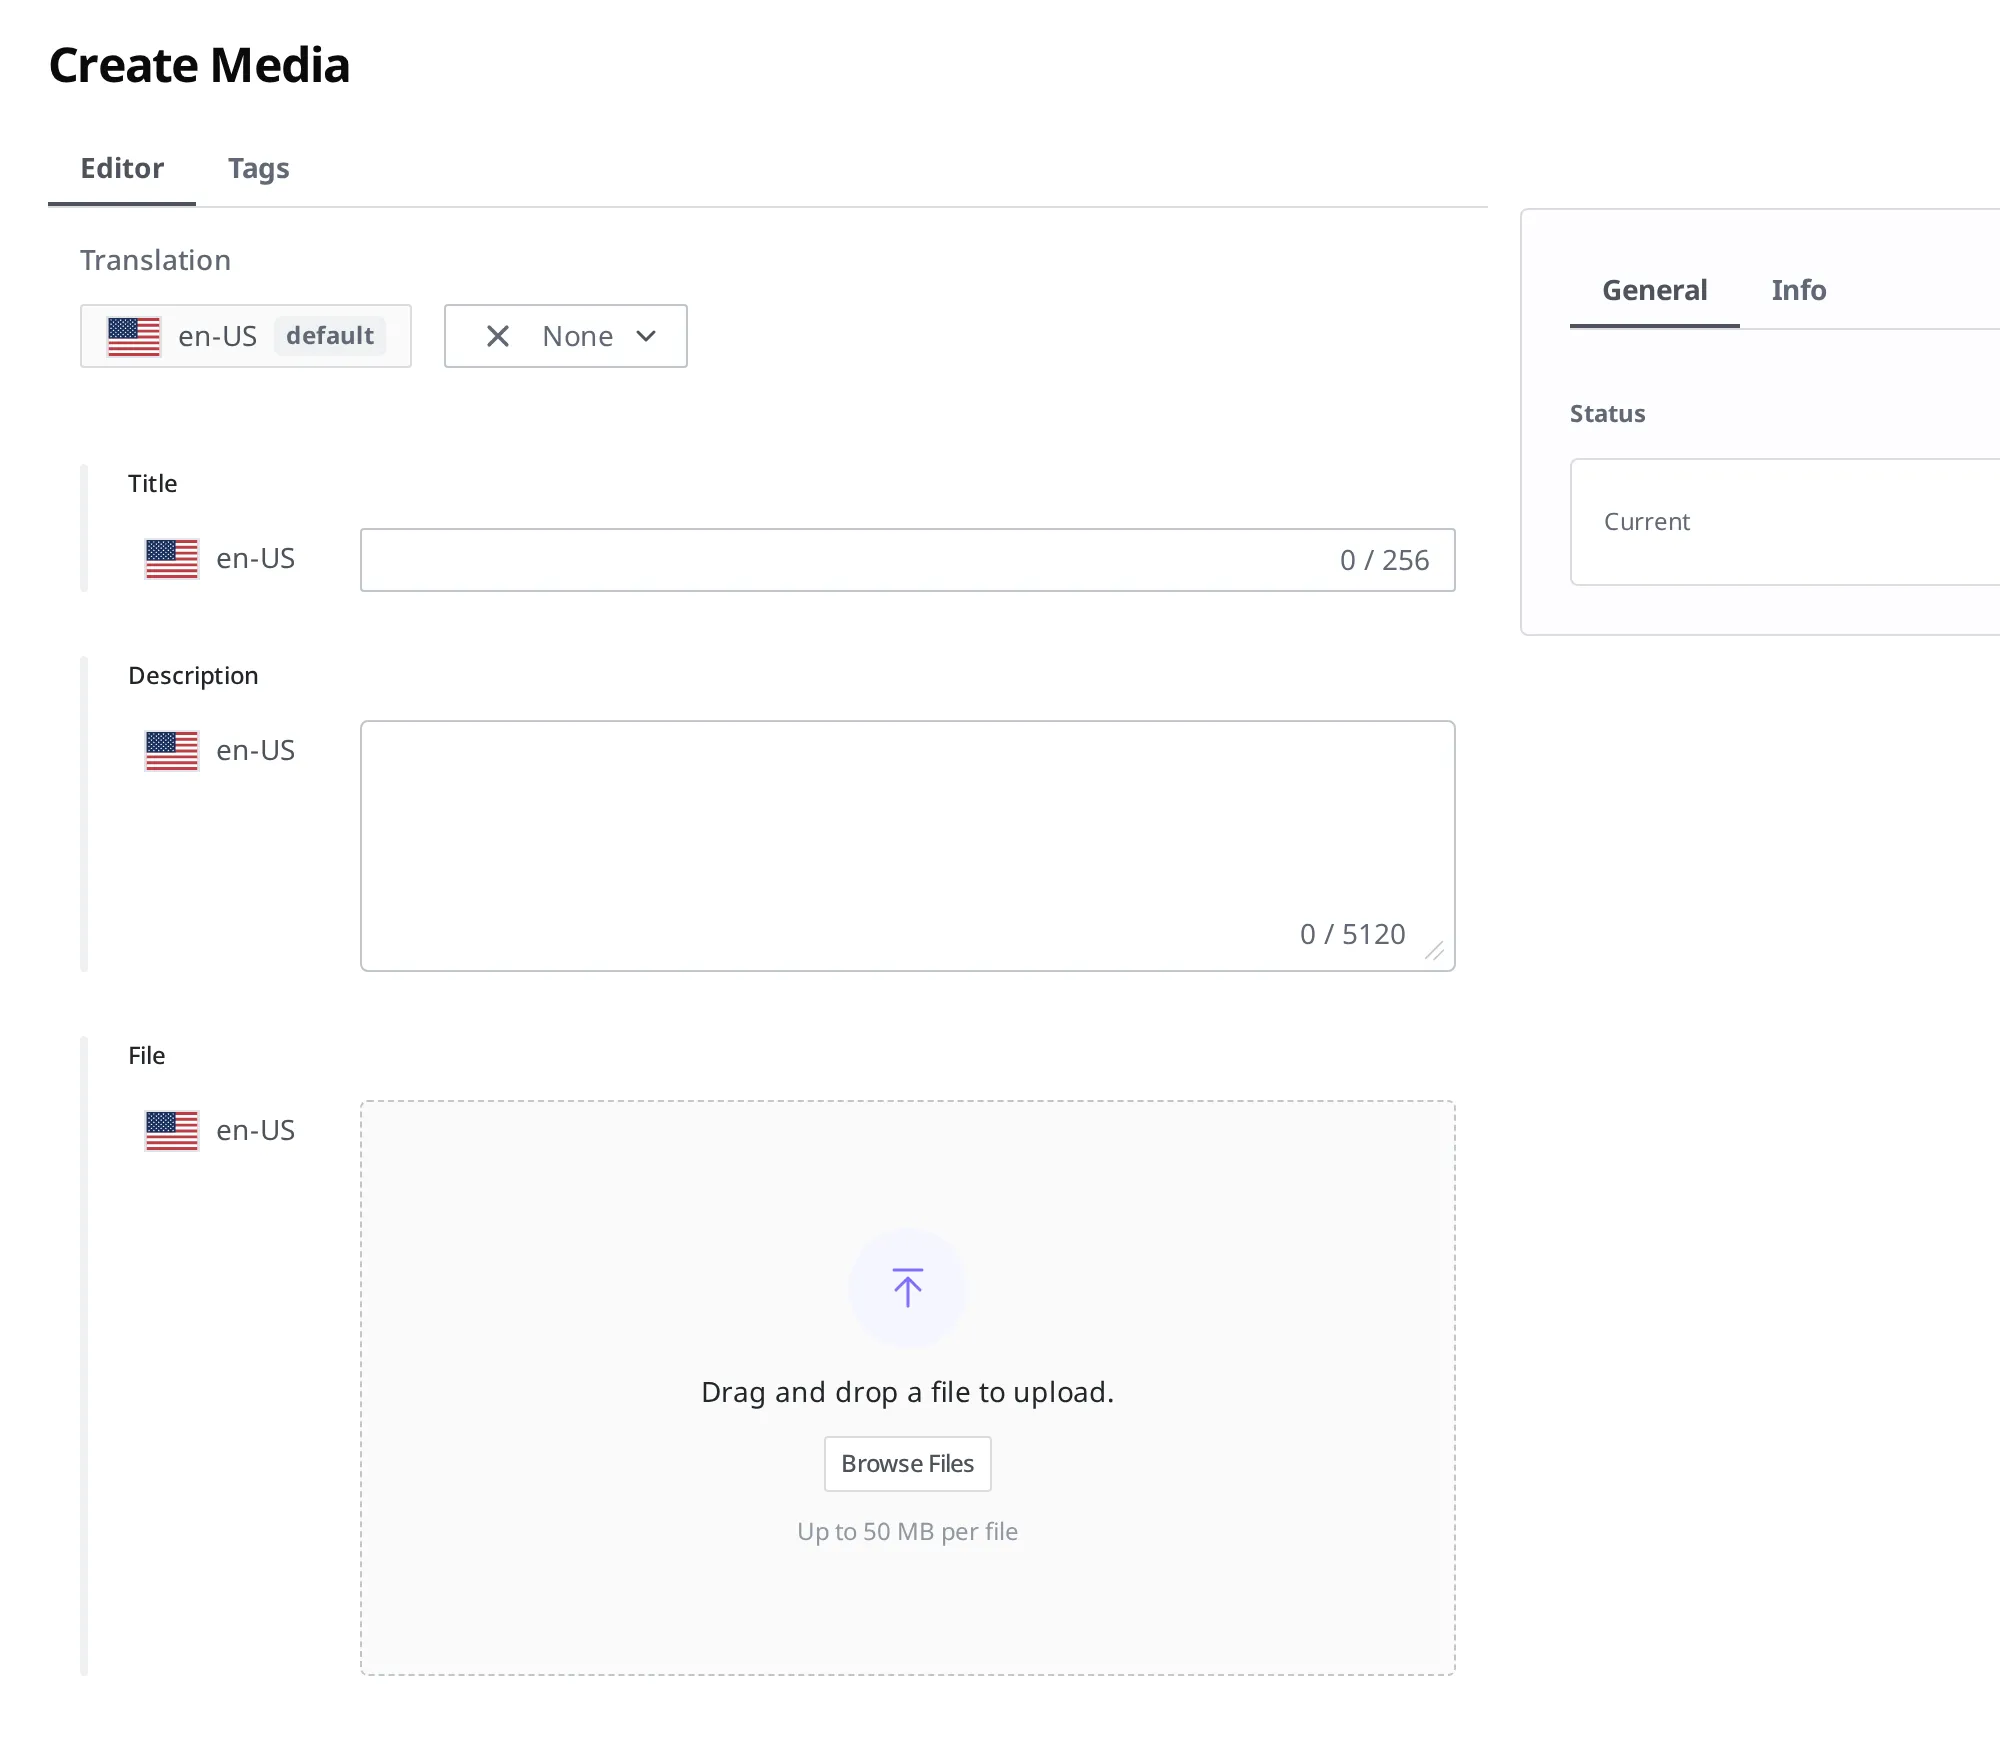
- Press the Browse Files button in the file area and choose the tumbler photo (
tumbler.png) on your computer. Or drag the photo file into the dotted area. - In the Title box, enter
Stainless Tumbler 500ml front shot. - In the Description box, enter
A front product shot of the tumbler taken on a white background..
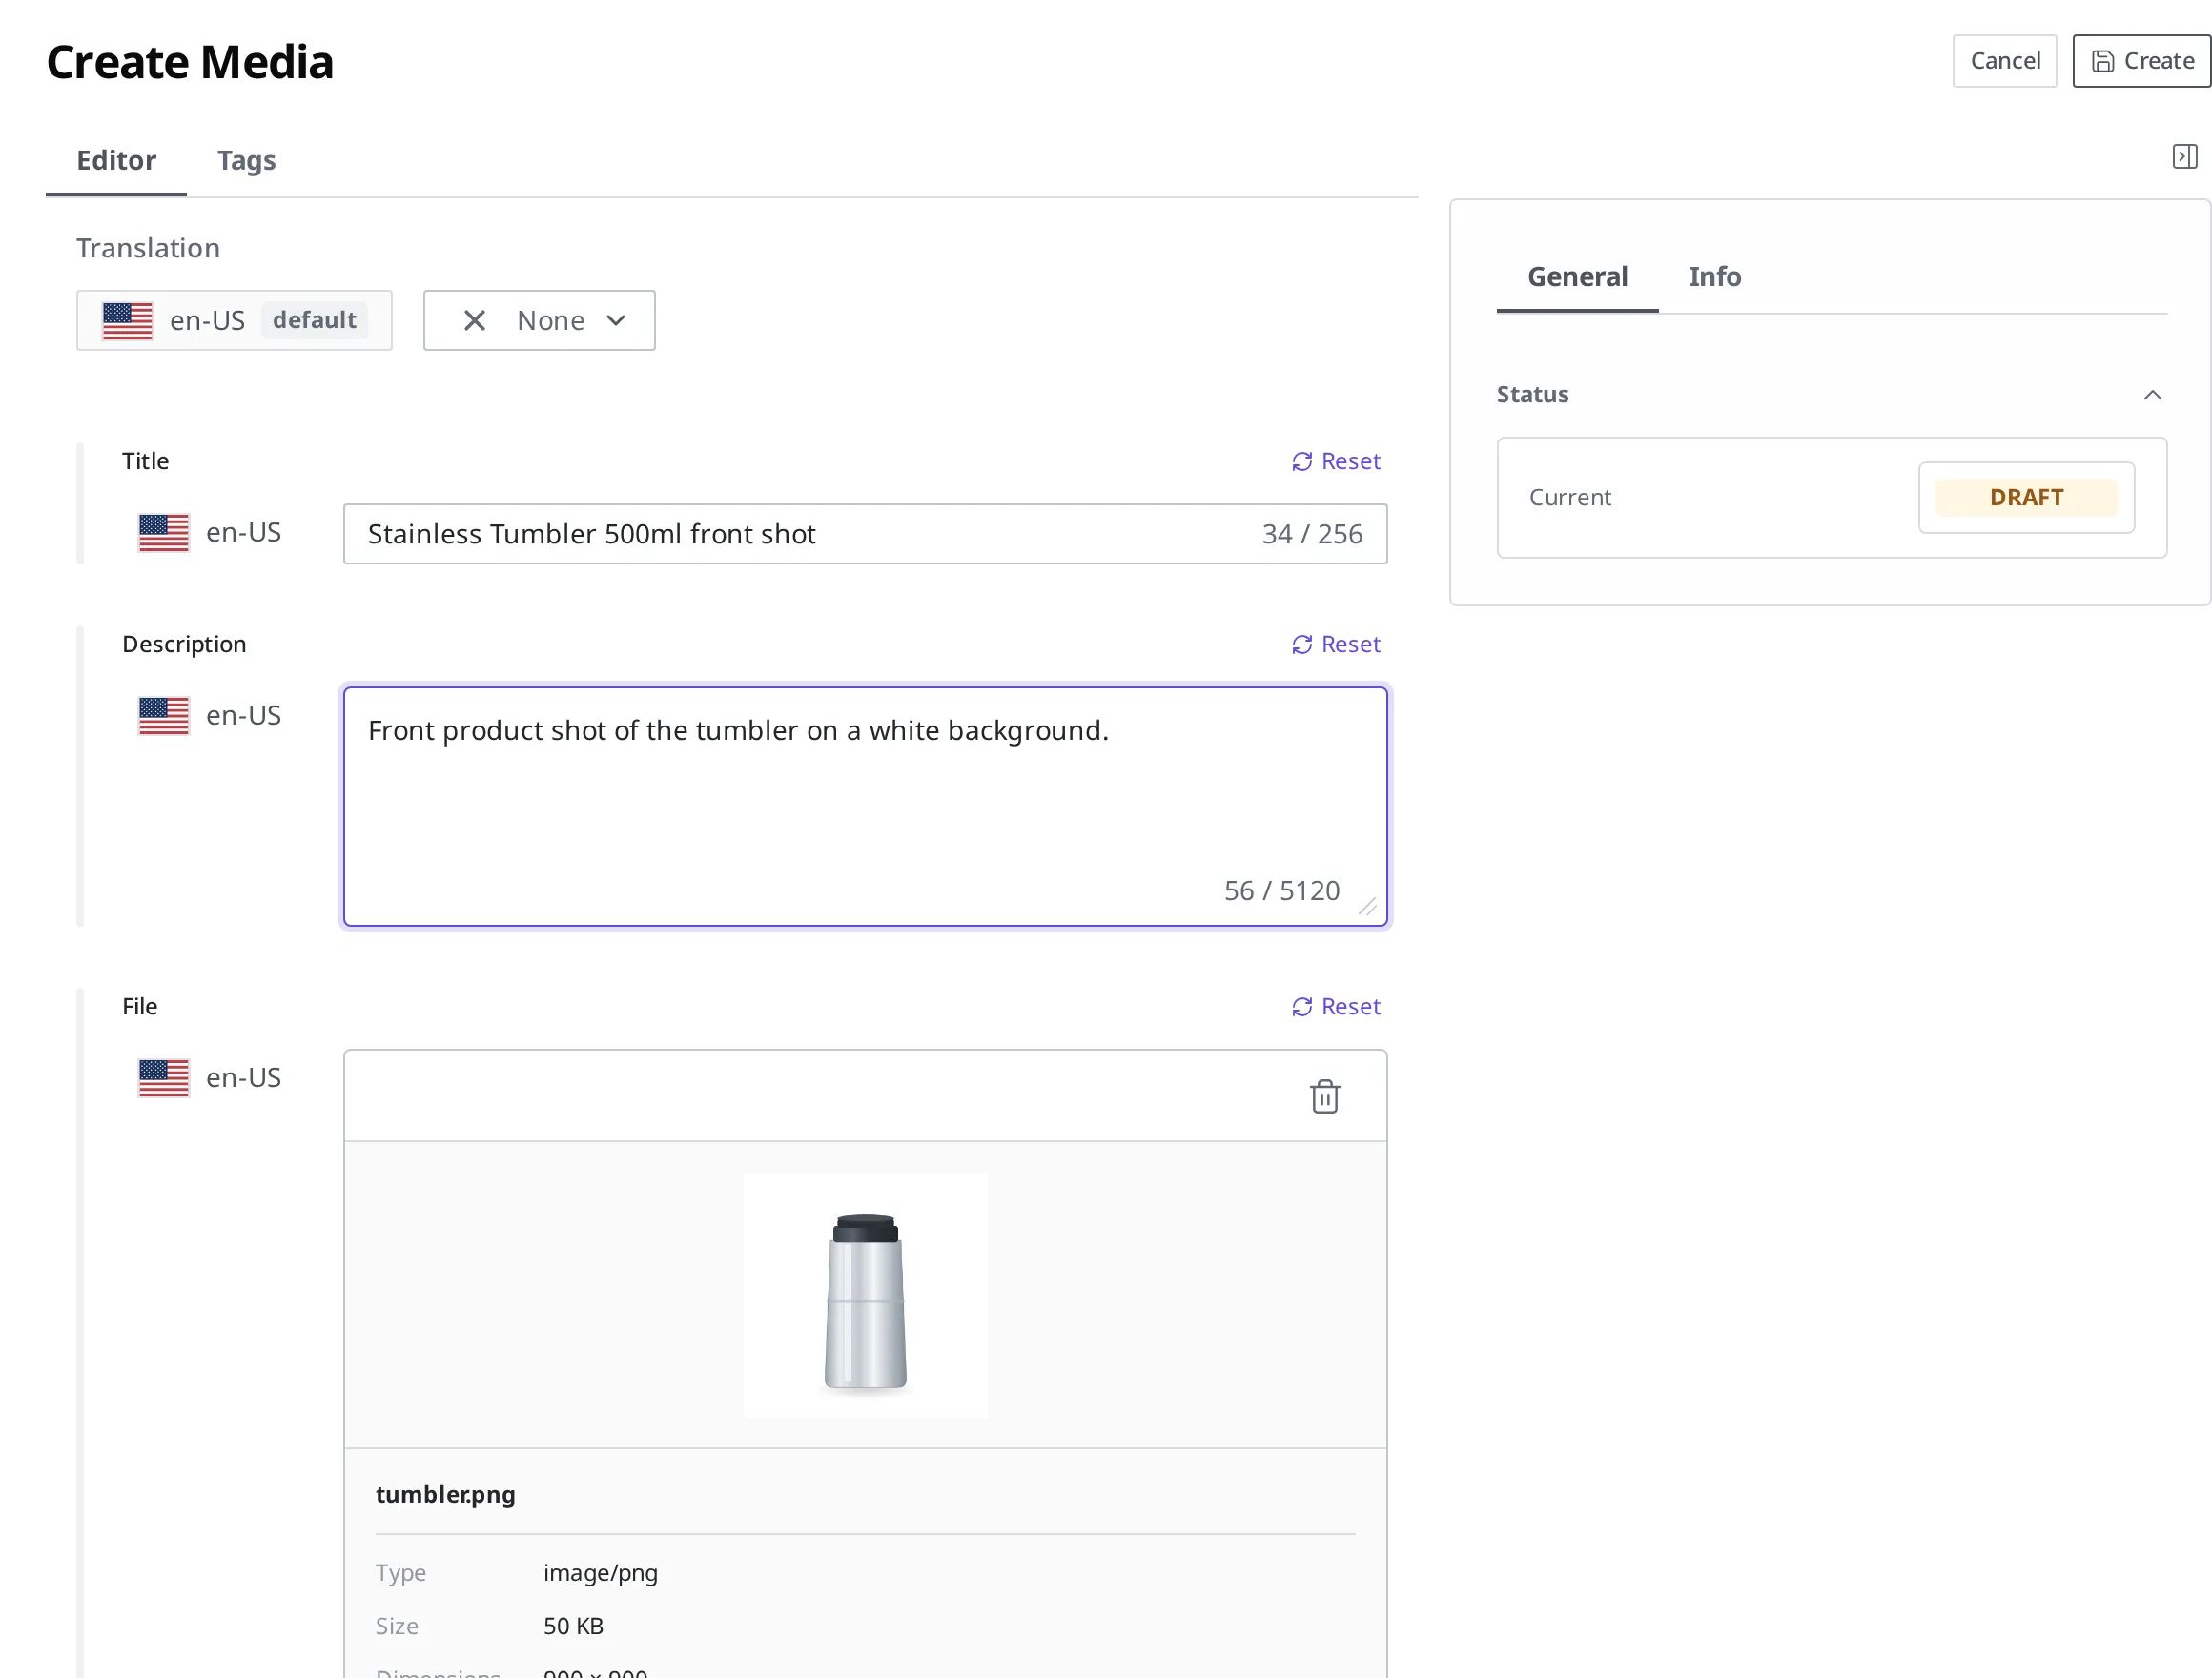
- Press the Create button at the top right.
Once you press Create, the photo is uploaded, and then the system processes that file. On the authoring screen the status shows as Draft, but once processing finishes it becomes Published automatically without a separate Publish.
You can press Create with the Title and Description left empty. Since the file name alone makes it hard to tell later which photo it is, writing them down lets you find the photo you want quickly even as the Media list grows. If you did not write them down, you can open that Media later and fill them in with Edit.
Checking whether it is public
You can check whether the photo you uploaded is public right from the Media list. The list shows the name, type (for example, Image), size (for example, 900 x 900 px), and capacity (for example, 50 KB), along with a Status column at the far right. If that photo's status is Published, it is public.

You can also see the same status in the Status area on the right when you open that Media.
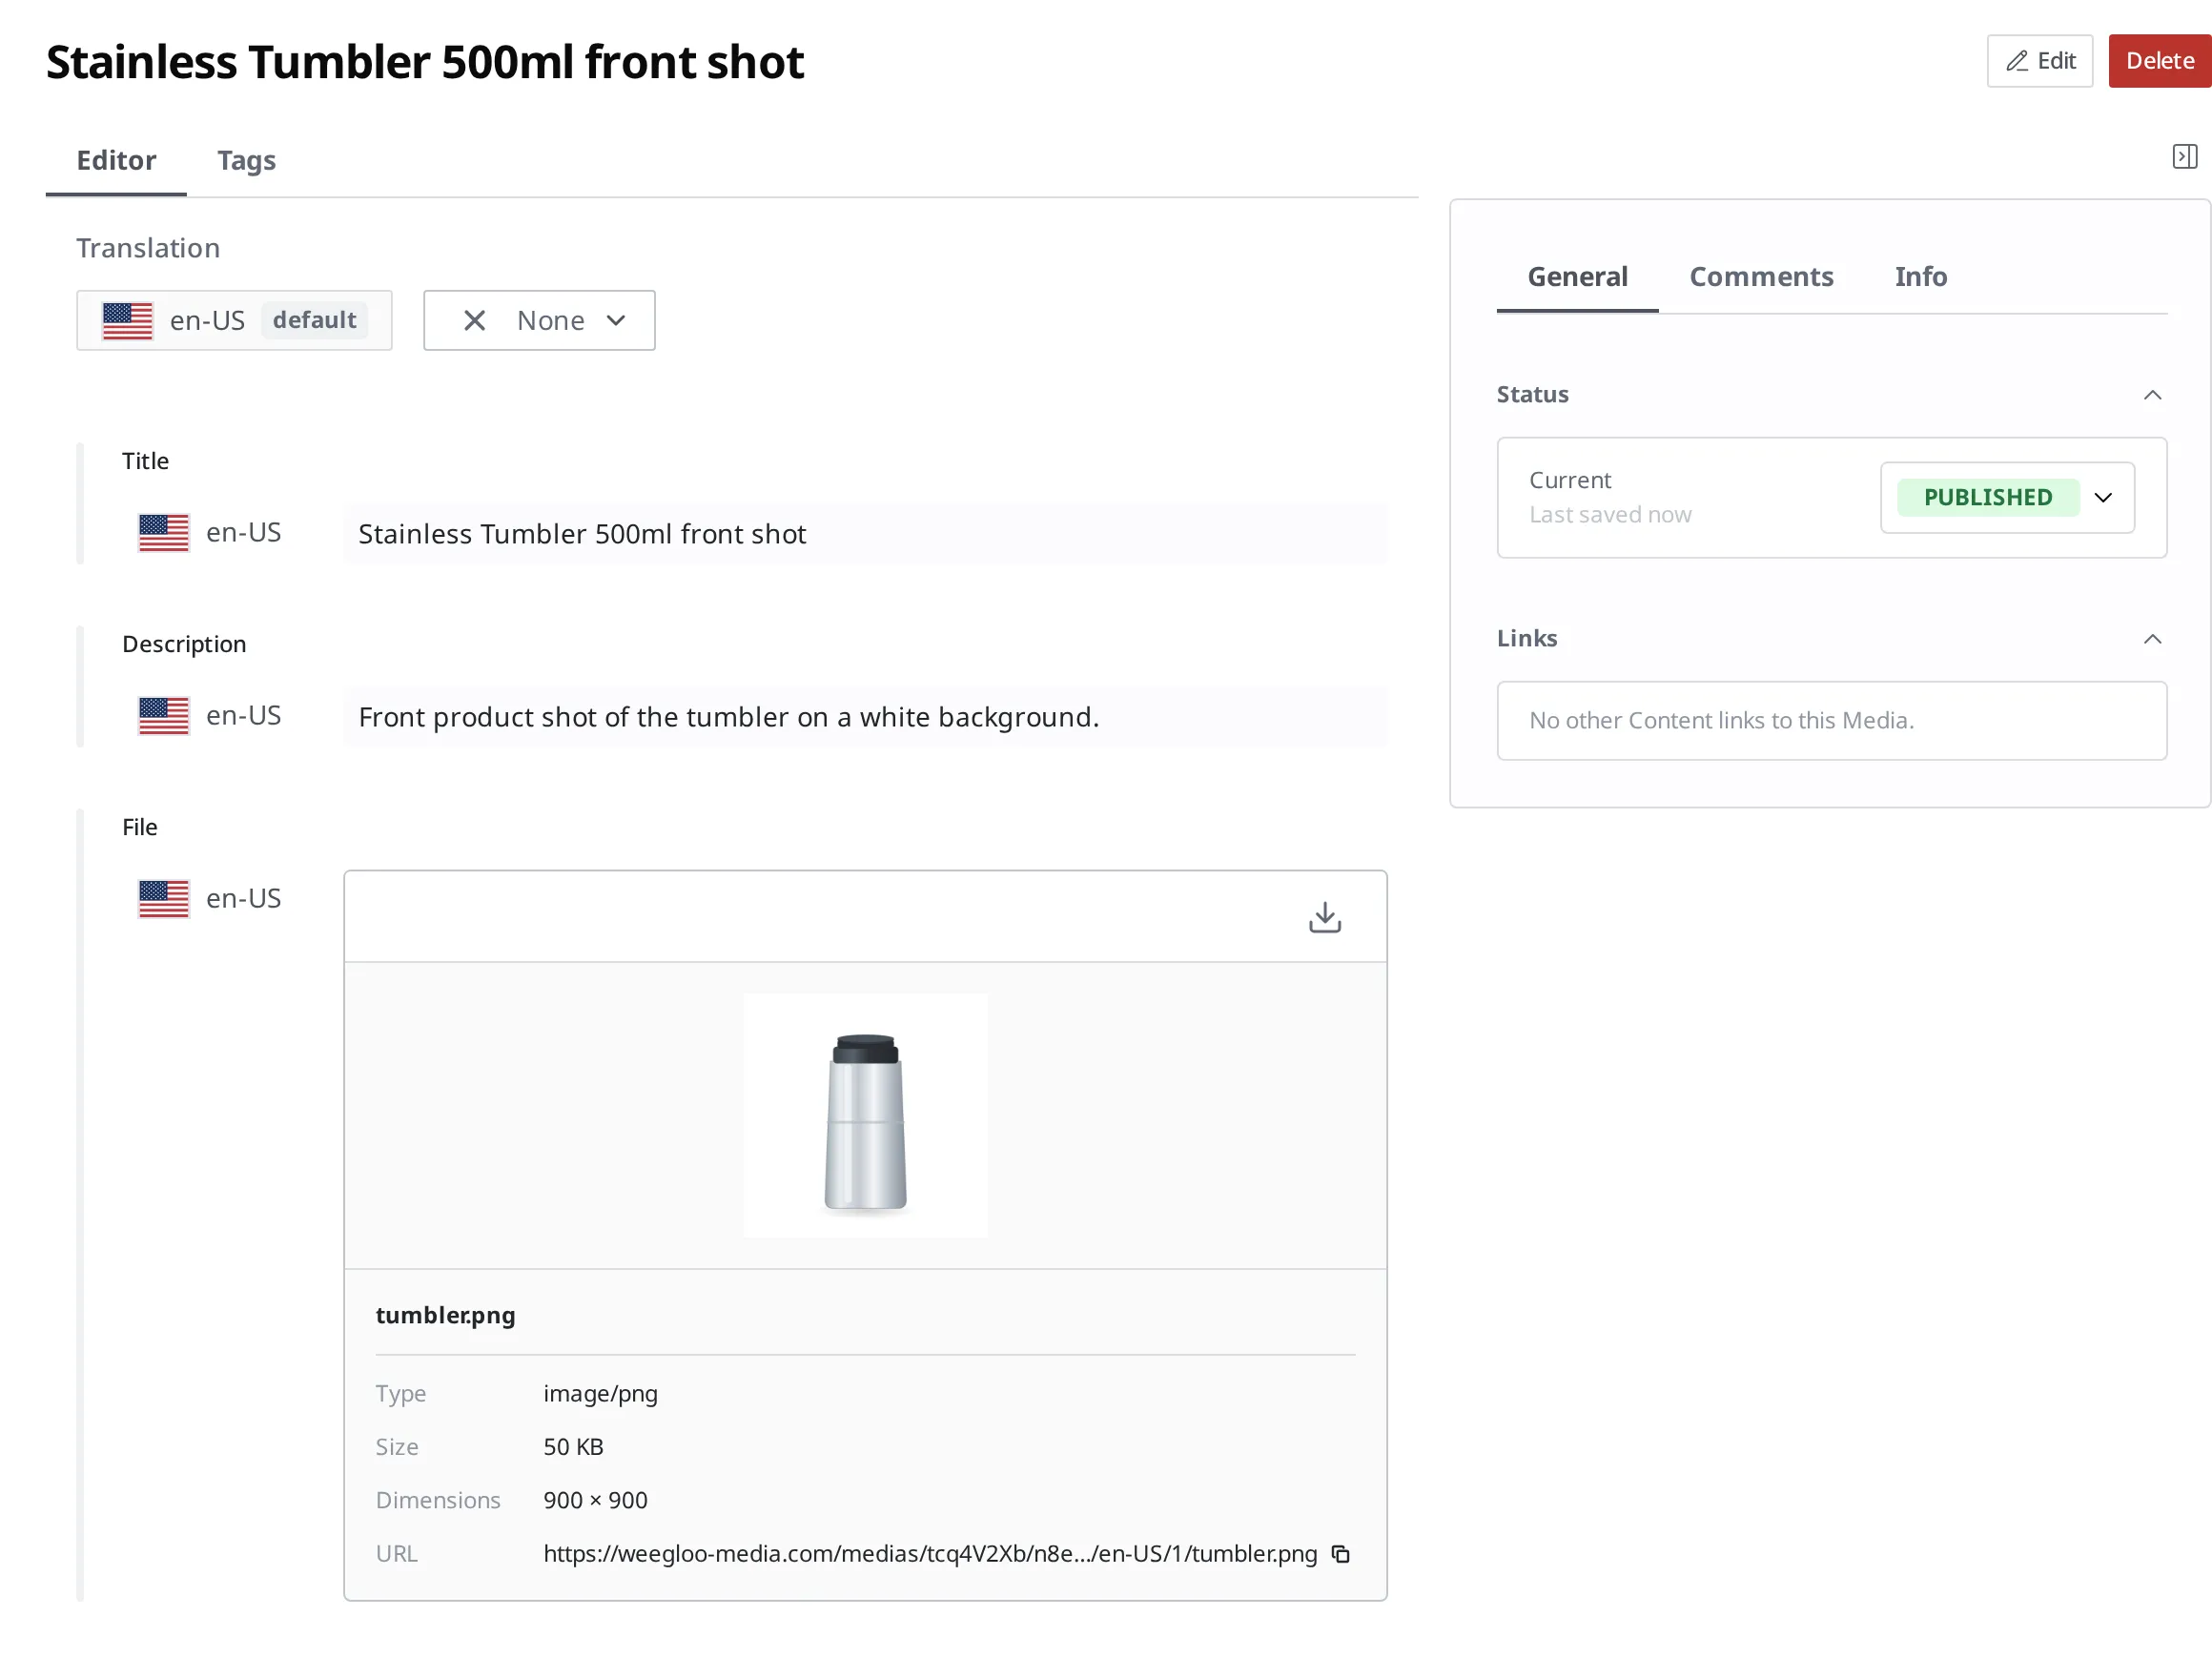
Once the status becomes Published, you can connect this photo to a Content.
Connecting the photo to the tumbler product
Now that the photo is public, you will connect it to the featured photo box of the tumbler Content. When you created the "Product" Content Type, you made the featured photo a Field that points to a Media. So the tumbler product's authoring screen has a featured photo box, and instead of typing text or numbers into that box, you pick a Media you uploaded earlier.
- Open the "Stainless Tumbler 500ml" Content you created earlier.
- Press the Edit button at the top right.
When you scroll down the edit screen, there is a Photo box. If you have not connected a photo yet, this box shows two buttons, Add Existing Media and Create New Media.

- Press the Add Existing Media button in the Photo box.
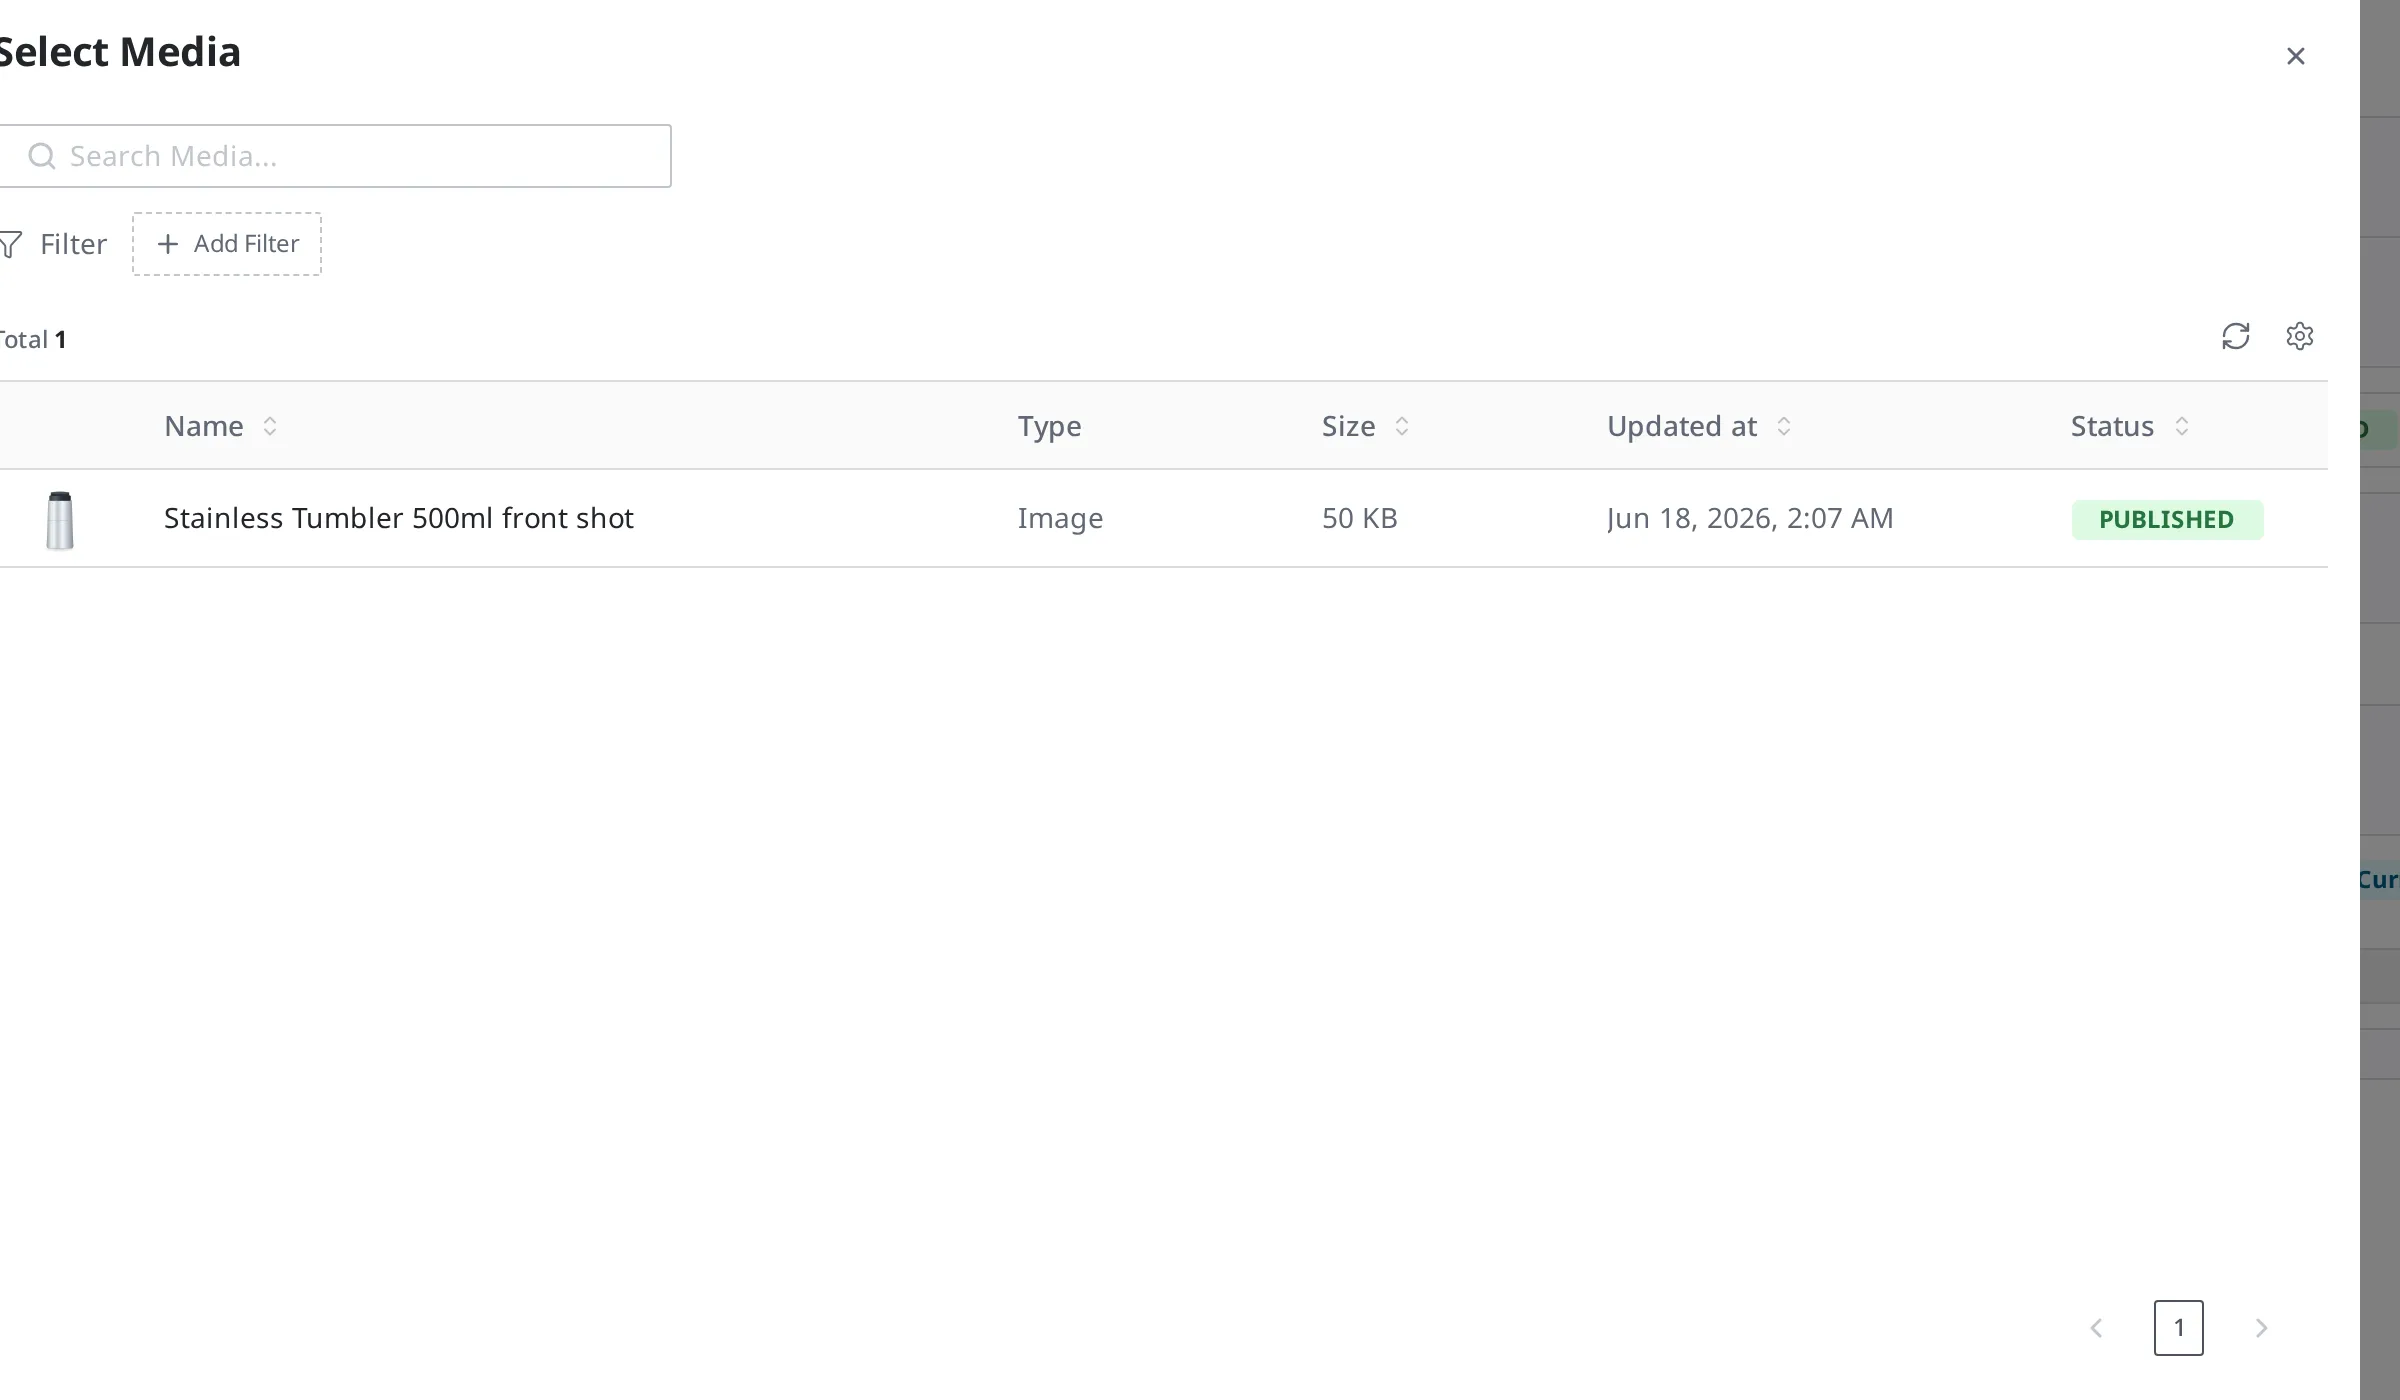
- In the Select Media window that opens, choose the tumbler photo you uploaded (
Stainless Tumbler 500ml front shot).
- Press the Save button at the top right.
Once connected, the Media you chose appears in the Photo box. It appears as an item showing the title of the Media you chose (Stainless Tumbler 500ml front shot).

To upload a new photo right there and connect it immediately, press Create New Media instead of Add Existing Media. Use this when you have no photo uploaded yet.
Now, when you Publish this tumbler Content, the featured photo you connected goes public along with it.
How to Publish the tumbler Content itself is covered in Authoring and Publishing Content. If the connected photo is deleted in the meantime, the tumbler Content's Publish can be blocked, so it is best to leave the connected Media in place.
Things to know after connecting
You can share one photo across several products. After connecting the tumbler product photo to the tumbler product, you can pick and connect the same photo to another product or a promotion banner in the same way. A Media is connected to a Content rather than copied into it, so one Media can be pointed to from many places.
You can break only the connection, or delete the file. If you want to swap the featured photo on the tumbler product for a different one, you break the connection on the Edit screen and choose a different Media. The Media itself stays in the list and can keep being used elsewhere. To remove the Media file entirely, you Delete it on the Media detail screen.
A published photo has to be unpublished first before it can be deleted. A Media in the Published state is not deleted right away. When you try to delete it, you are first told to Unpublish it. Open that photo, Unpublish it to return the status to Draft, and then Delete it.
You can set conditions on the file formats and sizes that can be uploaded. When you create the featured photo Field in the "Product" Content Type, you can set conditions on the size of the file or the width and height of the image that can be uploaded into this box. If you try to connect a file that does not meet the conditions, it is not saved. Which conditions you can set is covered in Content Modeling.
Getting a photo in the size you want (image processing)
The same tumbler photo needs a different size in each place you use it. A small thumbnail in the product list suits a small photo, while a detail screen suits a large one. You do not have to create and upload a separate photo for each size. When you add a set style name after the image address of a published Media, the original stays untouched and you get back an image that has been resized on the spot and converted to a lighter format.
Add /{style name} to the end of the image address. For example, if the tumbler photo address is https://.../tumbler.png, then https://.../tumbler.png/style3, with /style3 added to the end, returns the same photo resized to 128 x 128 and converted to WebP (a lightweight image format).
Sizes you can choose
| Style | Size | Format |
|---|---|---|
style1 | 32 × 32 | WebP |
style2 | 64 × 64 | WebP |
style3 | 128 × 128 | WebP |
style4 | 192 × 192 | WebP |
style5 | 256 × 256 | WebP |
style6 | 320 × 320 | WebP |
style7 | 480 × 480 | WebP |
style8 | 640 × 640 | WebP |
style9 | 960 × 960 | WebP |
style10 | 1024 × 1024 | WebP |
Every style keeps the original aspect ratio while resizing to the size you specify, and converts to WebP at 100% quality.
What to do next
- Authoring and Publishing Content: Publish the tumbler Content with the featured photo connected to make it public.
- States and Publishing: Learn what states like Draft, Published, and Changed are and how they change.
- Localization: Covers how to hold the same photo differently per language (for example, an image with text on it). A Media can hold its file, title, and description per language.
- Content Modeling: Covers how to make a Field that connects a Media, like the featured photo.
- API Reference: Covers the request formats and technical specifications such as file format and size limits that you need when uploading and connecting photos directly in code.