Creating and Publishing Content
Last updated: July 3, 2026
Earlier you created the "Product" Content Type for a clothing store. Now it is time to fill that template with an actual product. Say you want to register a product called "Stainless Tumbler 500ml". Writing down the product name, entering the price, and uploading a photo: this single record is one Content.
If a Content Type is a printed form with blank fields, a Content is one sheet of that form pulled out and filled in. There is only one "Product" Content Type, but if you use that template to register a tumbler, a mug, and a thermos, you end up with three Content.
On this page you will look at what a Content is, then use the "Product" template to create one tumbler Content yourself and publish it so it is visible externally.
Right after creating, it is not visible externally
When you first create a Content, its status is Draft. Draft means "still being written." A Content in Draft is visible in the content studio (the management screen where you and your colleagues in the same Space work), but it is not yet delivered externally. If you are registering the tumbler product but have not decided on the price yet, you can save it in that state and finish writing it later.
Once you finish writing and Publish it, the status changes to Published. Only a Content that is Published is delivered for external visibility. In other words, to make the tumbler show up on the actual shopping site, you have to create the tumbler Content and then Publish it one more time. Creating it and making it public are two separate steps.
Besides Draft and Published, there are also statuses such as Changed and Archived. What each of these statuses is and how they change is covered in detail in States and Publishing. Here, you only need to keep in mind the two steps: "create it and it is Draft, publish it and it is Published."
When you fill it in, the template's rules apply
When you write a Content, the rules set on the Content Type apply exactly as defined. If you designated the product name as a required field when you created the "Product" Content Type, you cannot save with the product name left blank. If you try to save with the product name box empty, an error message appears, and the save only goes through once you fill in that box.
This rule is checked both when saving and when publishing. So a Content that is missing a required value or exceeds a character limit is not saved even as a Draft, and it cannot be published either. The rules set on the template are what keep bad data from piling up.
The shape of the input boxes on the writing screen (the Field types) and the rules that apply (validation) were all decided when the "Product" template was created. Which Field types and rules you can use is covered in Content Modeling.
Creating one tumbler product
Now create one tumbler Content using the "Product" template. Say you want to enter the following information.
| Field | Value to enter |
|---|---|
| Product name | Stainless Tumbler 500ml |
| Price | 18000 |
| Description | Double vacuum insulation keeps drinks hot or cold for a long time. 500ml large capacity. |
| Main photo | One tumbler product photo |
- In the left menu, click Content to open the Content list screen.
- Click the Create button at the top right of the list.
- A window opens for choosing which Content Type to create with. Choose "Product".
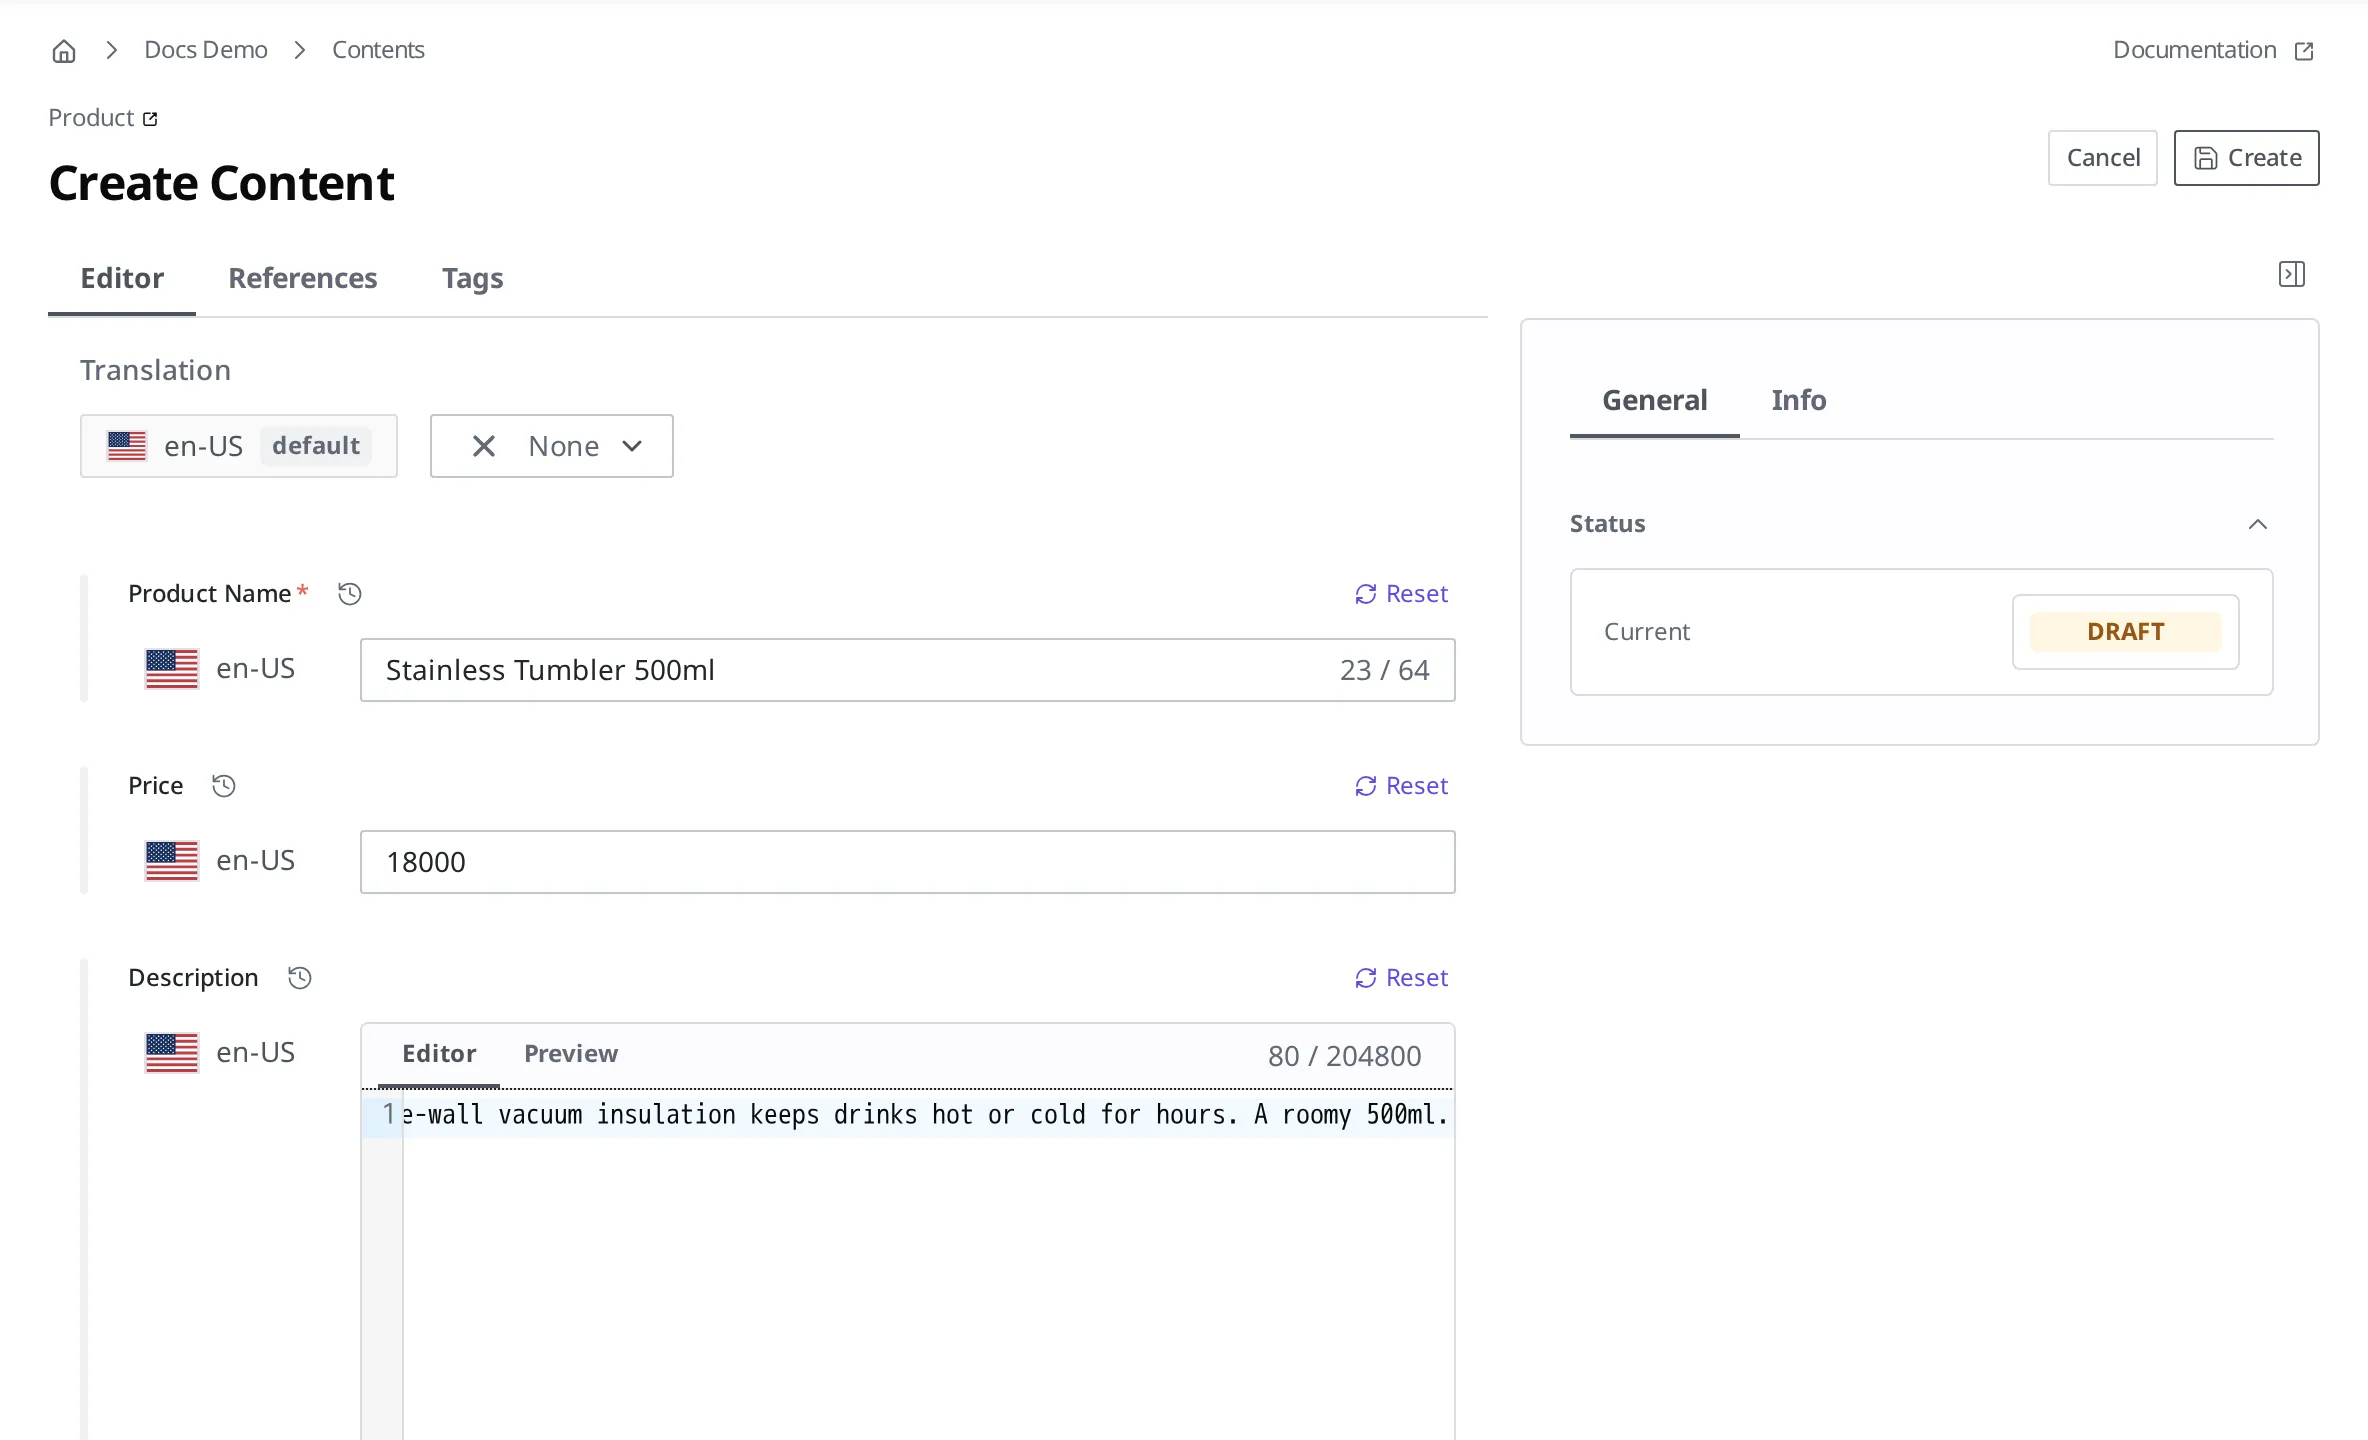
The writing screen for entering product information opens. On the screen, the Fields created in the "Product" template appear as input boxes. The product name shows as a text box and the price as a number box: each input box matches its Field type.
- In the product name box, enter
Stainless Tumbler 500ml. - In the price box, enter
18000. - In the description box, enter the product description.
The main photo is a Field that links a Media you have uploaded in advance. How to upload and link a photo is covered in Media. If you do not have a photo yet, you can leave this step empty and continue. However, if you designated the main photo as a required field, you have to link a photo for it to save.
- Click the Create button at the top right.
When you click Create, the tumbler Content is created. Its status at this point is Draft. In the list, a Draft indicator appears next to this product. It is not yet visible externally.

Making the tumbler visible externally
Once you have filled in all the tumbler information, now Publish it to make it visible externally. When you Publish, the status changes to Published, and from that point it is delivered for external visibility so you can show this product on the actual site.
- Open the "Stainless Tumbler 500ml" Content you just created.
- In the Status area on the right, click the DRAFT badge.
- From the expanded list, click Publish.
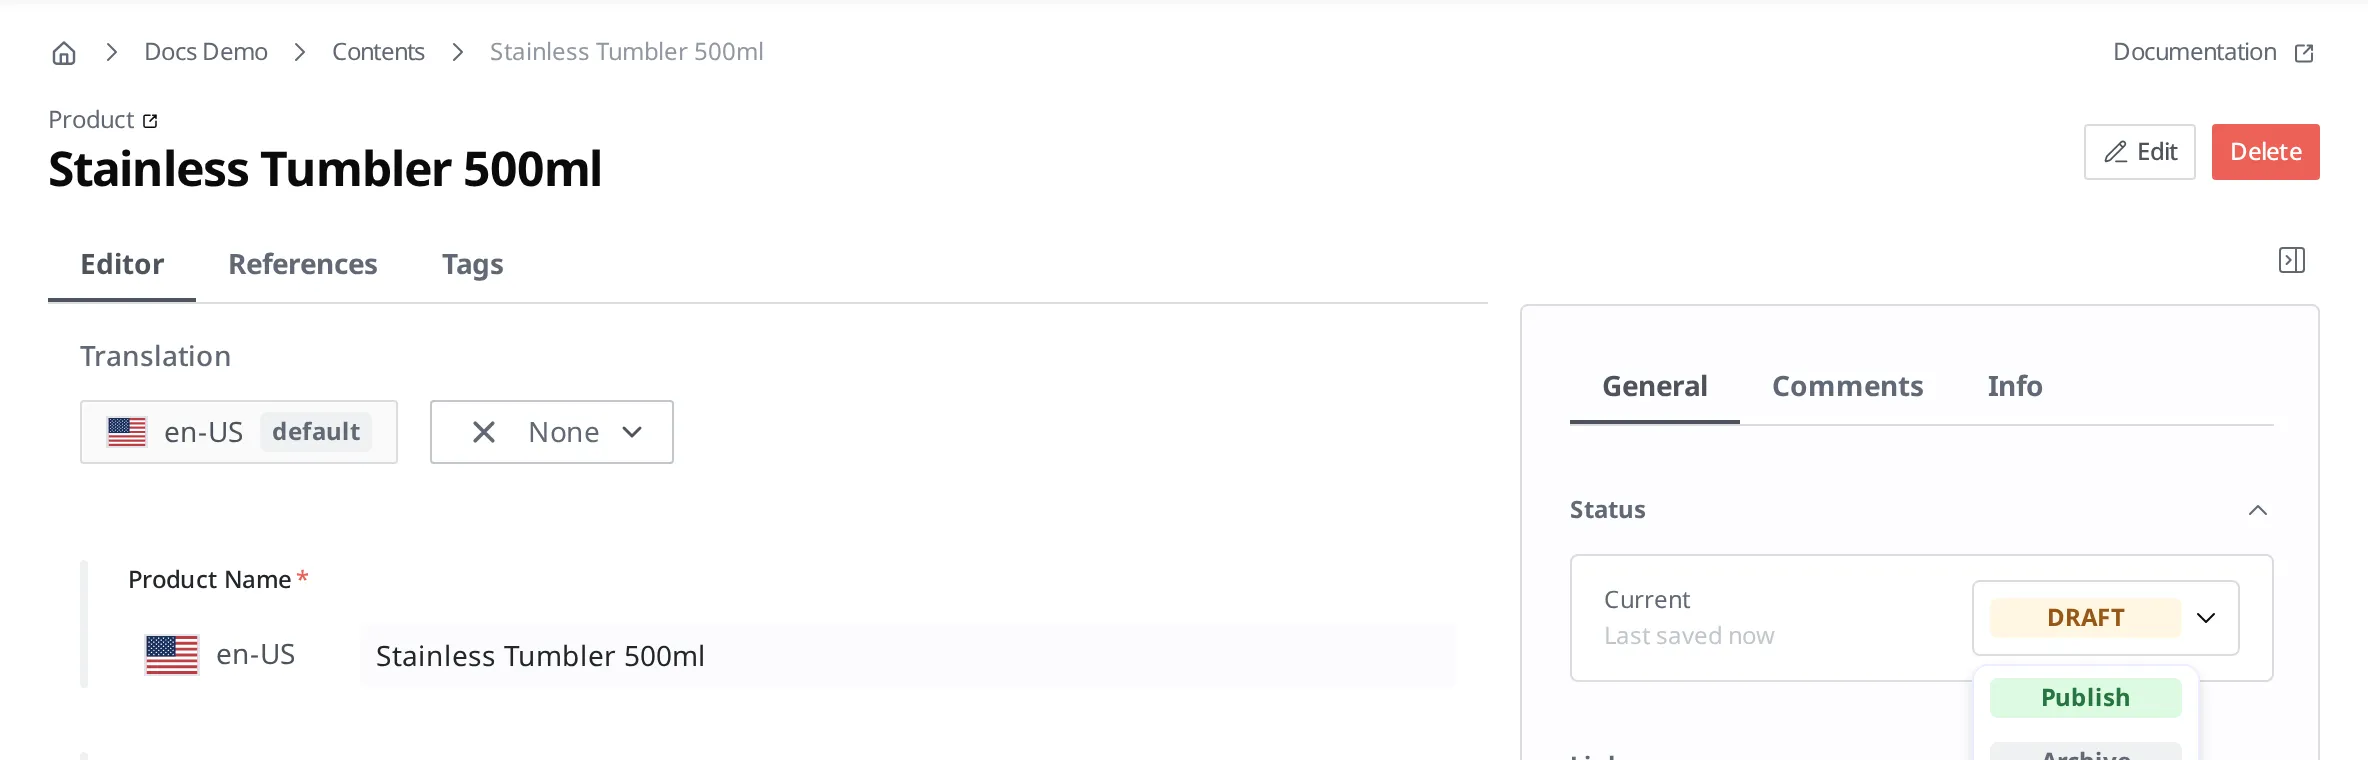
When the status changes to Published, it is public. In the list, the indicator next to the tumbler changes from Draft to Published.

The template's rules are checked once more right before publishing as well. If a required field such as the product name is empty, or if the linked main photo was deleted in the meantime, Publish is blocked and an error message appears. You can fill in the missing value or re-link the photo and then try again.
What to know after publishing
Edits you make are reflected only after you publish again. If you change the price of a Published tumbler from 18000 to 16000 and save it, the status changes to Changed. Changed means "there is a public version, but unreflected edits remain." To reflect the changed price externally, you have to Publish one more time. An edit that was only saved is visible only in the content studio, and externally the value published last (18000) is still delivered.
To take it down from public, Unpublish it. If you no longer sell the tumbler and want it to stop being visible externally, you can Unpublish it. When you Unpublish, it disappears from external delivery, but the Content itself remains in the content studio, so you can Publish it again later. To remove it completely, you have to delete it separately from unpublishing.
How Changed, Unpublish, and deletion change the status is collected in one place in States and Publishing.
What to do next
- Media: Covers how to upload a Media, such as the tumbler's main photo, and link it to a Content.
- States and Publishing: Learn what Draft, Published, and Changed are and how they change.
- Localization: Covers how to manage product information in multiple languages.
- API Reference: Covers the technical specs you need, such as the request format and Field structure, when you create and publish Content directly with code.