

Antigravity Setup
Antigravity is a coding agent you run from your terminal with the agy command. Once you connect the WEEGLOO MCP server to it, Antigravity can directly create, read, and modify resources such as Content Type, Content, and Media. Along with the MCP server, the install tool also installs Skills and Rules so that Antigravity uses the WEEGLOO API the way it is meant to be used. Skills are guides that capture how to do a specific task well, and Rules are rules to follow across all tasks. You set everything up at once with the install tool, then complete MCP-connection authentication.
For details on the MCP server and on Skills and Rules, see the MCP and Skills and Rules pages respectively. This page covers only how to connect to Antigravity.
Prerequisites
Running the install commands below requires Node.js. First, use the following commands to check whether it is installed and whether the version is 18 or higher.
If Node.js is installed but npx is not, update npm to the latest version with the command below. Updating npm installs npx along with it.
If Node.js is not installed or its version is too old, install Node.js using the method that fits your operating system.
If you do not have Homebrew, install it first from brew.sh, or download Node.js directly from nodejs.org.
If winget is missing or not recognized, download the LTS installer from nodejs.org. After installing, you need to open a new terminal.
Distribution packages can be outdated, so we recommend installing with nvm, which works across many distributions.
To download the installer directly, check nodejs.org.
Antigravity must also be installed so that you can run it from your terminal with the agy command. If you do not have it yet, see the Antigravity install guide.
Connecting
For a default install, copy the install command on this page and run it once in your terminal. To go through the install steps and choose each one yourself, open Custom install.
MCP authentication can be unstable in Antigravity
The weegloo MCP server uses a standard stateful HTTP MCP connection, but Antigravity's support for stateful MCP connections is not yet stable, so authentication may fail or require retries. If you want a more stable setup flow, we recommend using Claude Code, Codex, or Cursor.
Install MCP and Skills
Copy the install command and run it in your terminal.
Authenticate the MCP connection
Authenticate in the following order.
-
Run Antigravity with
agy.Terminalagy -
Type
/mcpat the prompt.Terminal/mcp -
Select
weegloo.TerminalMCP Servers Plugins (~/.gemini/config/plugins) > ✗ weegloo error: calling "initialize": sending "initialize": Unauthorized [Auth Needed] ✓ weegloo-upload Tools: CreateUpload Keyboard: ↑/↓ Navigate enter Actions -
Select Authenticate.
TerminalMCP Servers Plugins (~/.gemini/config/plugins) > ✗ weegloo error: calling "initialize": sending "initialize": Unauthorized [Auth Needed] Restart Disable [Authenticate] ✓ weegloo-upload Tools: CreateUpload Keyboard: ←/→ Navigate enter Actions -
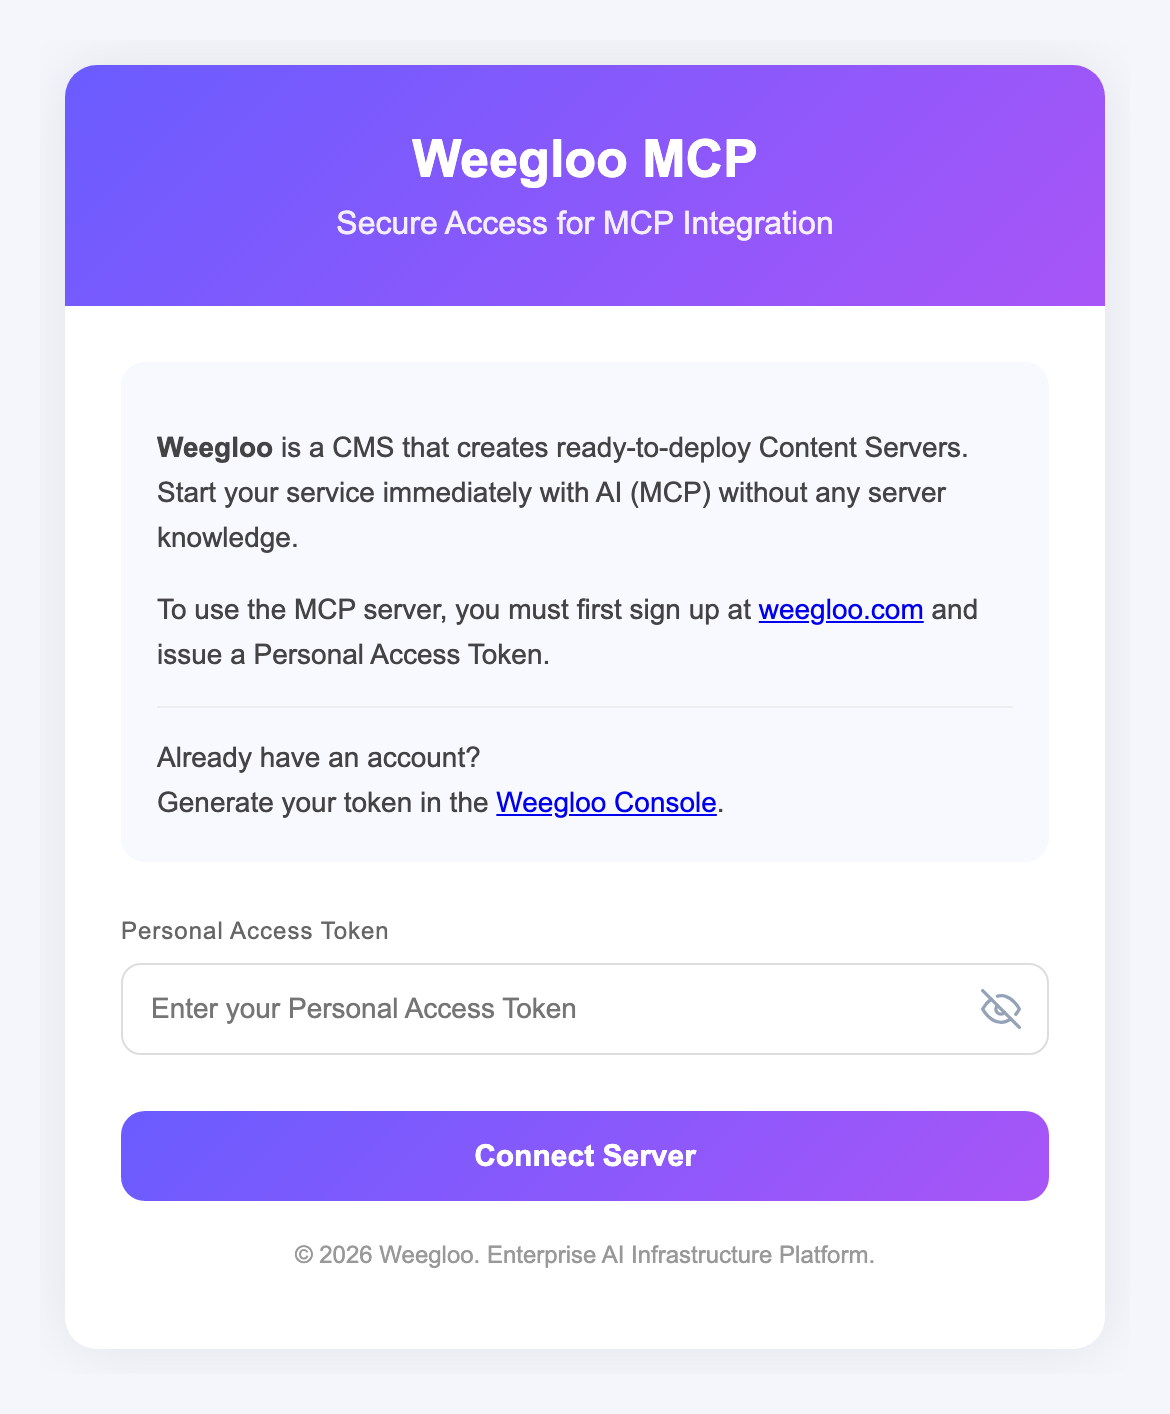
In the token field on the authentication page that opens, paste the token below.
-
Copy the
Codeshown on the Google Antigravity page, return to Antigravity, paste it, and pressEnter.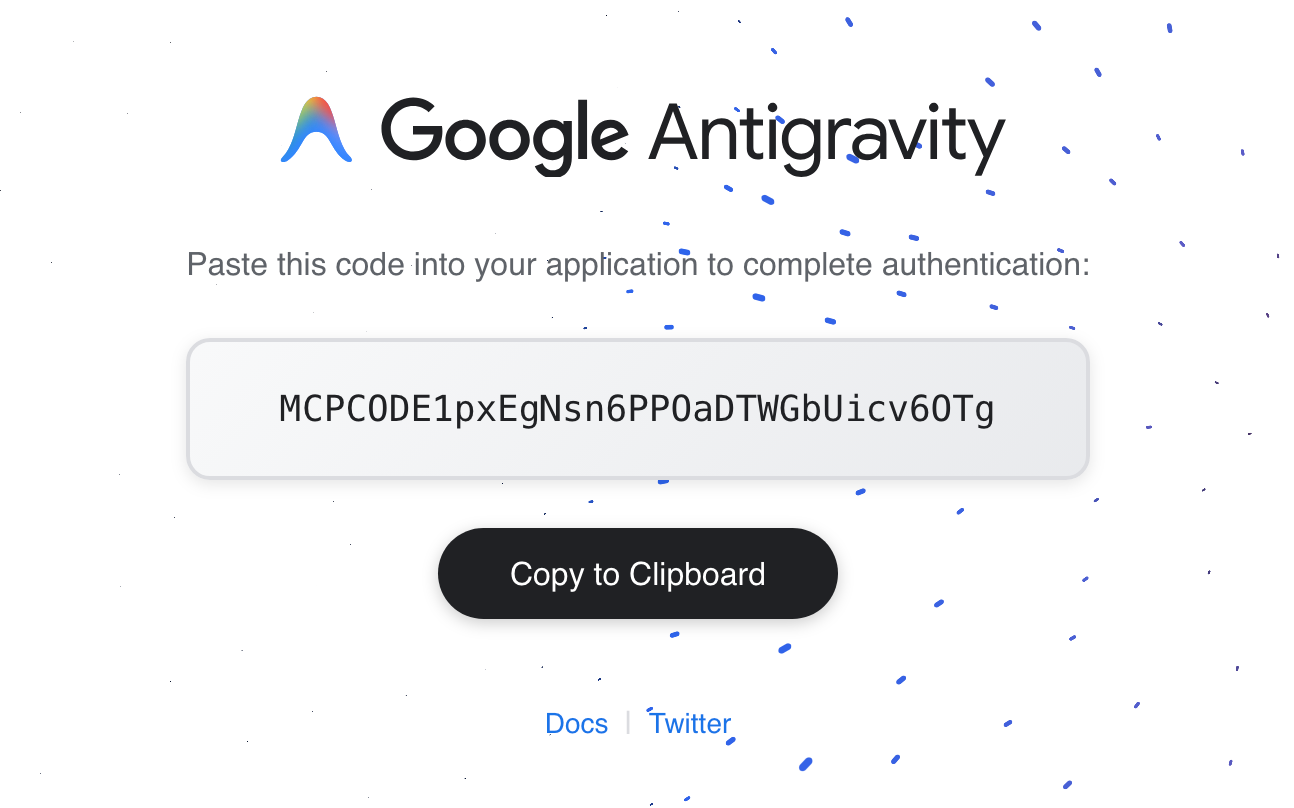
If it shows as an authentication failure
If the message
Authentication failed: no pending auth state for server weeglooappears, it may be a temporary problem on the Antigravity side. This is seen mainly in versions below1.0.16but can also occur in the latest versions, and you can reconnect with the steps below.- Press
Escto return to theMCP Serversscreen. - Press
Esconce more to return to the prompt input screen. - Type
/mcpagain and it will connect after going through theinitializingstage.
- Press
Install MCP and Skills
Copy the install command and run it in your terminal. Be sure to run it inside the project folder you want to connect.
Authenticate the MCP connection
Authenticate in the following order.
-
Run Antigravity with
agy.Terminalagy -
Type
/mcpat the prompt.Terminal/mcp -
Select
weegloo.TerminalMCP Servers Plugins (~/.gemini/config/plugins) > ✗ weegloo error: calling "initialize": sending "initialize": Unauthorized [Auth Needed] ✓ weegloo-upload Tools: CreateUpload Keyboard: ↑/↓ Navigate enter Actions -
Select Authenticate.
TerminalMCP Servers Plugins (~/.gemini/config/plugins) > ✗ weegloo error: calling "initialize": sending "initialize": Unauthorized [Auth Needed] Restart Disable [Authenticate] ✓ weegloo-upload Tools: CreateUpload Keyboard: ←/→ Navigate enter Actions -
In the token field on the authentication page that opens, paste the token below.
-
Copy the
Codeshown on the Google Antigravity page, return to Antigravity, paste it, and pressEnter.If it shows as an authentication failure
If the message
Authentication failed: no pending auth state for server weeglooappears, it may be a temporary problem on the Antigravity side. This is seen mainly in versions below1.0.16but can also occur in the latest versions, and you can reconnect with the steps below.- Press
Escto return to theMCP Serversscreen. - Press
Esconce more to return to the prompt input screen. - Type
/mcpagain and it will connect after going through theinitializingstage.
- Press
Run npx weegloo interactively and install by choosing the prompted items yourself.
MCP authentication can be unstable in Antigravity
The weegloo MCP server uses a standard stateful HTTP MCP connection, but Antigravity's support for stateful MCP connections is not yet stable, so authentication may fail or require retries. If you want a more stable setup flow, we recommend using Claude Code, Codex, or Cursor.
Run the install tool
Run the command below in your terminal and choose each prompted item in turn. Where it asks for the token, use the Copy token button below to copy the token and paste it.
Authenticate the MCP connection
Authenticate in the following order.
-
Run Antigravity with
agy.Terminalagy -
Type
/mcpat the prompt.Terminal/mcp -
Select
weegloo.TerminalMCP Servers Plugins (~/.gemini/config/plugins) > ✗ weegloo error: calling "initialize": sending "initialize": Unauthorized [Auth Needed] ✓ weegloo-upload Tools: CreateUpload Keyboard: ↑/↓ Navigate enter Actions -
Select Authenticate.
TerminalMCP Servers Plugins (~/.gemini/config/plugins) > ✗ weegloo error: calling "initialize": sending "initialize": Unauthorized [Auth Needed] Restart Disable [Authenticate] ✓ weegloo-upload Tools: CreateUpload Keyboard: ←/→ Navigate enter Actions -
In the token field on the authentication page that opens, paste the token below.
-
Copy the
Codeshown on the Google Antigravity page, return to Antigravity, paste it, and pressEnter.If it shows as an authentication failure
If the message
Authentication failed: no pending auth state for server weeglooappears, it may be a temporary problem on the Antigravity side. This is seen mainly in versions below1.0.16but can also occur in the latest versions, and you can reconnect with the steps below.- Press
Escto return to theMCP Serversscreen. - Press
Esconce more to return to the prompt input screen. - Type
/mcpagain and it will connect after going through theinitializingstage.
- Press
Run the install tool
Move to the project folder you want to connect, then run the command below in that folder and choose each prompted item in turn. Where it asks for the token, use the Copy token button below to copy the token and paste it. Be sure to run it inside that project folder.
Authenticate the MCP connection
Authenticate in the following order.
-
Run Antigravity with
agy.Terminalagy -
Type
/mcpat the prompt.Terminal/mcp -
Select
weegloo.TerminalMCP Servers Plugins (~/.gemini/config/plugins) > ✗ weegloo error: calling "initialize": sending "initialize": Unauthorized [Auth Needed] ✓ weegloo-upload Tools: CreateUpload Keyboard: ↑/↓ Navigate enter Actions -
Select Authenticate.
TerminalMCP Servers Plugins (~/.gemini/config/plugins) > ✗ weegloo error: calling "initialize": sending "initialize": Unauthorized [Auth Needed] Restart Disable [Authenticate] ✓ weegloo-upload Tools: CreateUpload Keyboard: ←/→ Navigate enter Actions -
In the token field on the authentication page that opens, paste the token below.
-
Copy the
Codeshown on the Google Antigravity page, return to Antigravity, paste it, and pressEnter.If it shows as an authentication failure
If the message
Authentication failed: no pending auth state for server weeglooappears, it may be a temporary problem on the Antigravity side. This is seen mainly in versions below1.0.16but can also occur in the latest versions, and you can reconnect with the steps below.- Press
Escto return to theMCP Serversscreen. - Press
Esconce more to return to the prompt input screen. - Type
/mcpagain and it will connect after going through theinitializingstage.
- Press
MCP Server Configuration File
The install tool automatically creates and manages the configuration file, so you do not need to check it yourself. The content below is reference material for users who need the concrete configuration file structure and paths.
The weegloo server connects to https://ai.weegloo.com/mcp over HTTP, while the weegloo-upload server, which handles files, runs via npx and uses a Personal Access Token for authentication. With a Global install it is registered at ~/.gemini/config/mcp_config.json in your home directory, and with a Project install at .agents/mcp_config.json inside the project folder.
{
  "mcpServers": {
    "weegloo": {
      "serverUrl": "https://ai.weegloo.com/mcp"
    },
    "weegloo-upload": {
      "command": "npx",
      "args": ["-y", "weegloo-upload"],
      "env": {
        "UPLOAD_API_URL": "https://upload.weegloo.com/v1",
        "AUTH_BEARER_TOKEN": "<Personal Access Token>"
      }
    }
  }
}
To change the server group, append a group value to the end of the weegloo server's serverUrl. For example, to use all tools, write it as https://ai.weegloo.com/mcp?group=all. For the tool composition of each group, refer to MCP Server Groups.
Skills
The install tool places each Skill as a single directory. A global install uses ~/.gemini/skills/, and a project install uses .agents/skills/ in the project folder.
Rules
Antigravity has no separate concept of Rules. So the install tool puts the content that corresponds to Rules, that is, content that plays the same role as Claude Code's Rules, into a context file. A global install uses ~/.gemini/GEMINI.md, and a project install uses the AGENTS.md in the project folder.
What to Do Next
- MCP: Covers the foundations of the connection, such as server groups and the file upload server.
- Skills and Rules: Covers what the Skills and Rules that the install tool sets up alongside it are.
- Keeping up to date: Covers how to keep the Skills and Rules you installed up to date.
- Migrating Static Pages with AI: Follow the flow of migrating a real page into a content-based service with the MCP connection you set up.