Getting Ready
Last updated: July 3, 2026
This is a quick start that walks you through building your first service with WEEGLOO, one step at a time. In this first step, you'll look at what you're going to build and set up a workspace to hold your data.
Before You Begin
With WEEGLOO, you can efficiently build anything from a simple homepage to an enterprise-grade service that handles tens of millions to billions of records. The core of WEEGLOO is that you can quickly put in place a structure for managing and delivering content without having to build a complex backend (the behind-the-scenes system that stores and processes data) yourself.
In this quick start, as an example for learning the basics of WEEGLOO, you'll build a Tech Blog for publishing technical articles. The goal is to follow the flow of building a real service and naturally learn the role each feature plays along the way.
Here, the Tech Blog is a web-based service that anyone can reach through a web browser. Visitors are mainly offered the ability to read published articles, while internally there's a collaborative environment where multiple authors write and edit articles together.
The blog's content is primarily text, but it can also include images that aid understanding or attachments in the form of files. It's also important that this content can be reached quickly from anywhere in the world and is served reliably.
Now, based on these requirements, you'll build the Tech Blog with WEEGLOO step by step.
Creating a Workspace
To build a service with WEEGLOO, the very first thing you need to do is create a workspace where your data will be stored and managed. This is more than just a setup step to get a project started: it's an important process that determines where all the data and settings you create from now on will belong.
A WEEGLOO workspace consists of two layers, divided into an Organization and a Space. An Organization is the top-level workspace that represents an entire company or team, and a Space is a sub-workspace you create within that Organization for each project. If an Organization is the larger framework that encompasses everything, a Space is the unit that holds a single actual service.
This structure reflects a real service environment and naturally supports a situation where one team runs several services at the same time. For example, within the same Organization you can manage several projects such as a company homepage, a blog, and an event page as separate, independent Spaces, and doing so lets you clearly separate data, permissions, and settings.
Now you'll create the workspace to use in the example yourself. First, create an Organization.
- At the bottom left of the content studio, click the current Organization name to open the Organization list.
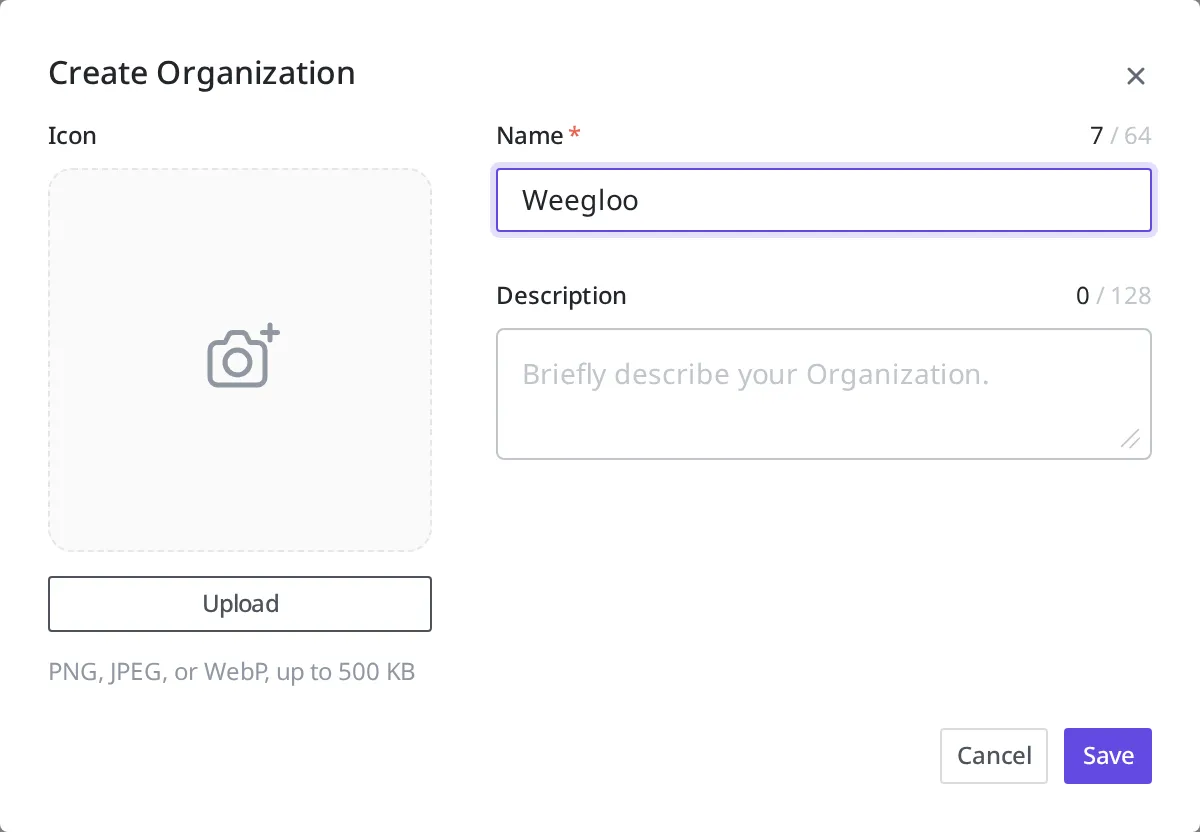
- At the bottom of the list, click Create Organization.
- Enter
Weeglooin Name and click Save.
This Organization is the top-level space that becomes the foundation for every project you'll create going forward. Organization and Space are covered in detail in Organization and Space.
When you first create an Organization, it doesn't have a Space in it yet. Now add your first Space.
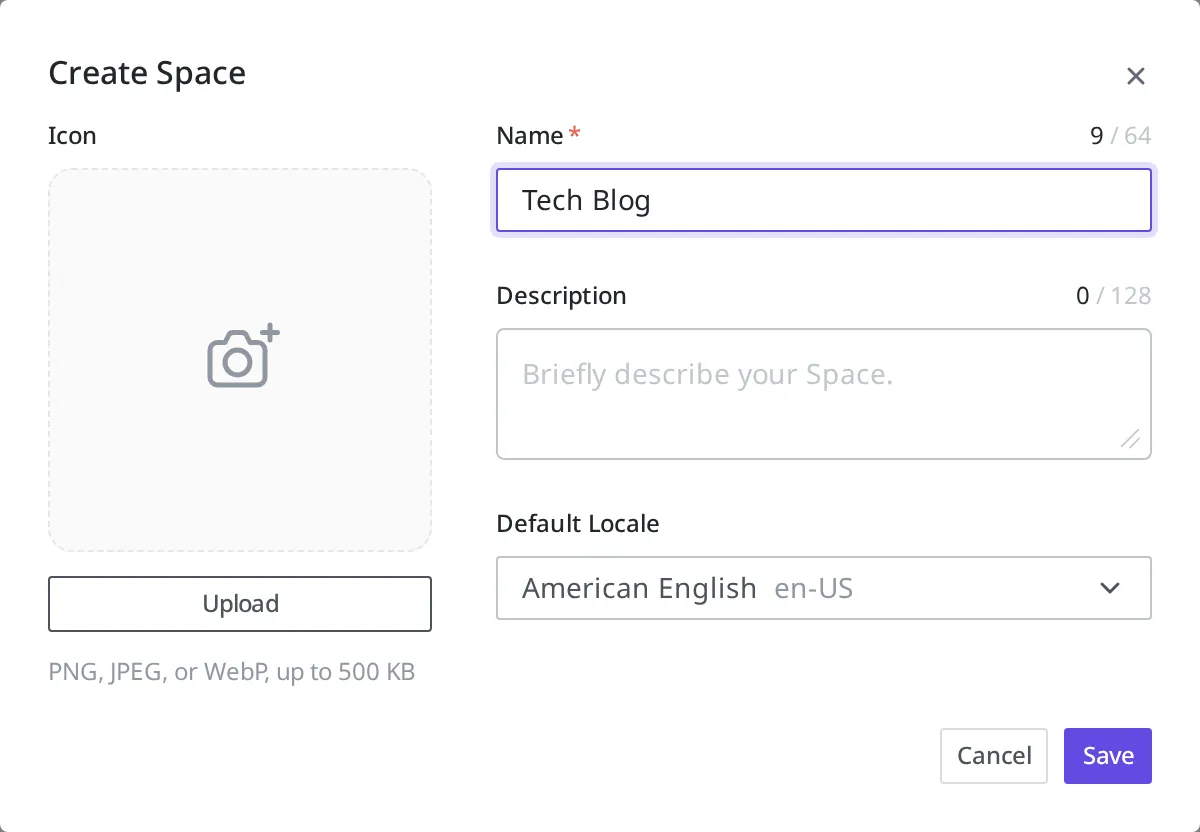
- In the left menu, click Create A New Space.
- Enter
Tech Blogin Name. - Default Locale is the default language in which this Space holds content. Here, leave the default value as is.
- Click Save.
This Space becomes the actual workspace for the blog service you're about to build, and all the data and resources you create afterward are managed based on this Space.
This gives you a work structure where the "Tech Blog" Space sits under the "Weegloo" Organization. Everything you'll do from now on, such as defining article data, creating actual content, uploading images, and setting permissions, all happens inside this Space. That's why this step is more than initial setup: it's the starting point for shaping the entire structure of the service. Only when the workspace is set up properly will the data design and feature work that follow proceed in a consistent flow.
Now that the workspace is ready, in the next step you'll design a Content Type to define the shape of the data the blog needs.
- Designing the Data Structure: Define what items a blog article consists of using a Content Type.